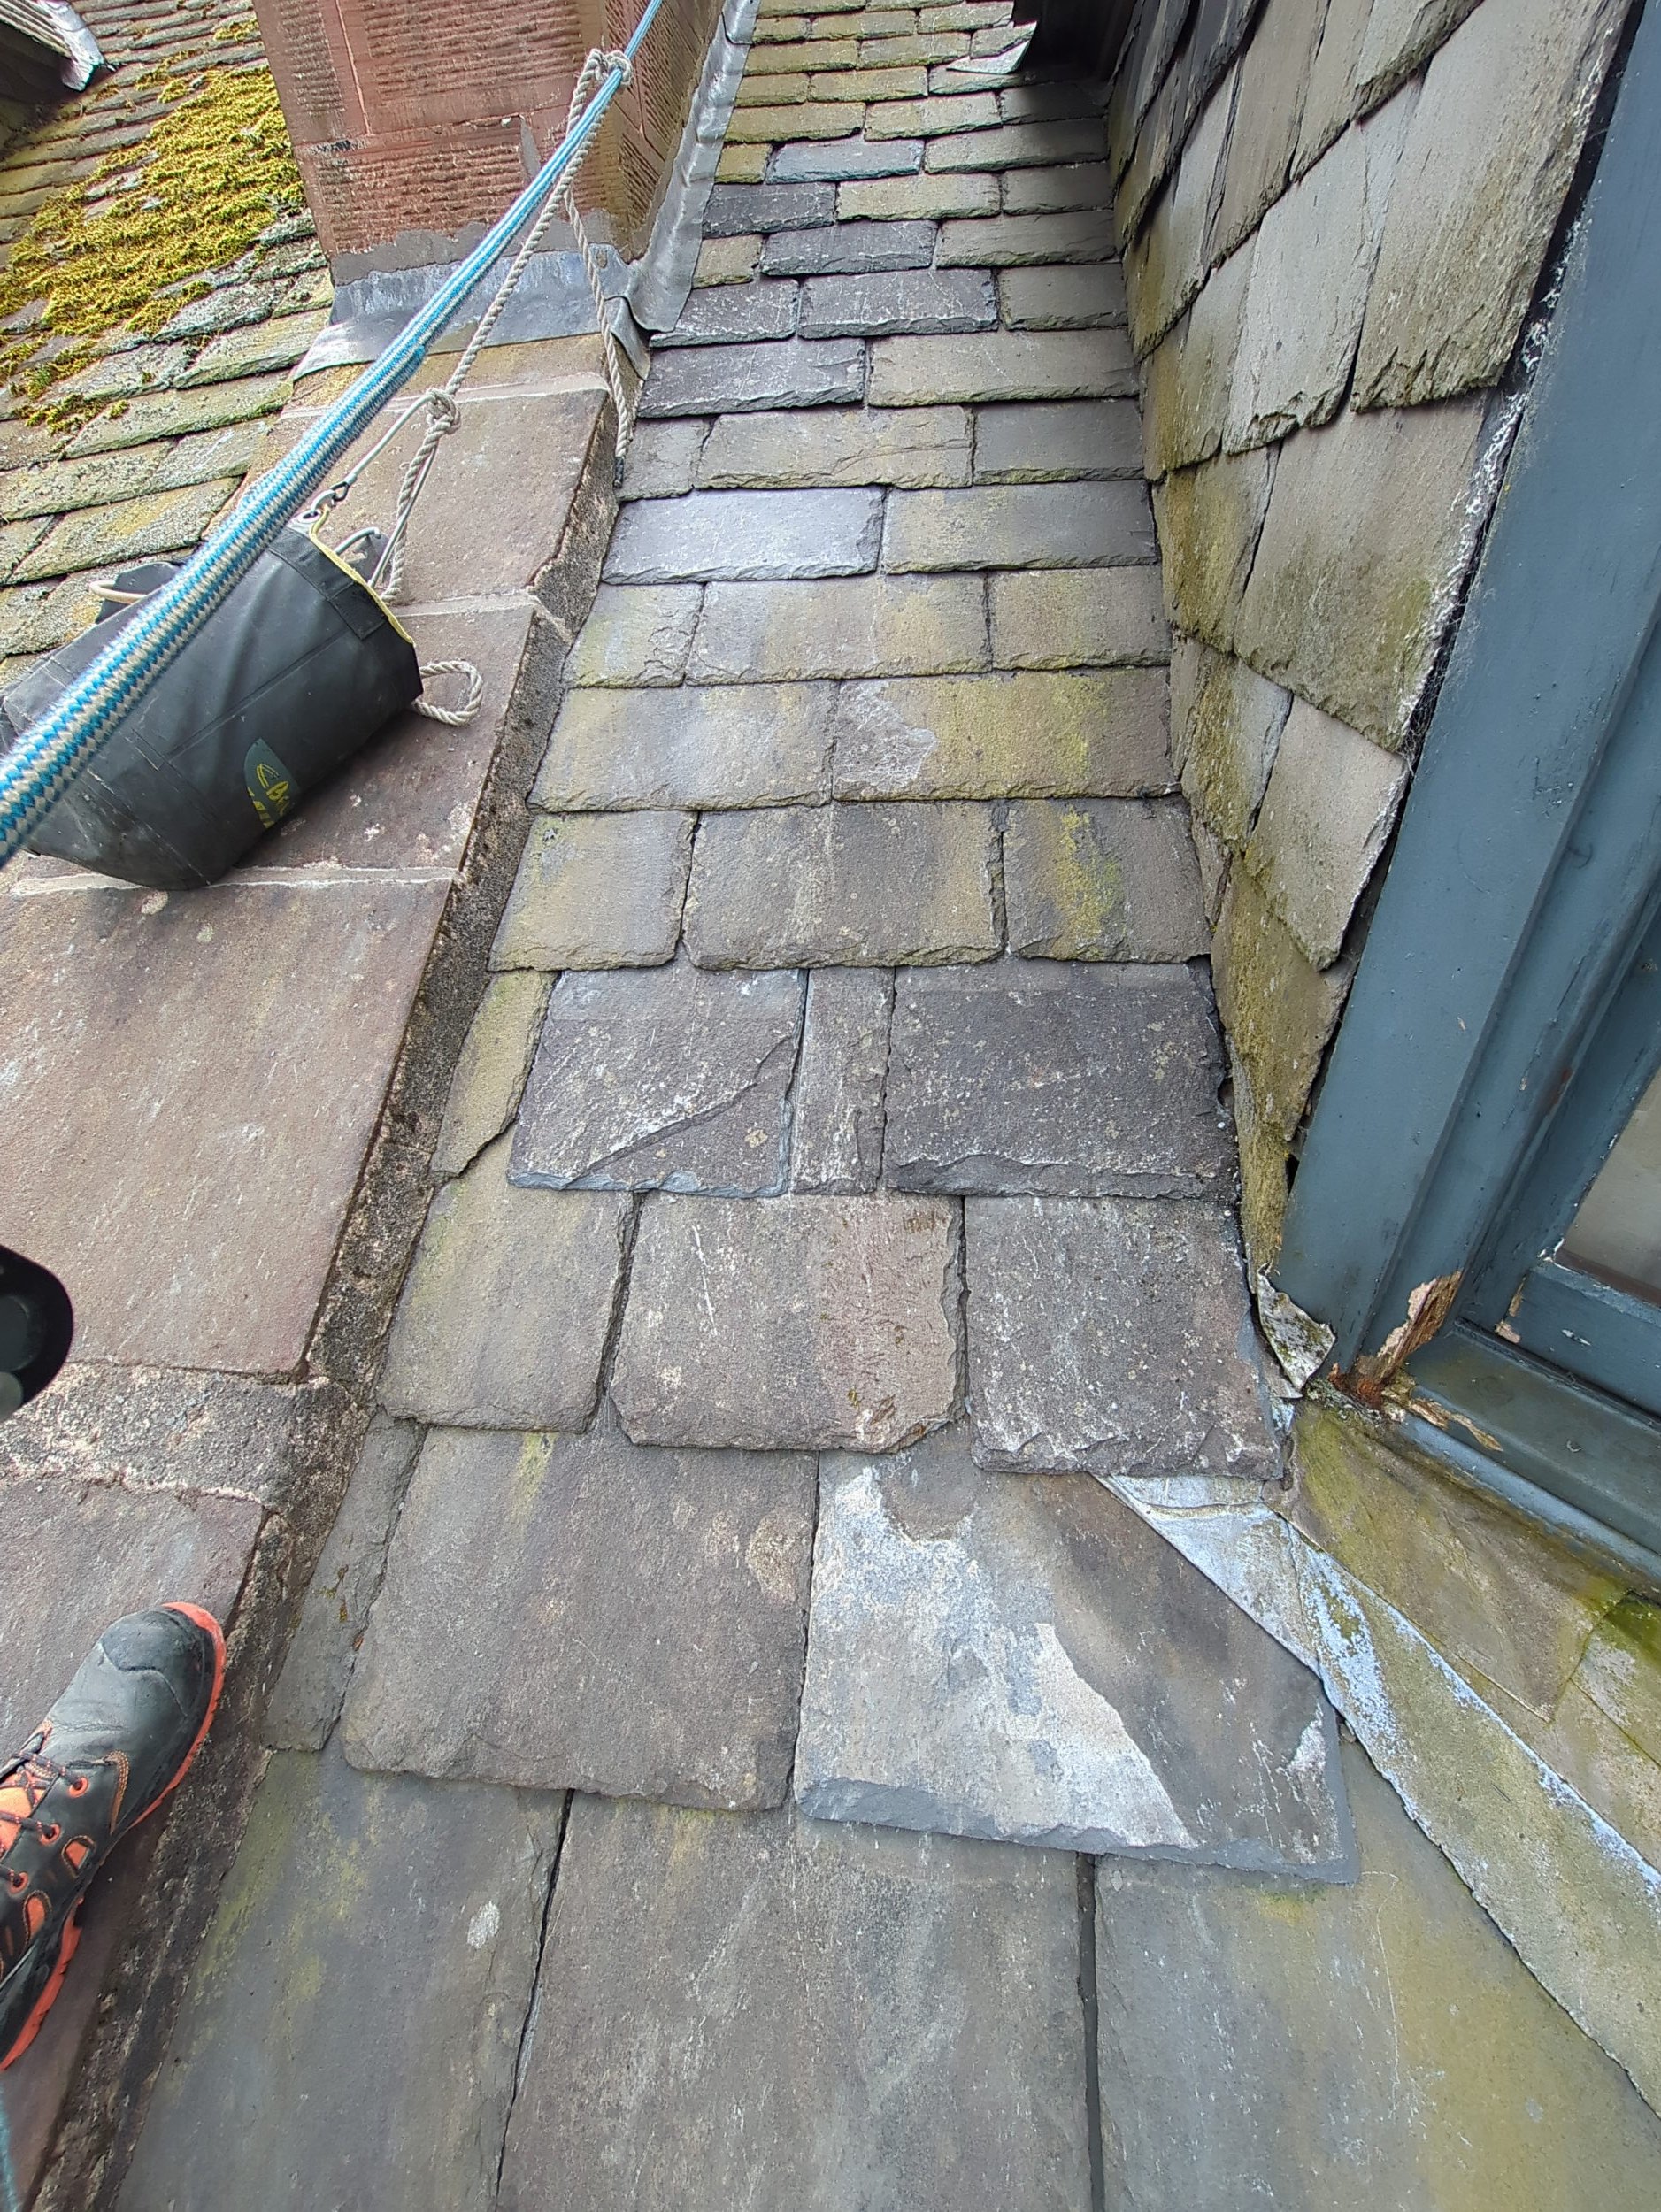
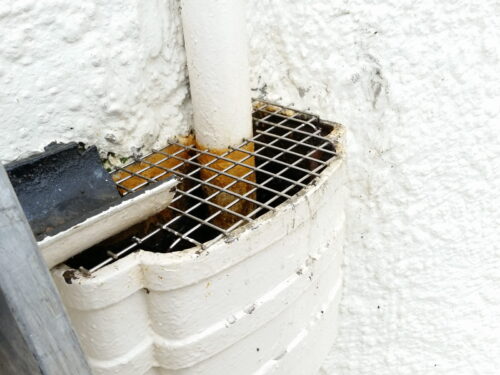
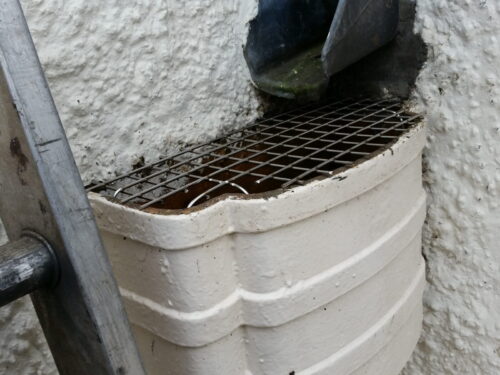
Click on any picture to enlarge. Click on the picture again to minimise.
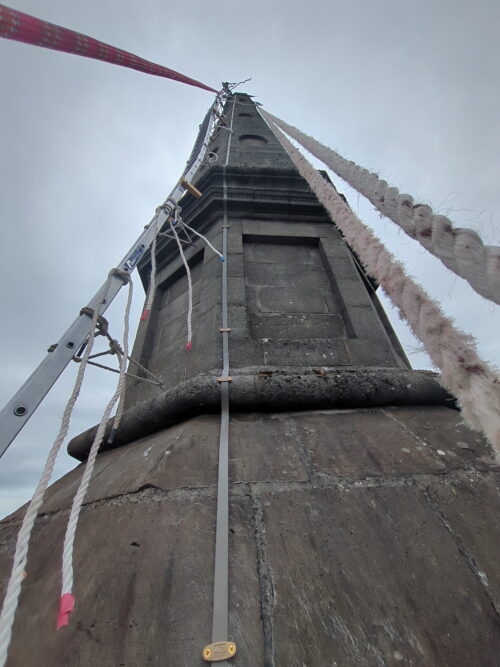
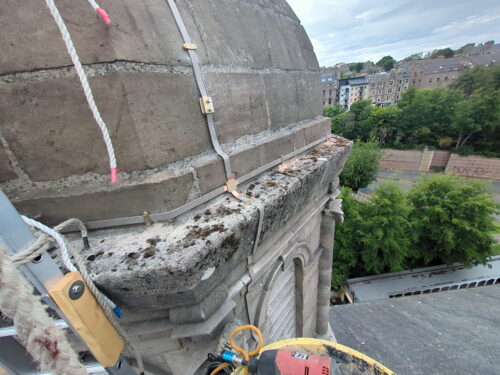
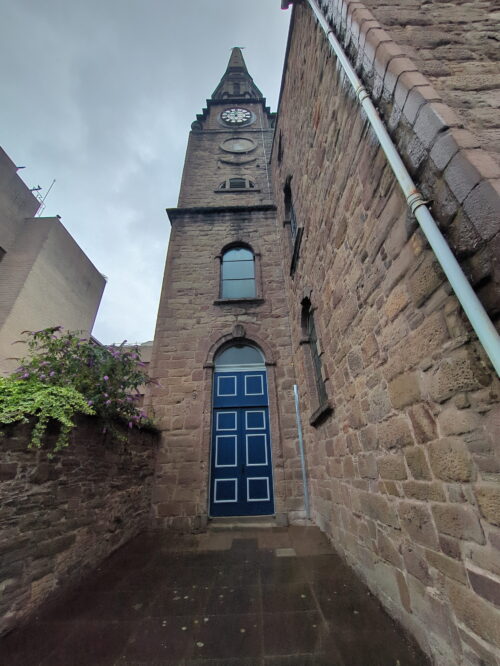
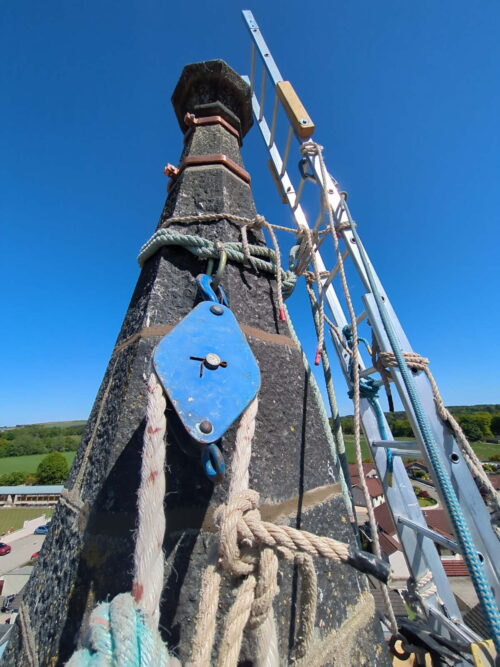
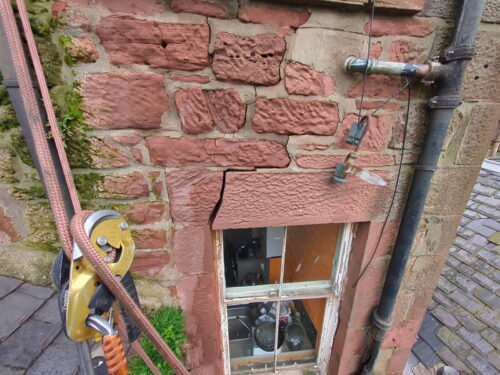
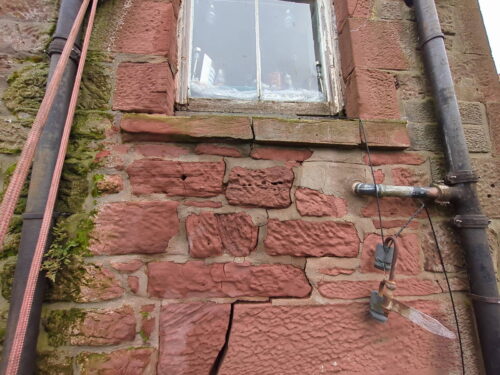
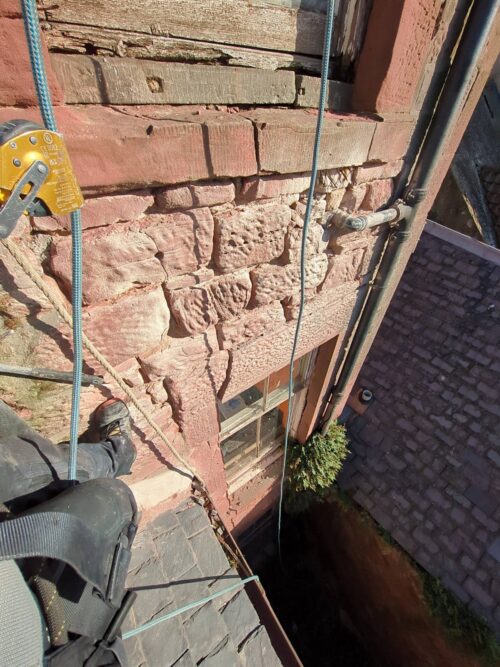
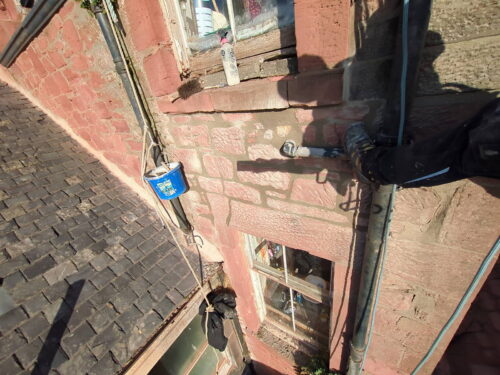
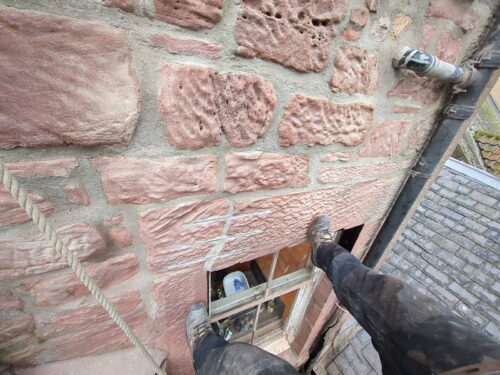
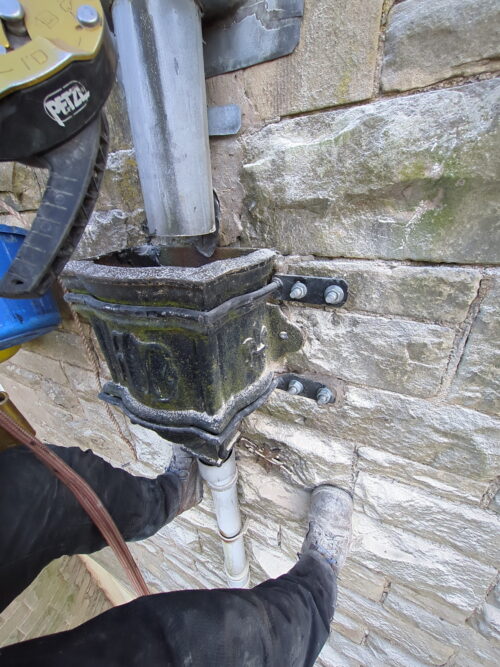
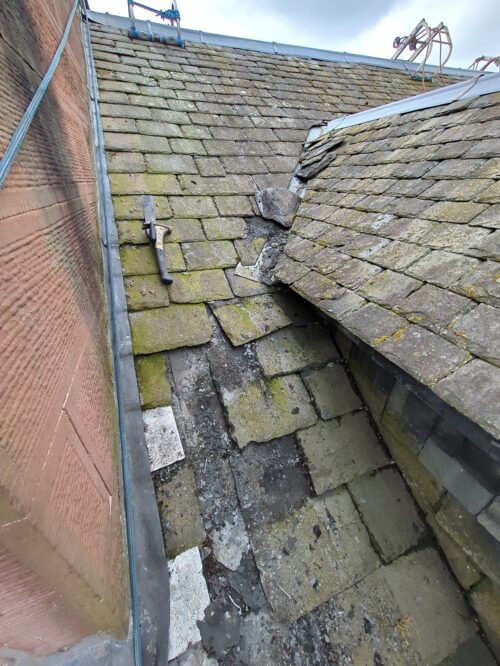
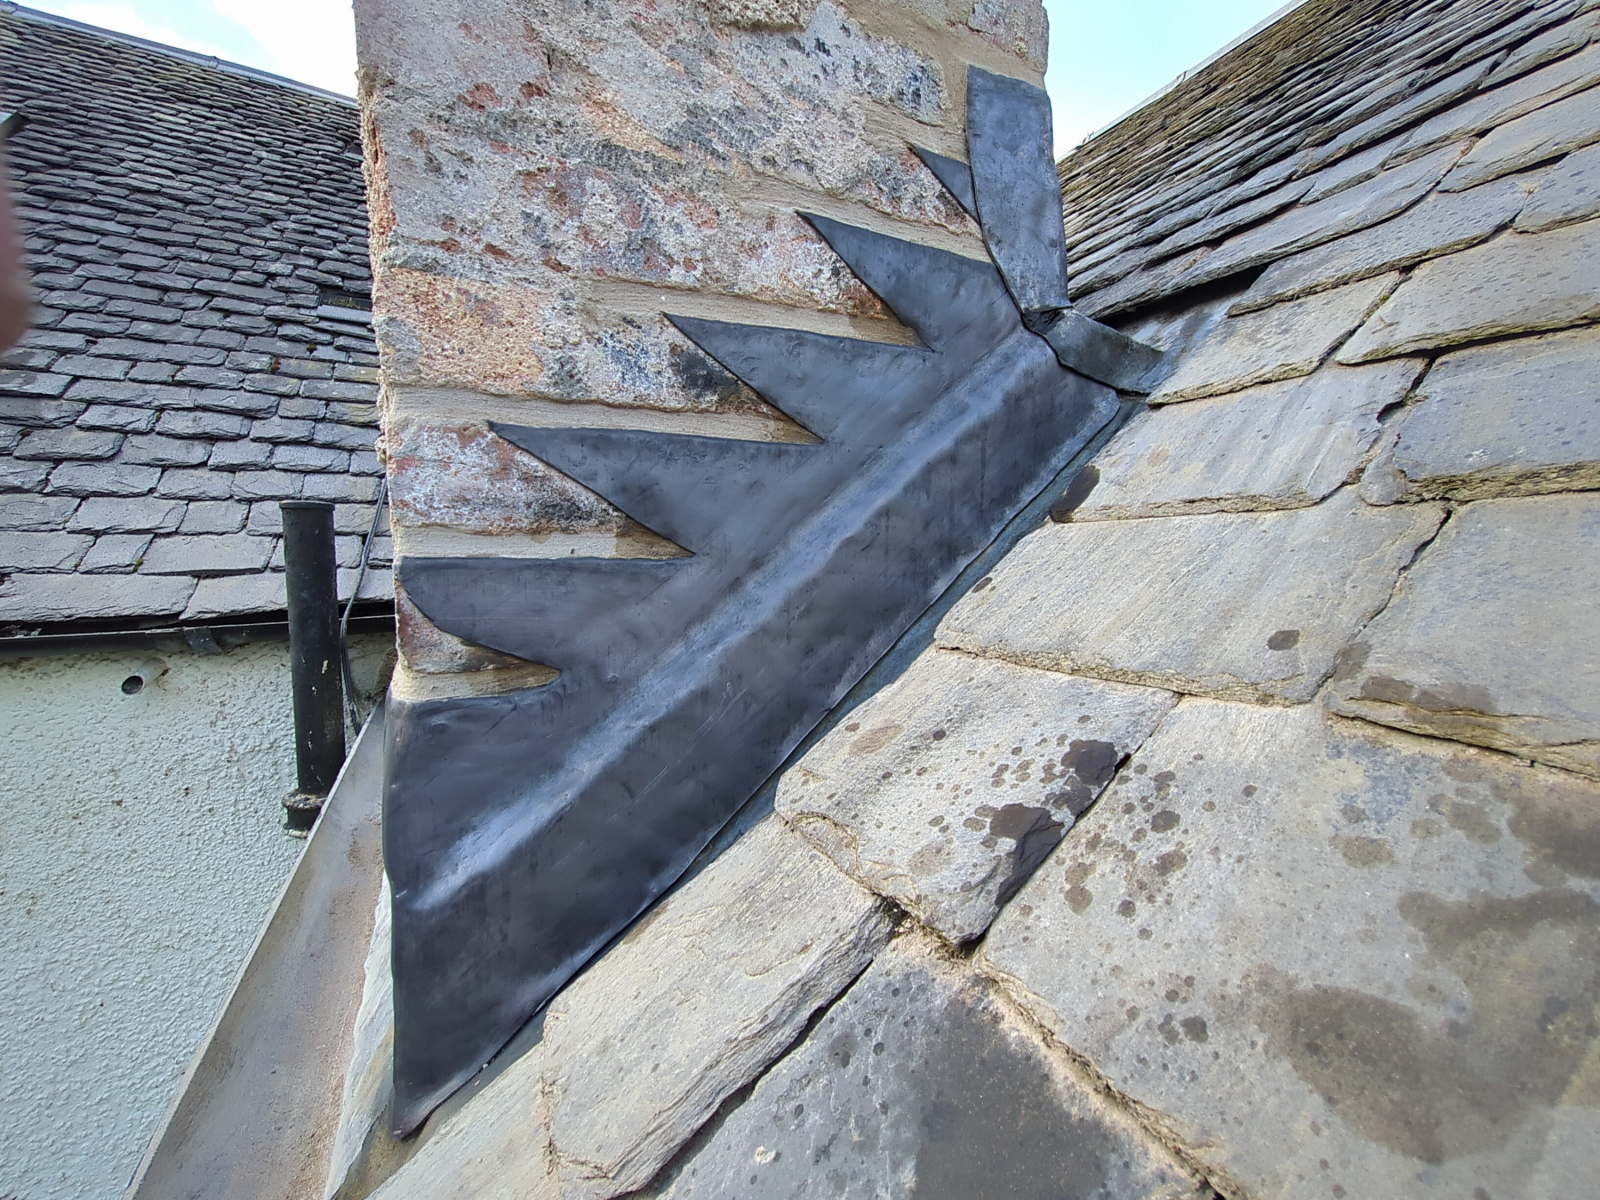
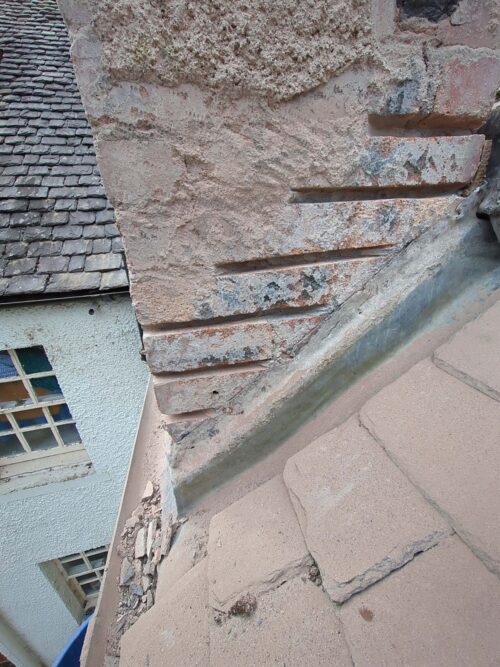
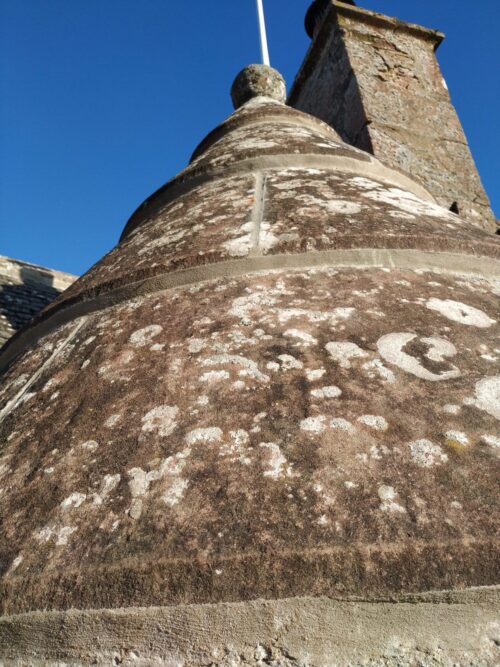
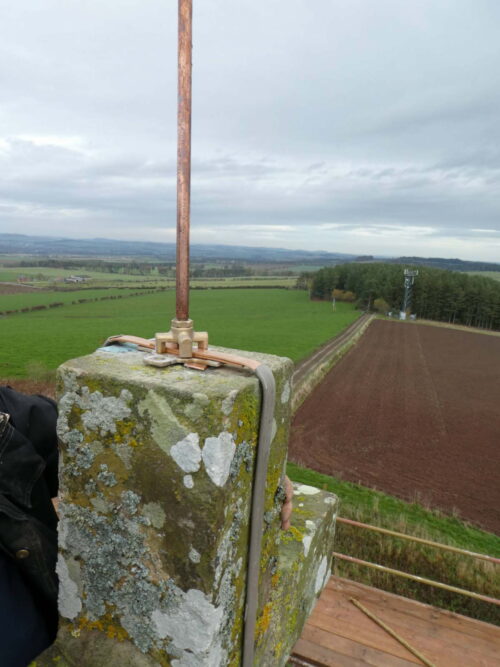
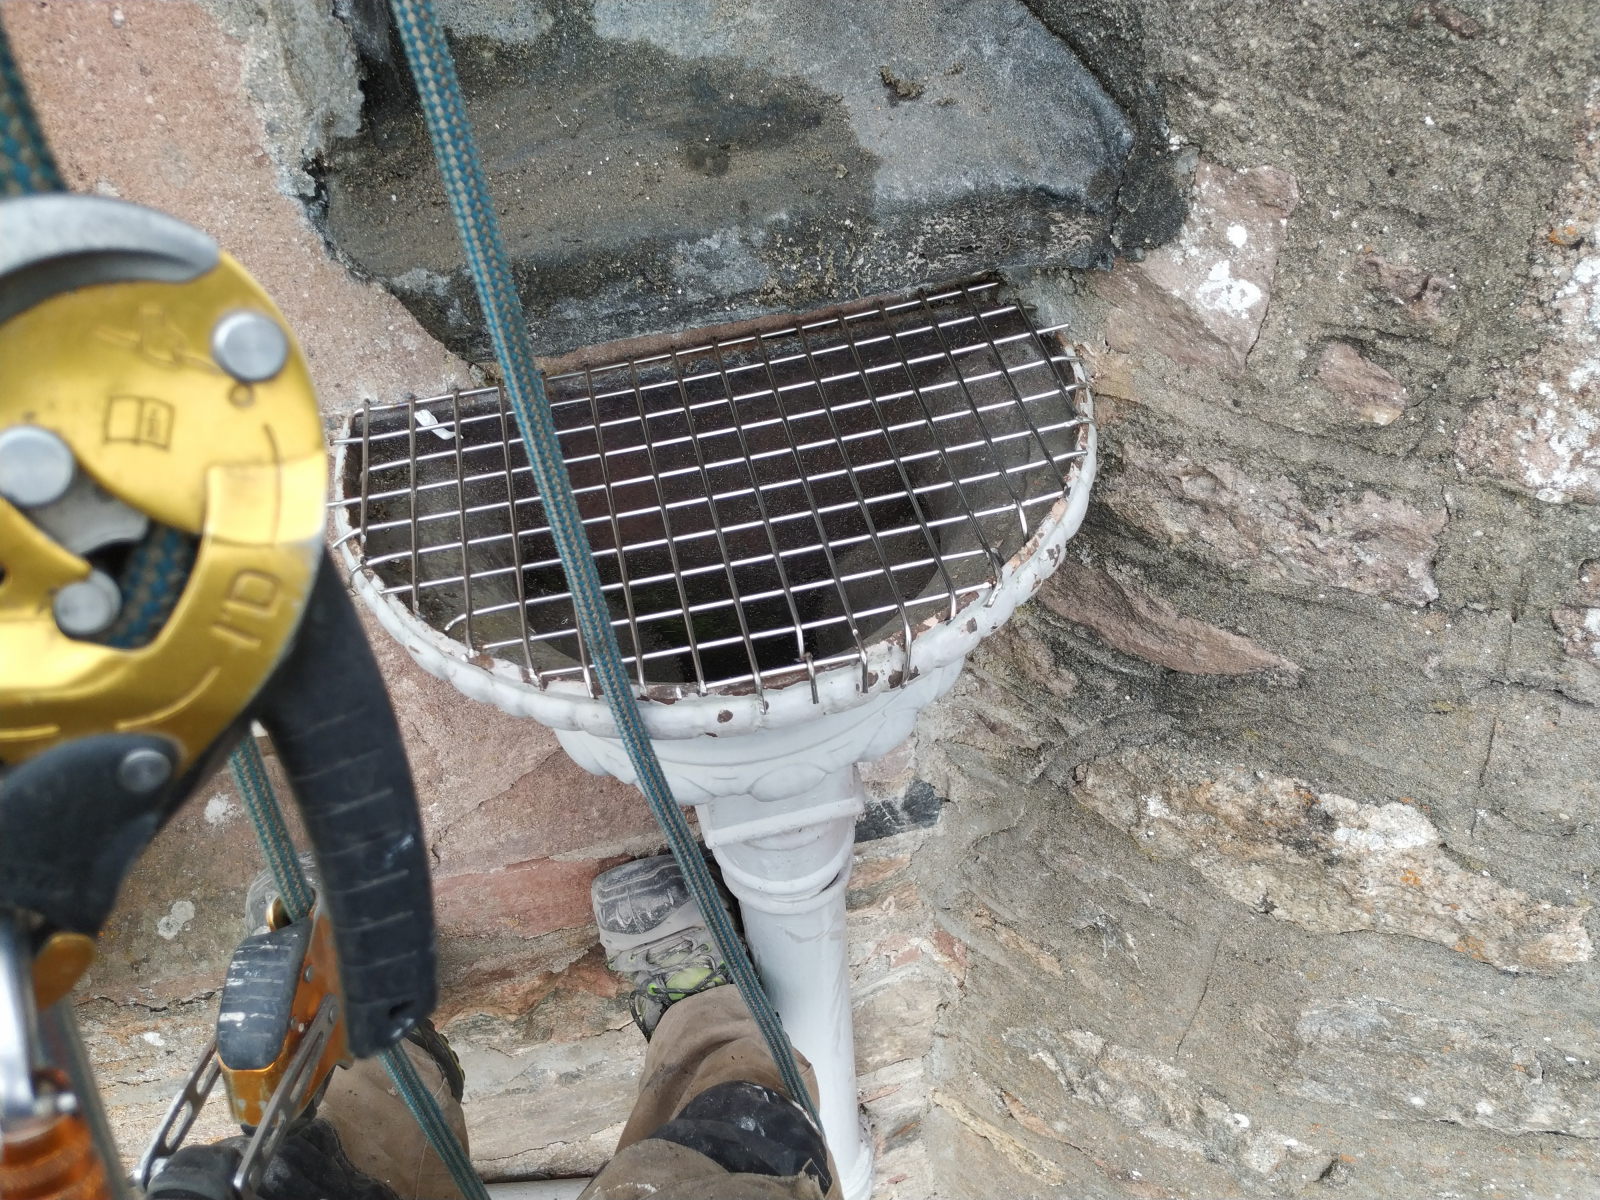
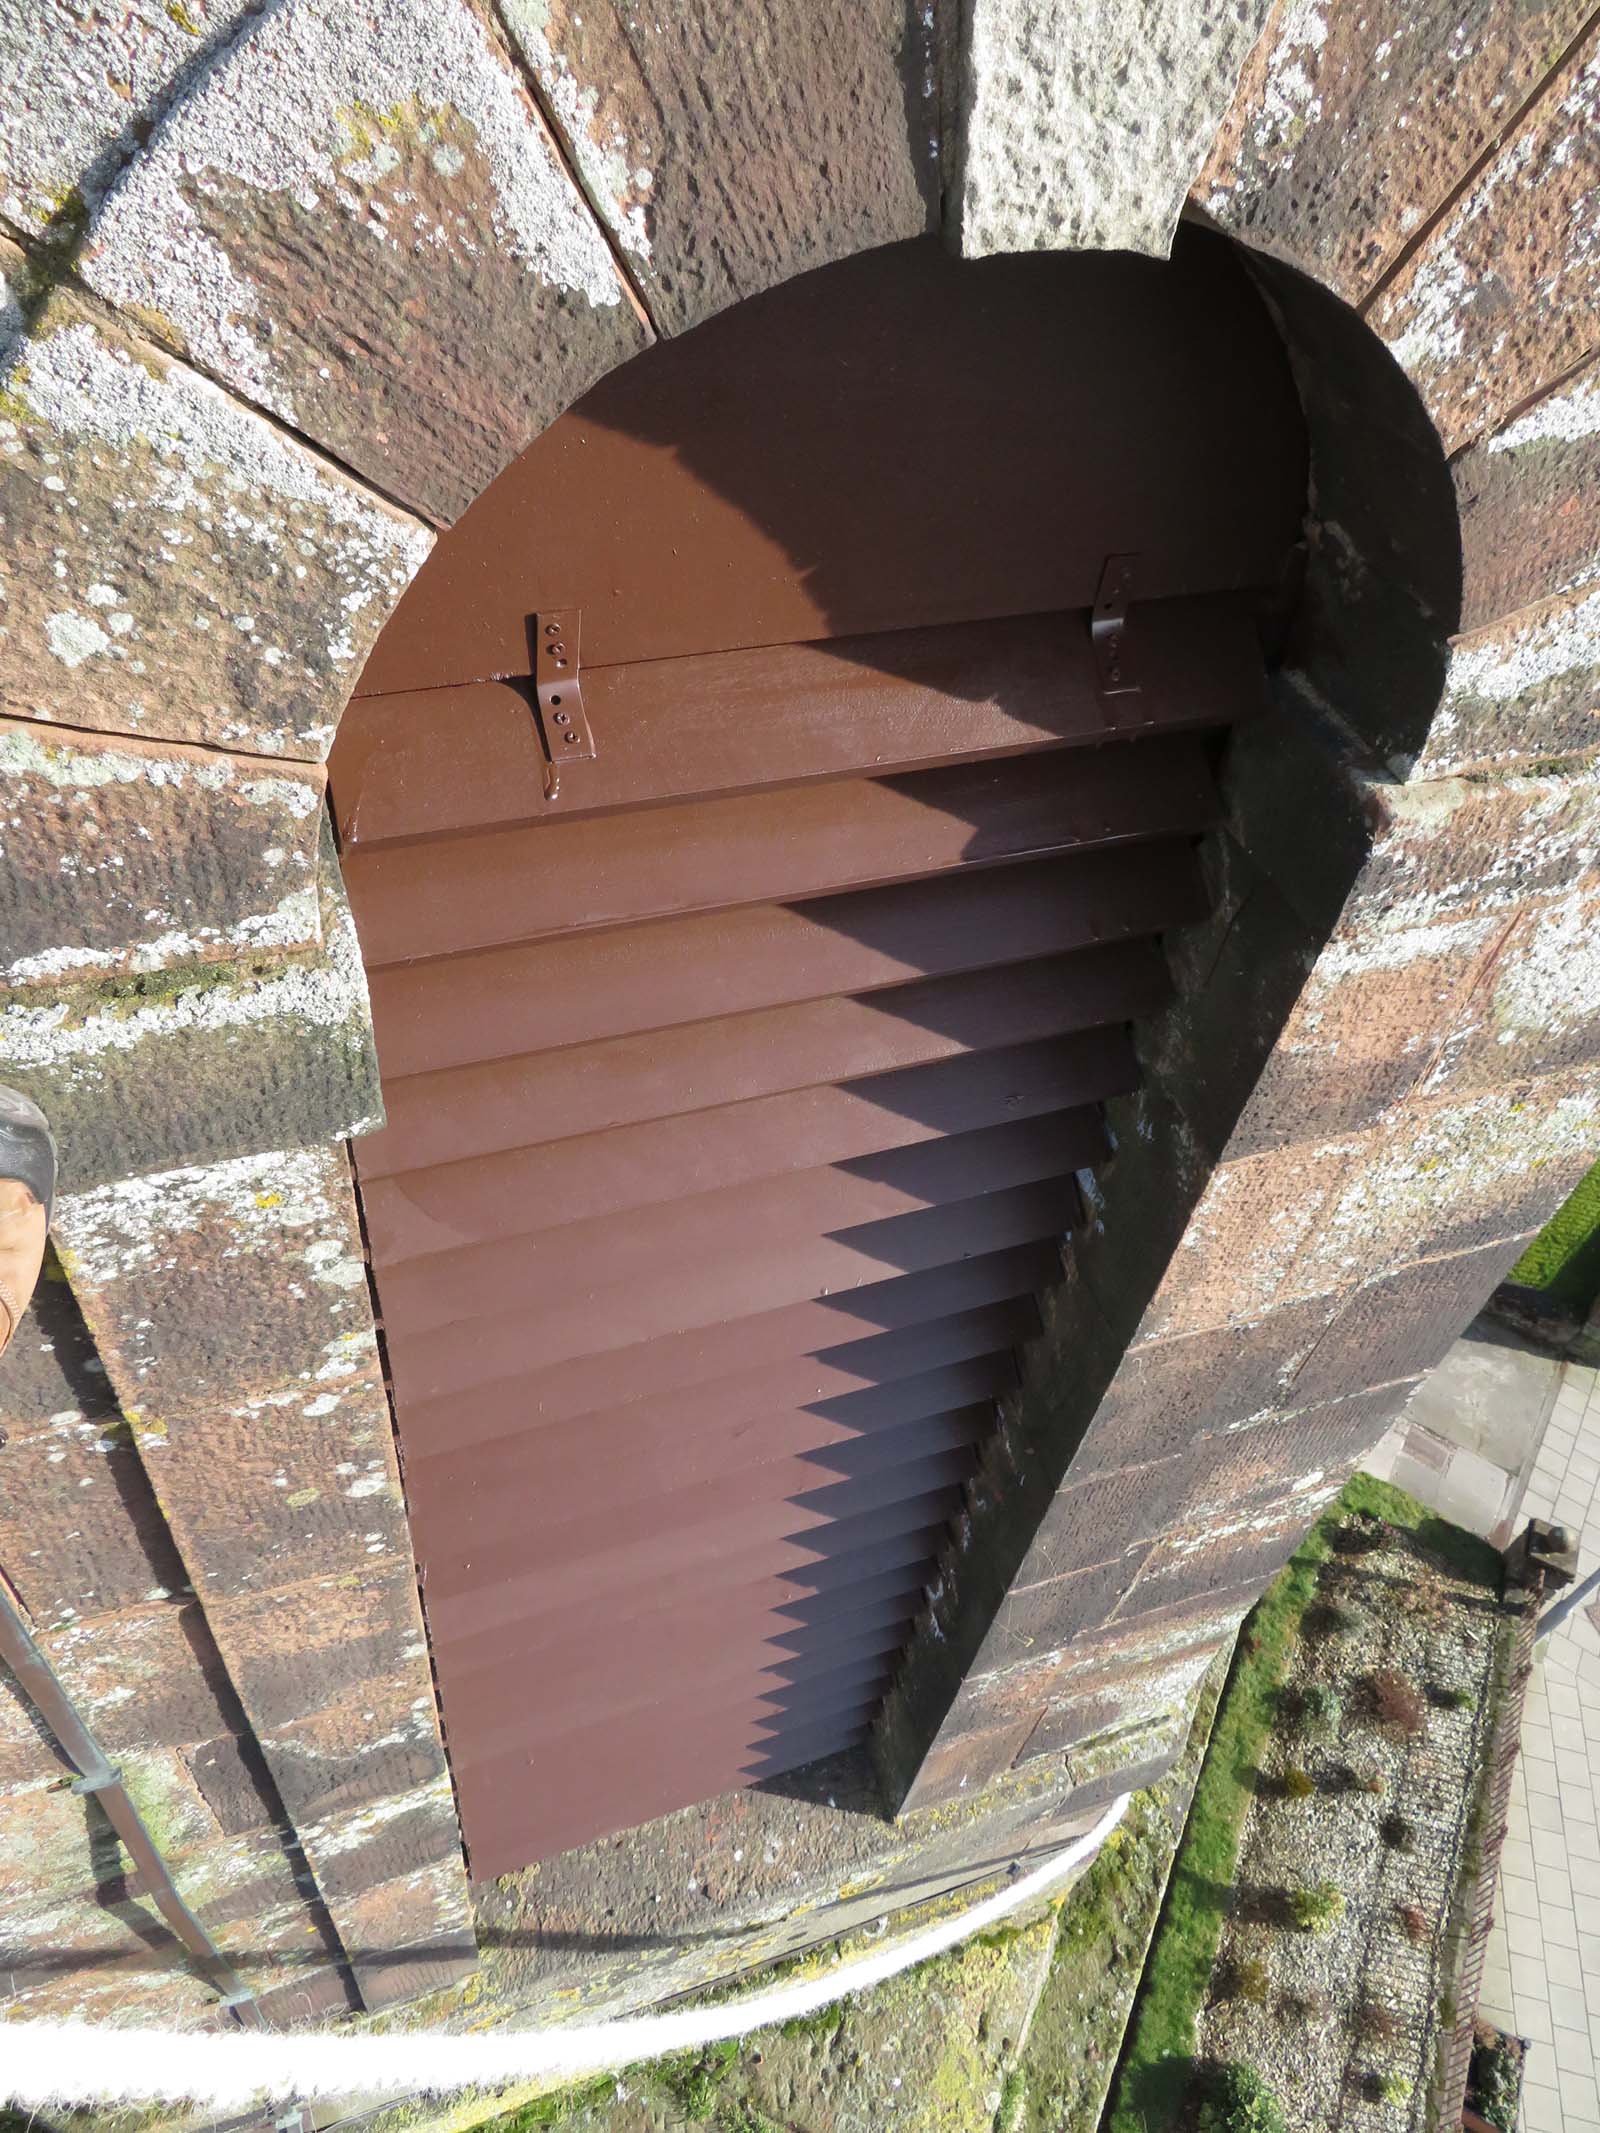
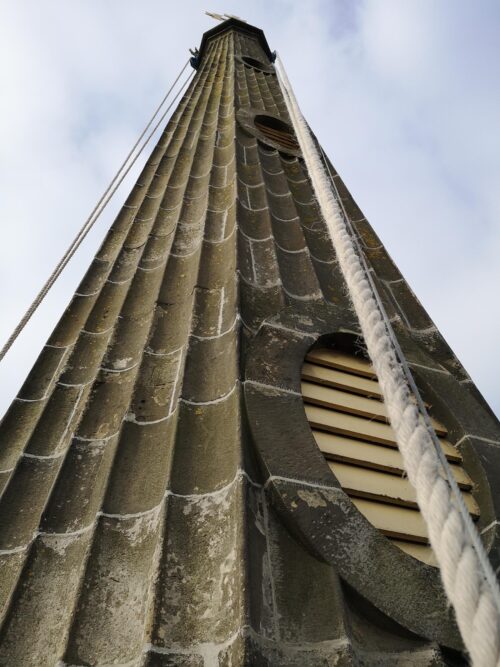
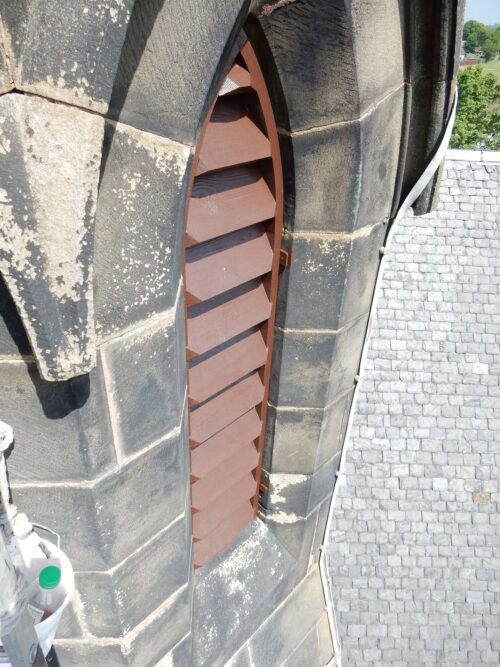
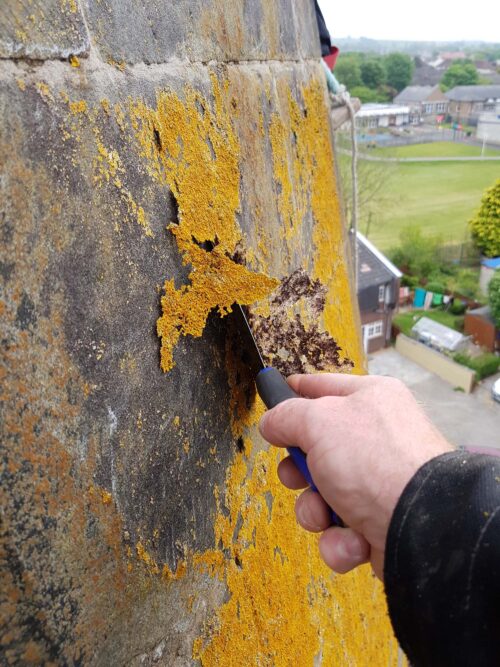
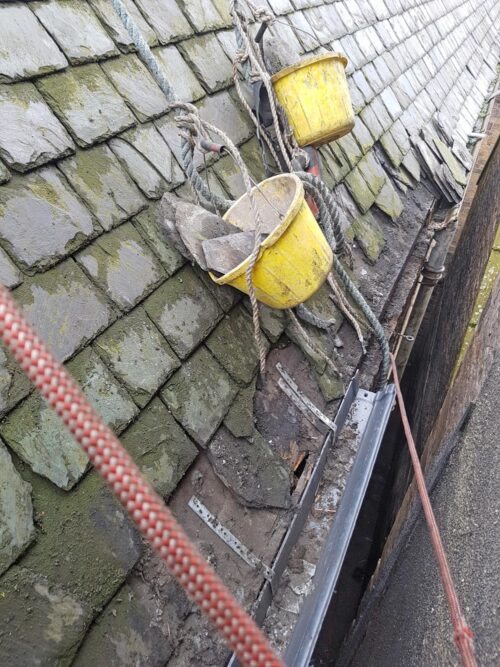
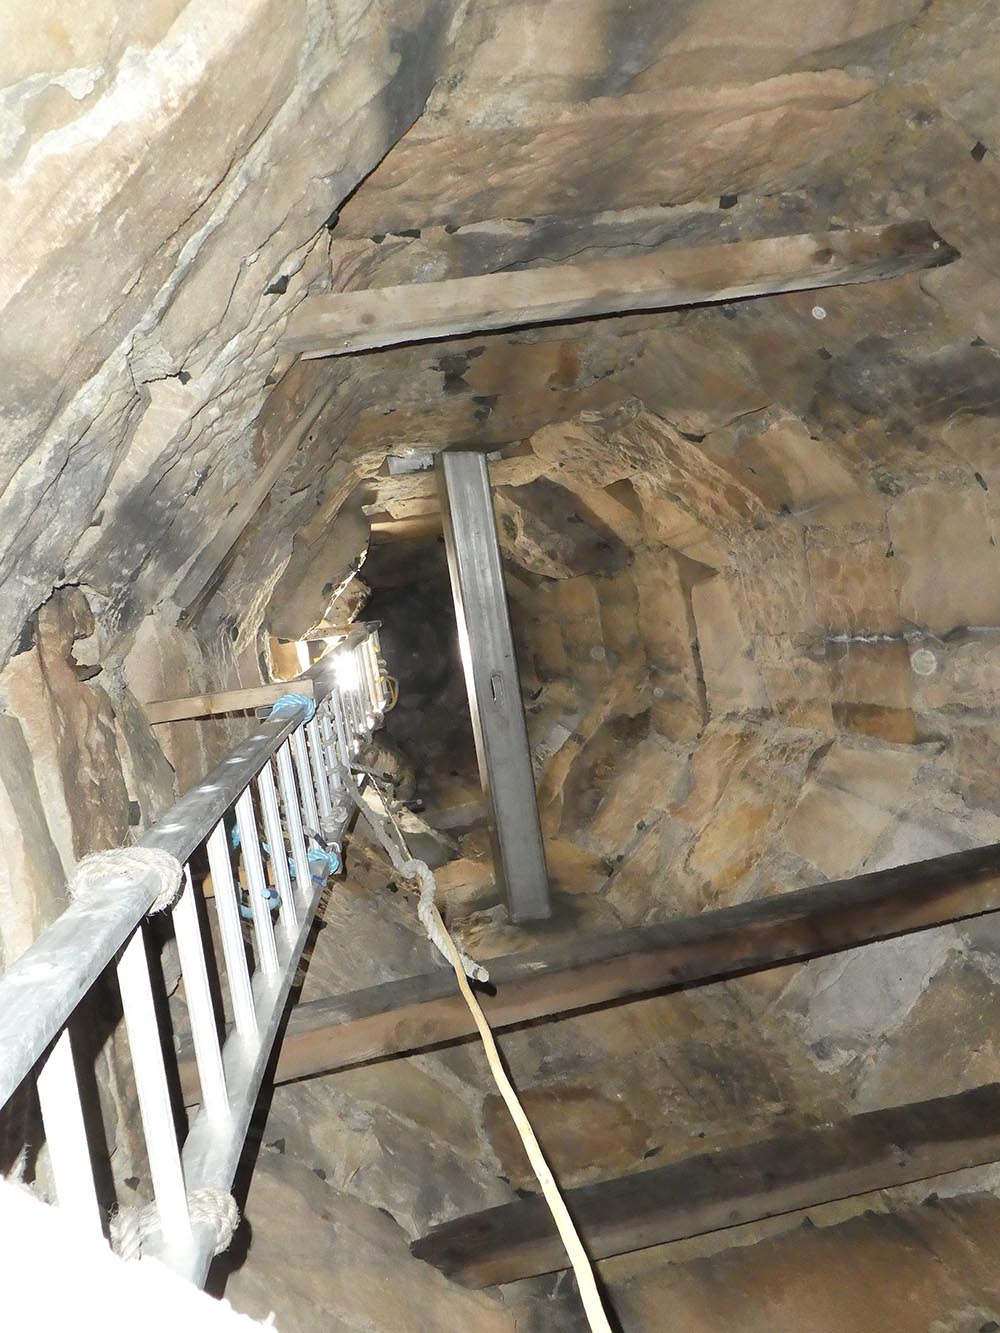
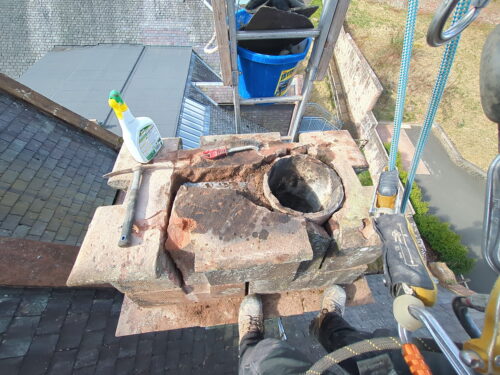
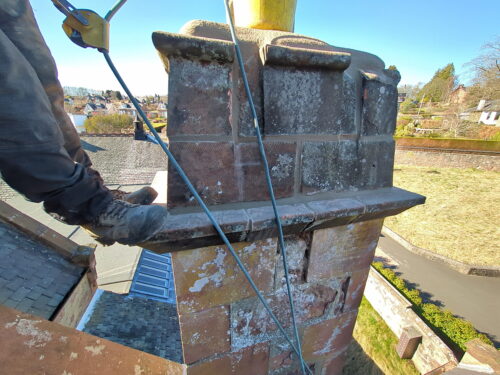
This chimney head, to the rear of a church, was starting to get unstable and less safe than it should have been. Eventually the roots of the trees would have spread the stones farther apart, and maybe ended up pushing stones off the head of the chimney – although it would have taken many years for it to have gotten to that stage.
The job was simple enough. It consisted of the following tasks.
- Dig out the roots as deeply as possible.
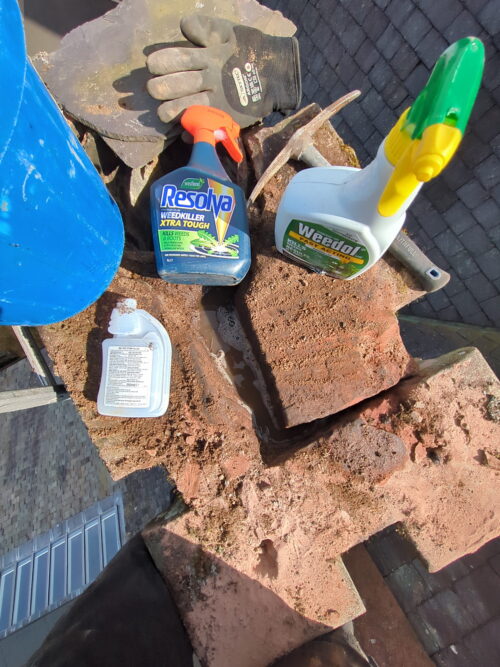
- Try to kill the remaining traces of roots with weedkilling chemicals.
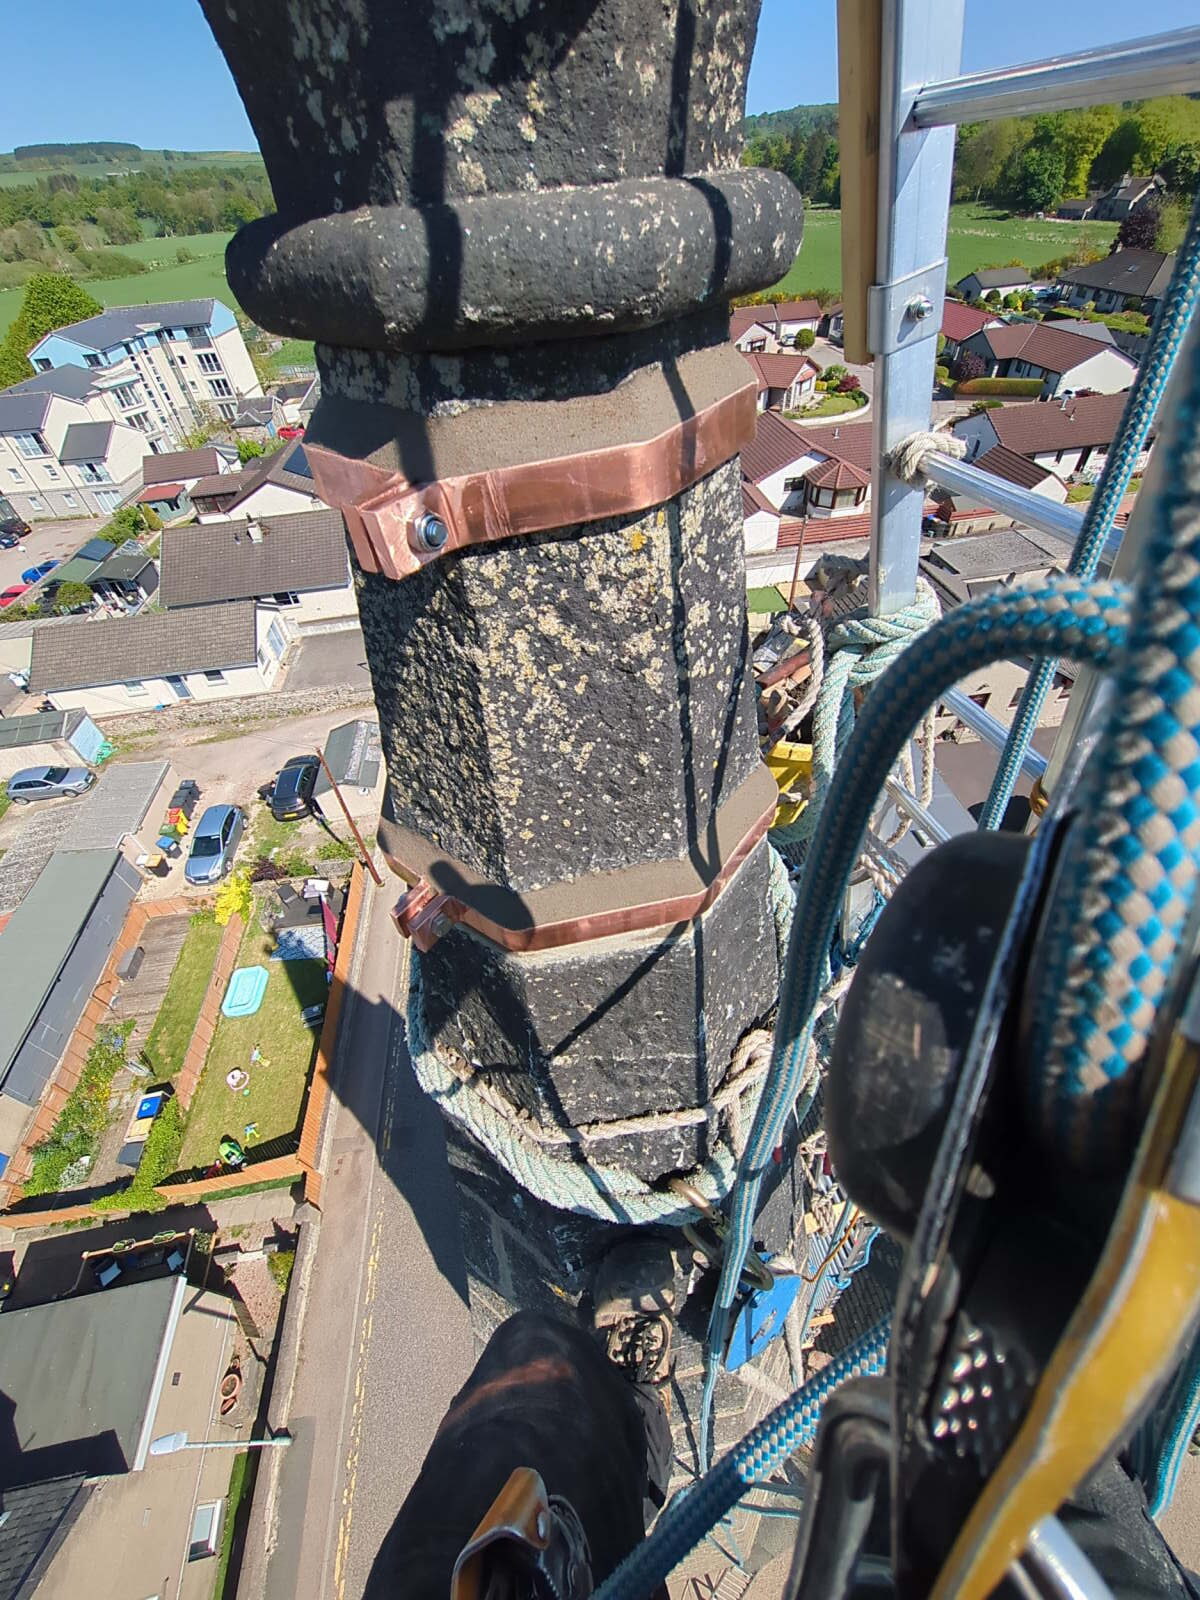
- Apply a heavy hydraulic lime haunching to hold the top stones together and get some weight onto them (great for stabilising masonry).
- Deeply rake out the joints and point them with hydraulic lime mortar.
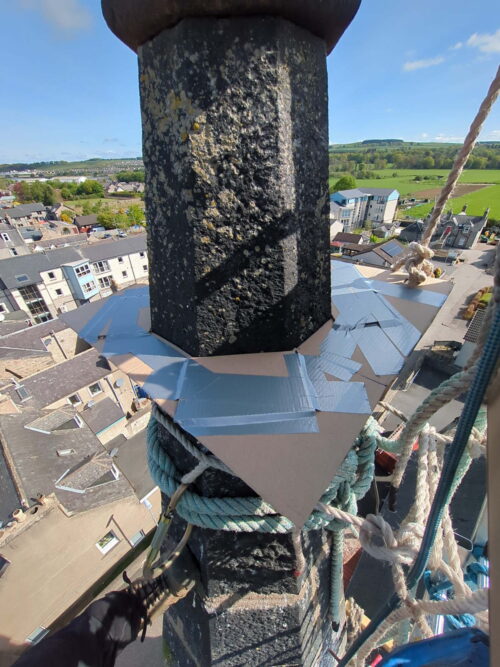
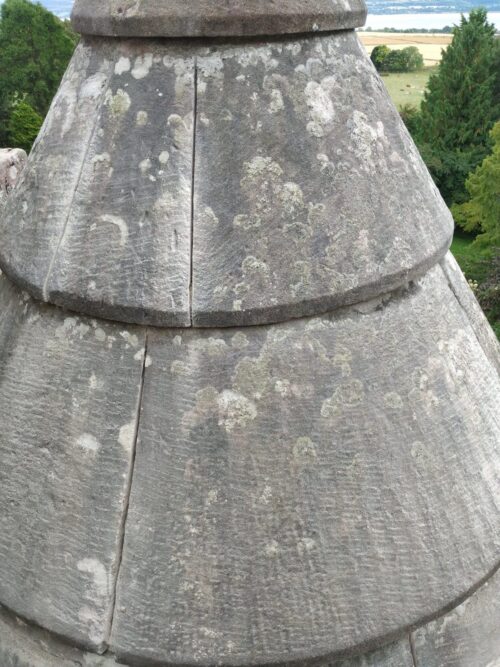
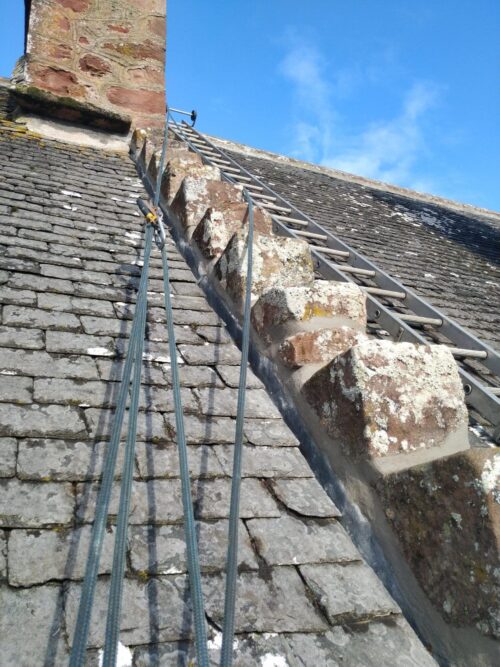
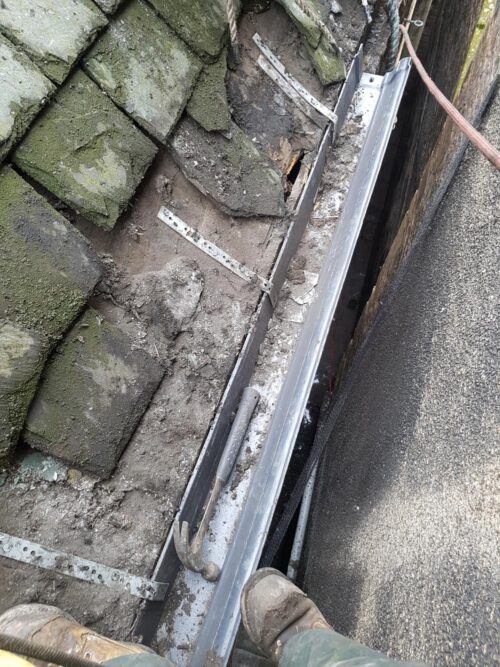
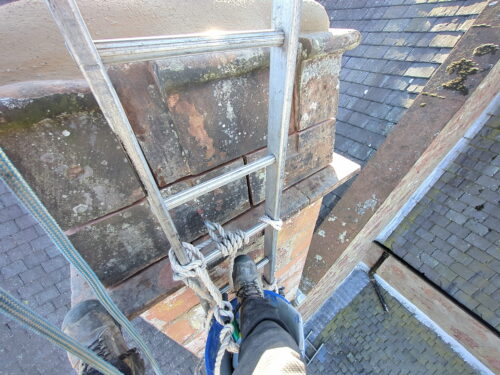
Before starting.
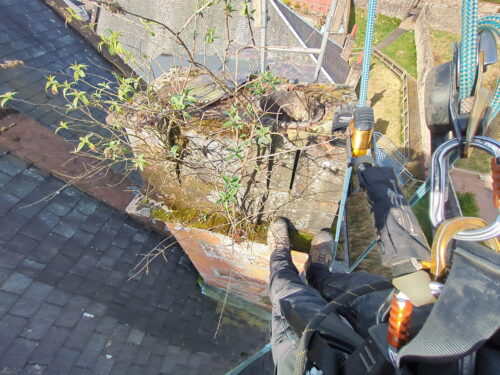
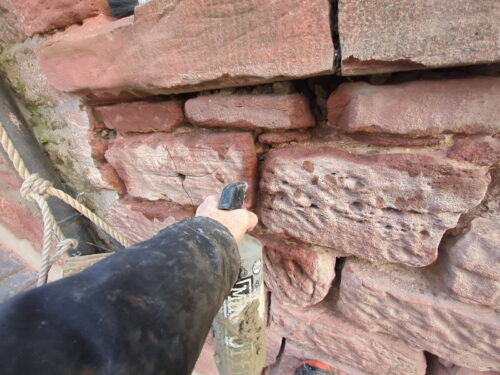
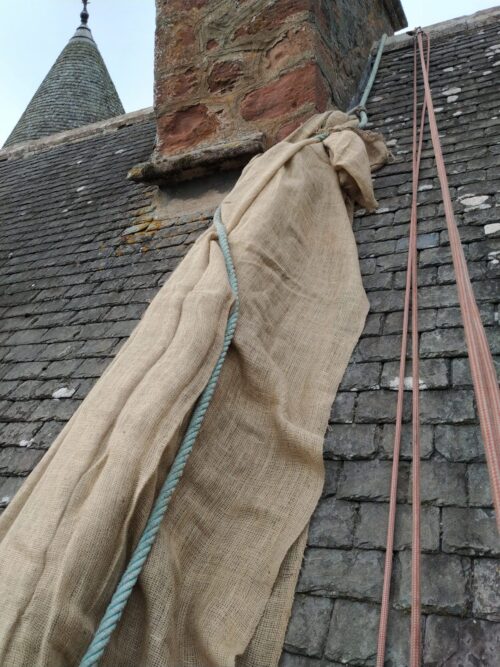
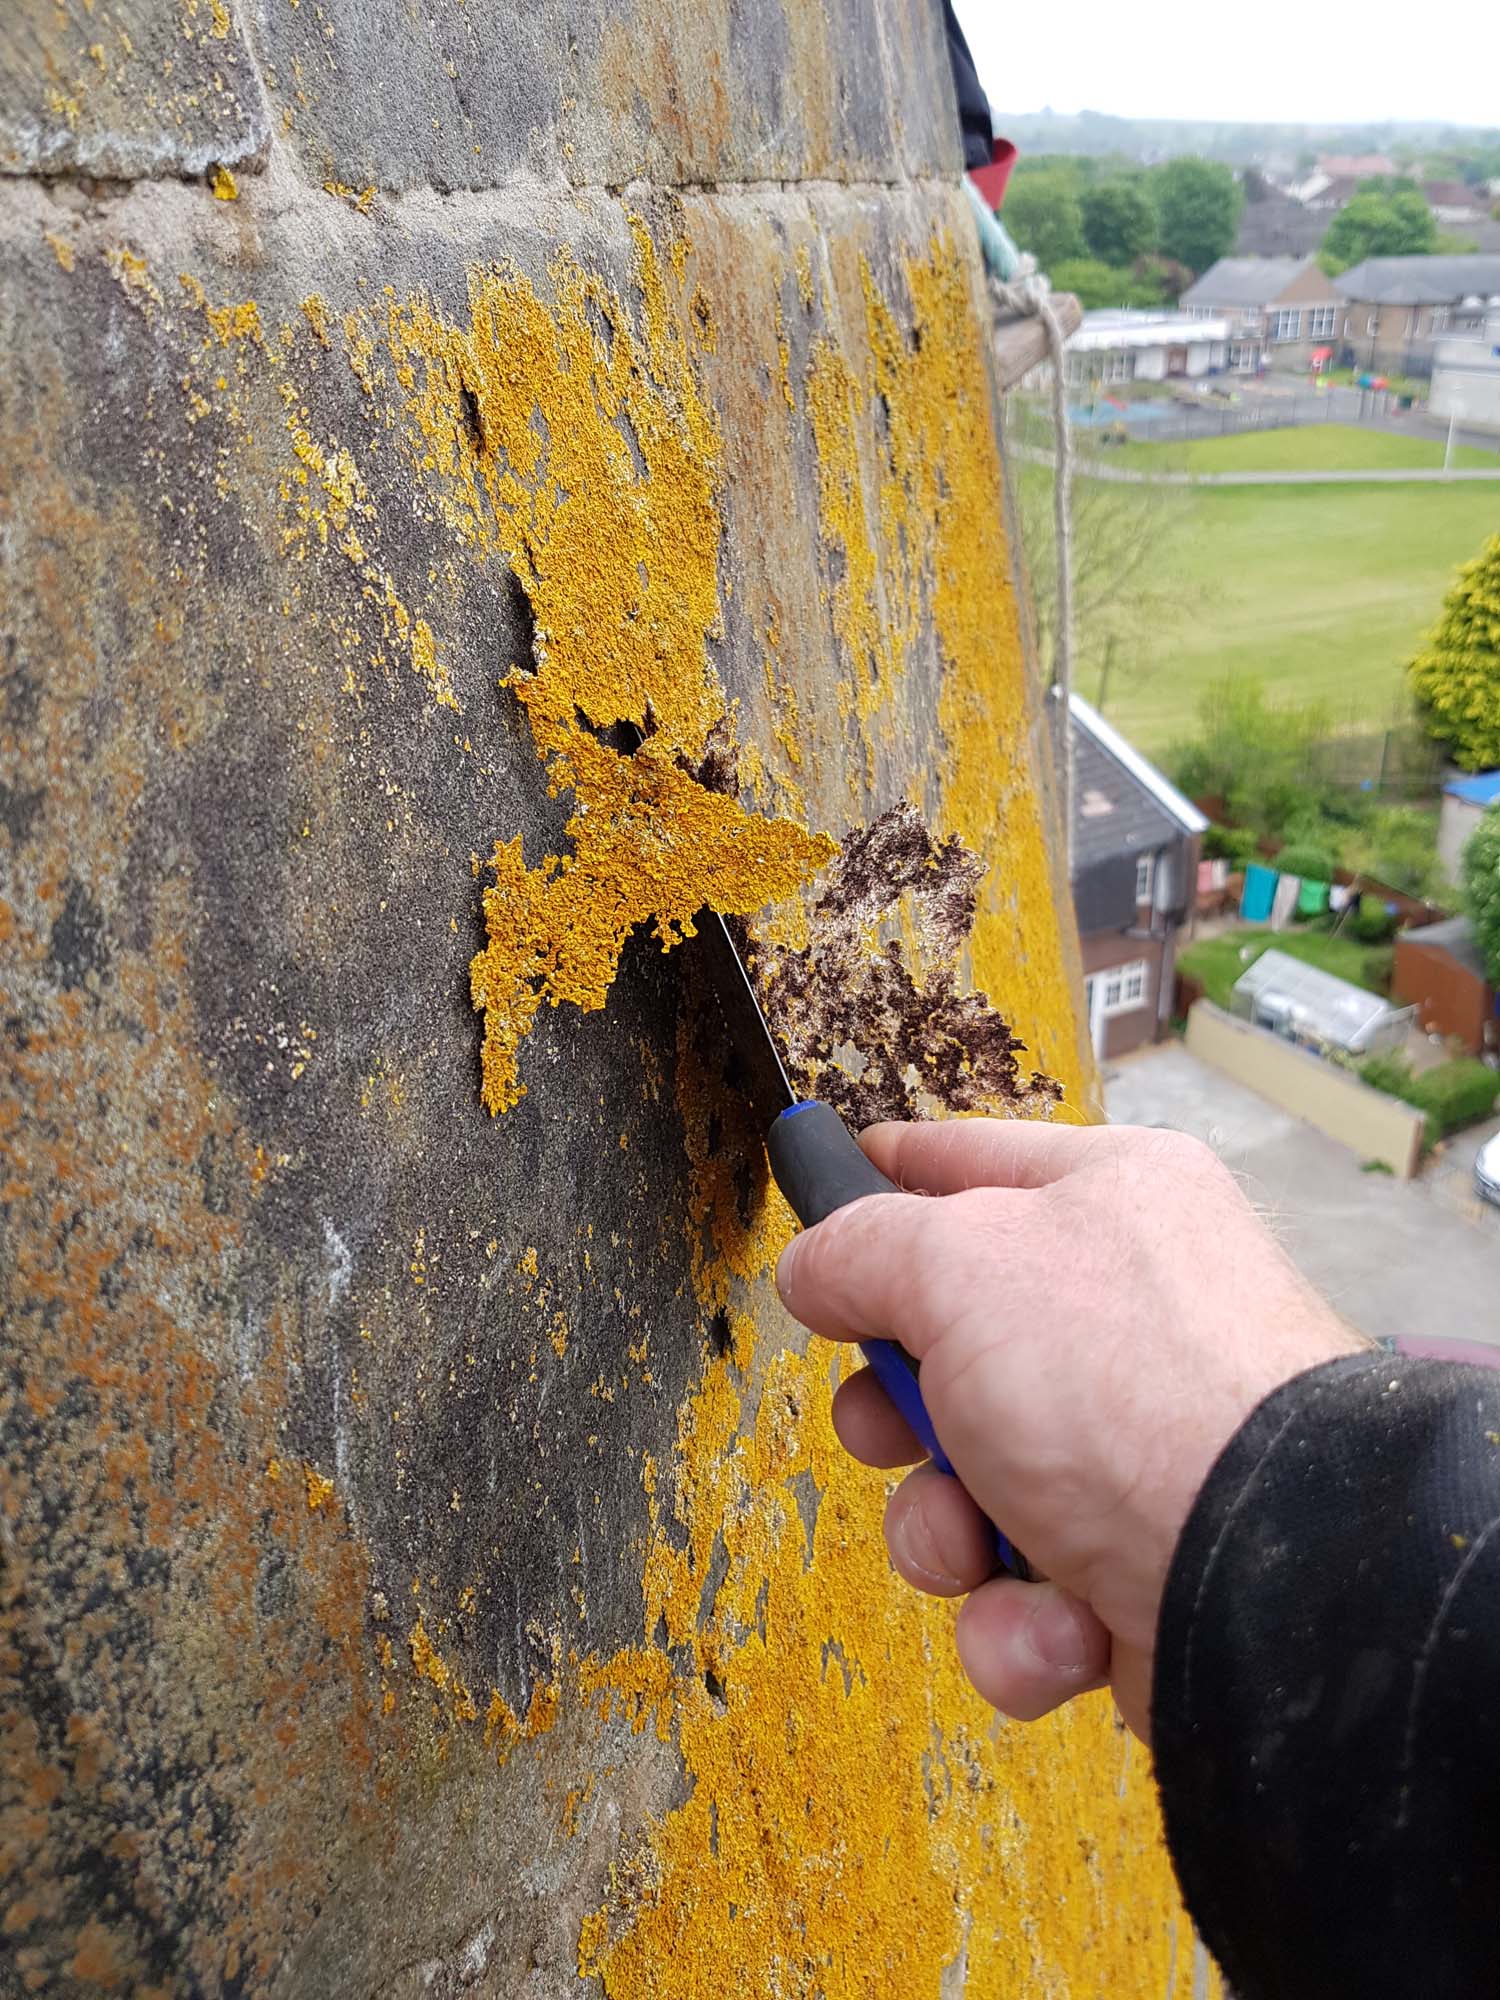
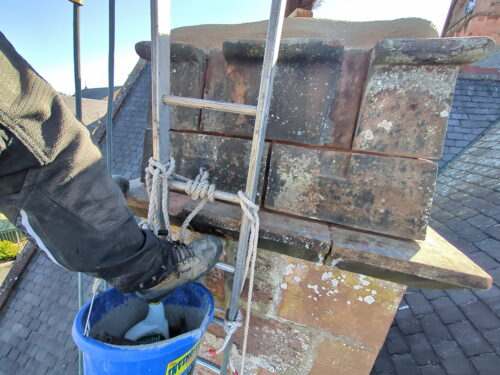
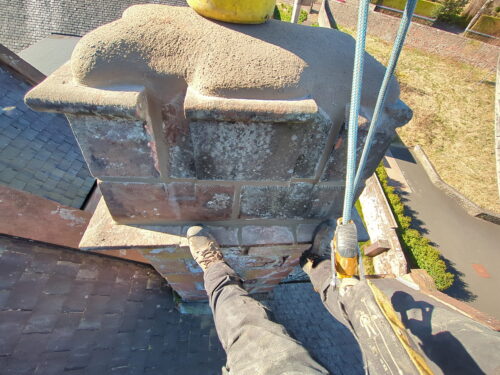
Roots now dug out as deeply as possible, and drowning the open joints with weedkiller.
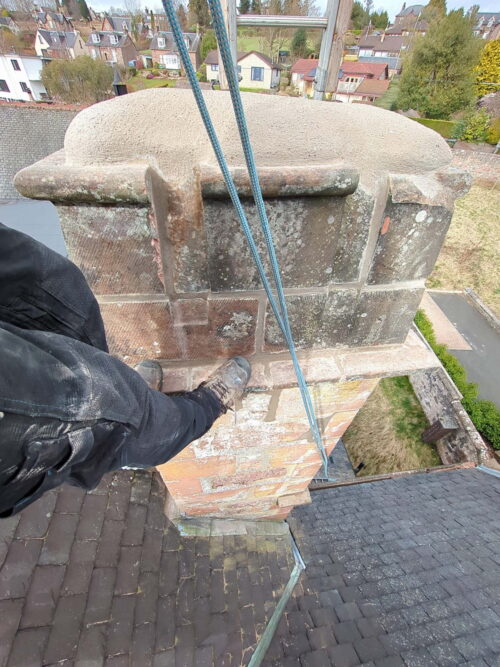
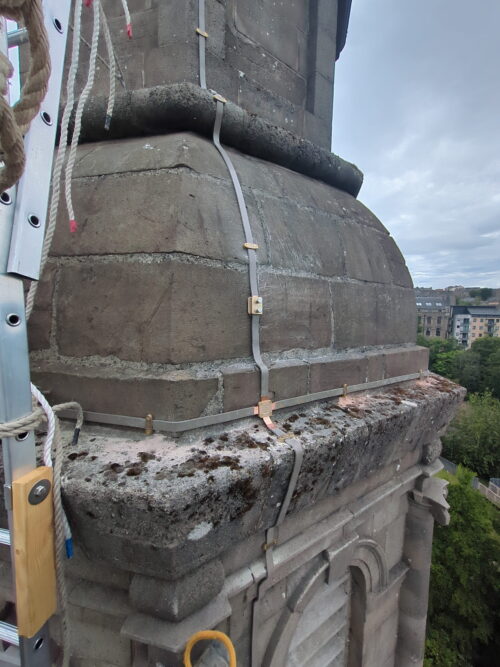
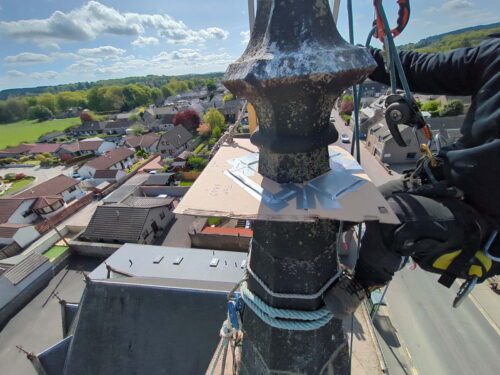
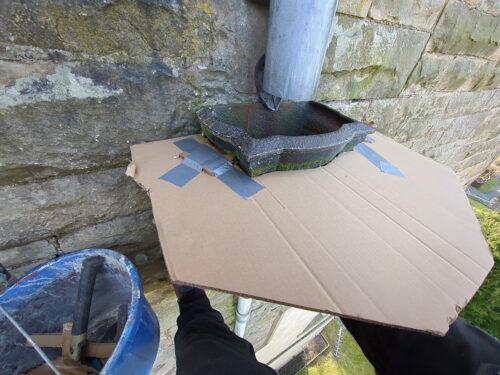
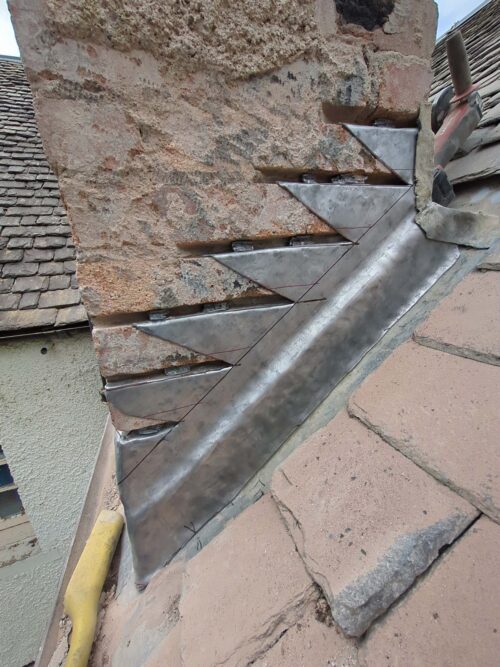
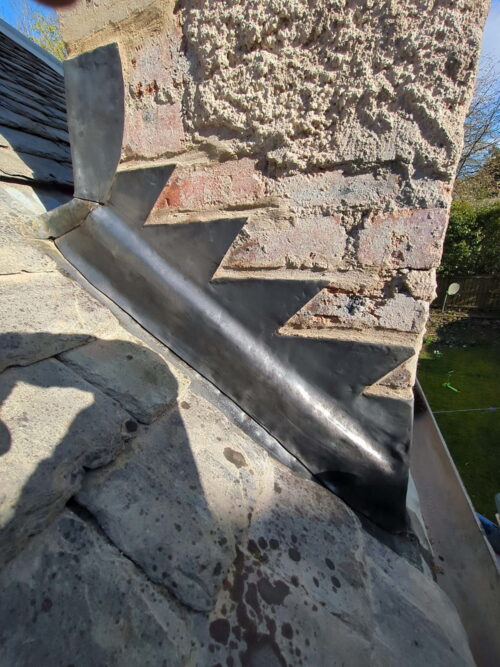
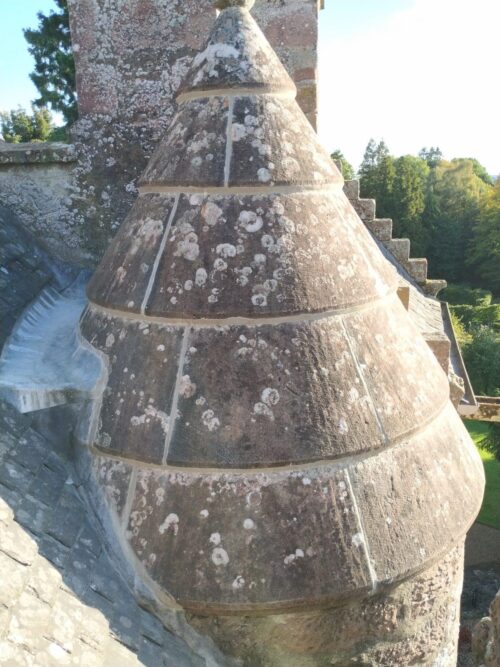
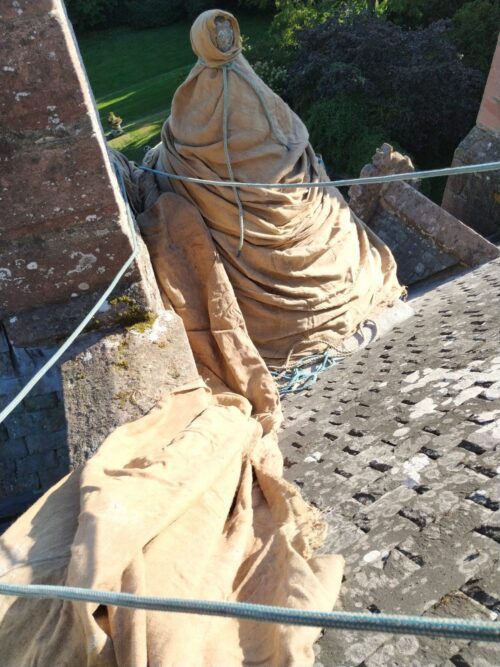
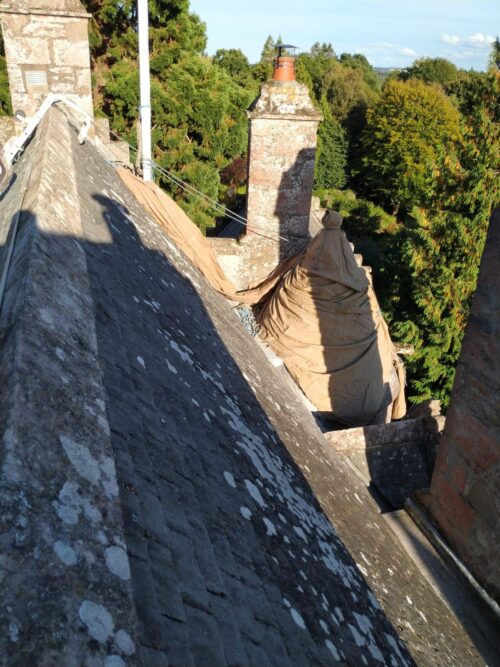
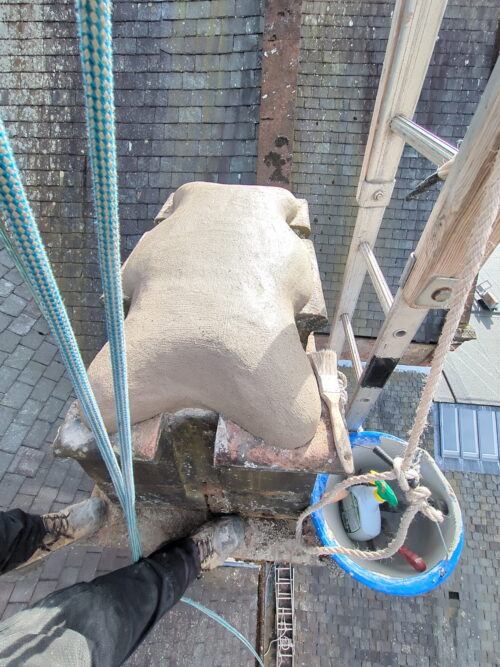
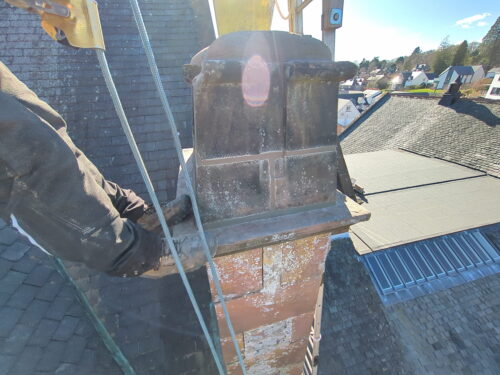
Nearly ready to apply the new haunching.
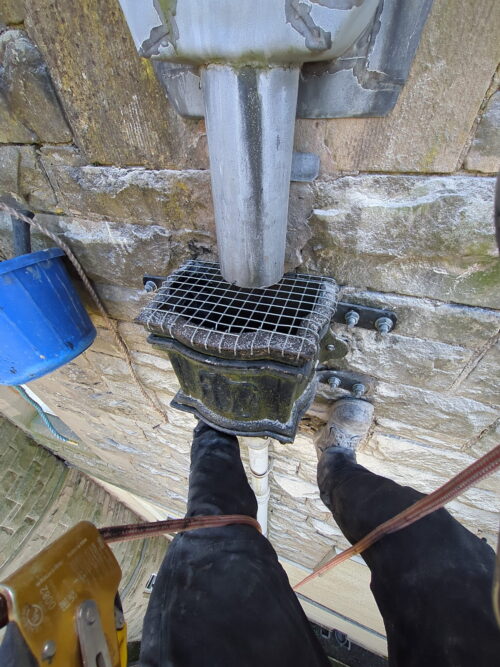
New haunching applied and shaped, but the surface has not yet been roughened (this is a cosmetic thing – it brings out the aggregate and makes lime look much better).
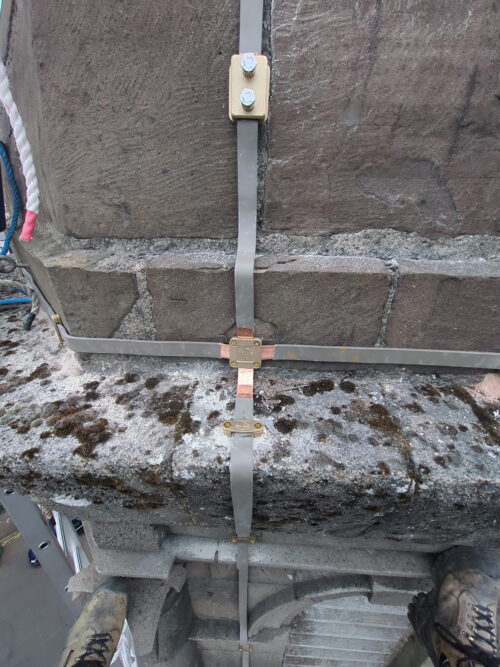
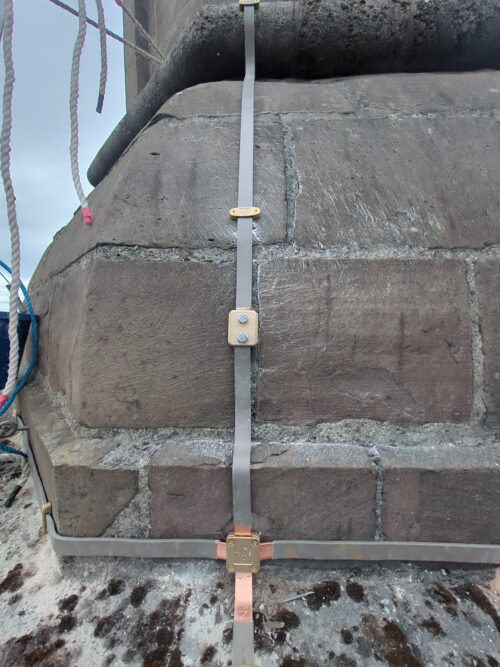
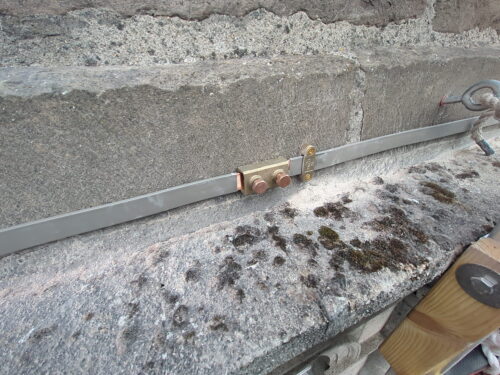
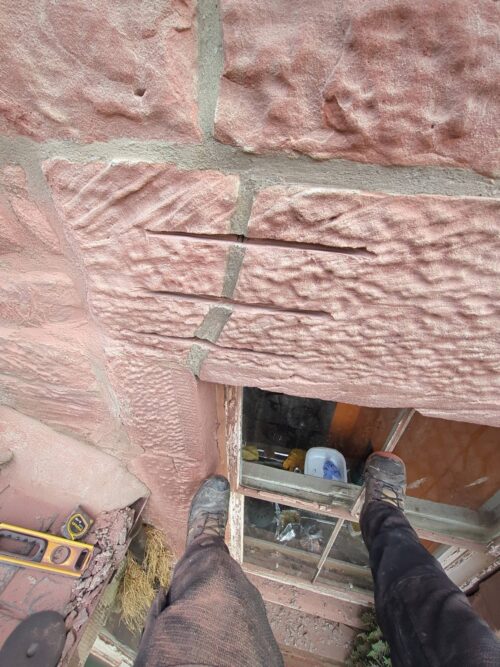
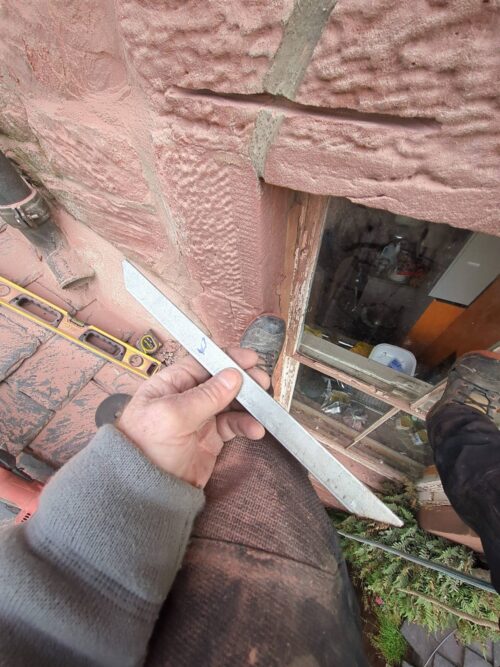
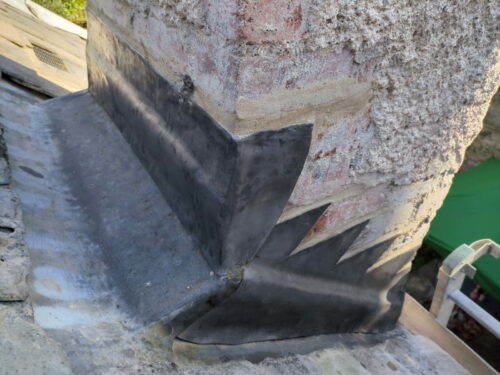
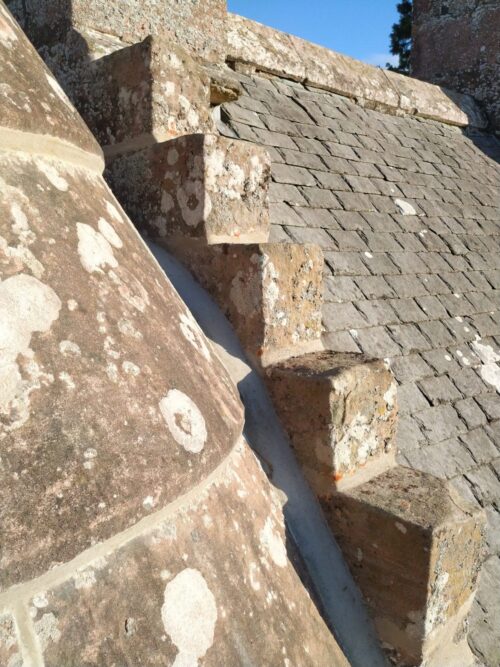
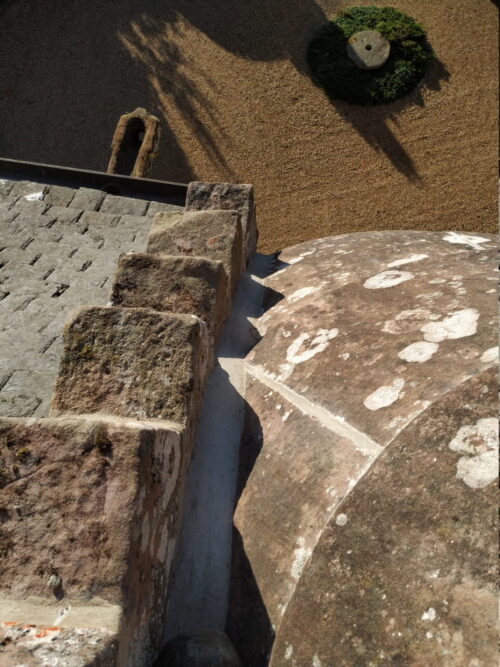
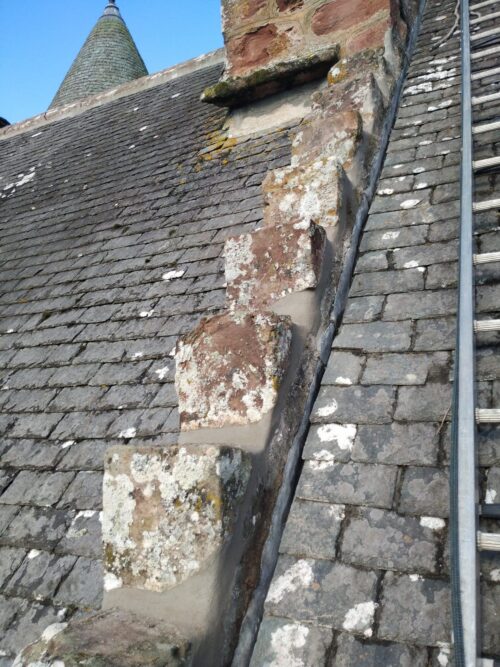
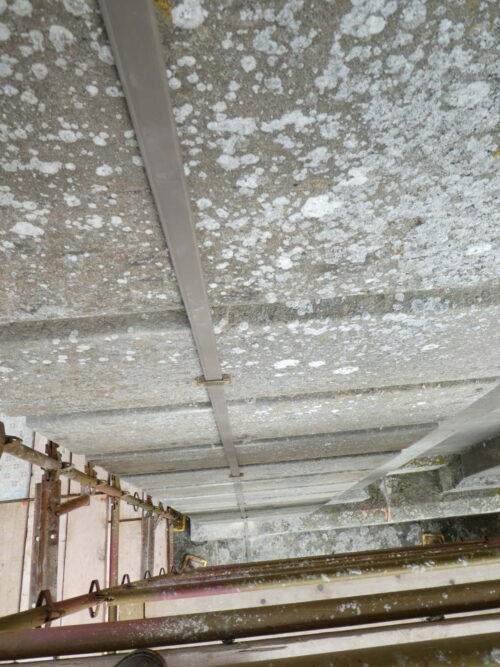
Raked out joints – very deeply raked so that the new lime could be packed in as deeply as possible. Shallow (lazy) pointing would have been no good. The mortar needed “tamped” in so that the work would have a structural effect on the chimney head.
More views of the raked out joints.
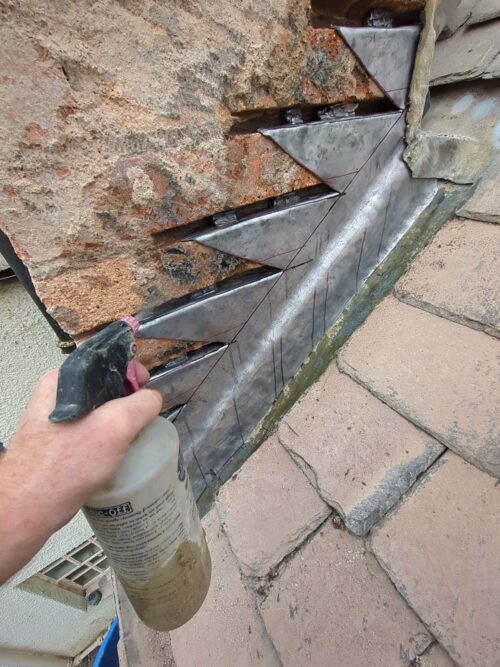
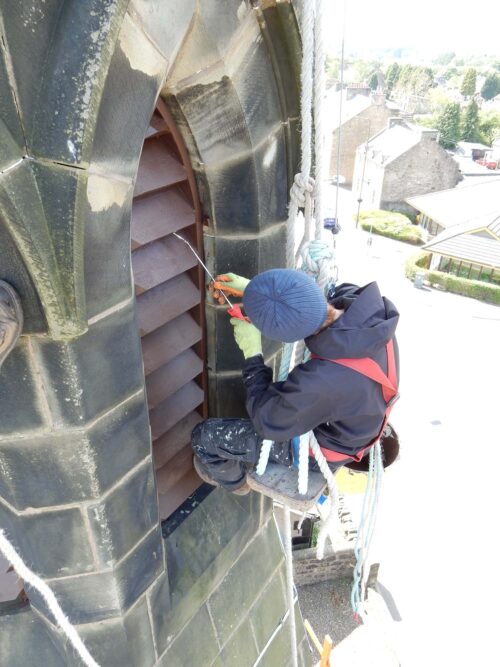
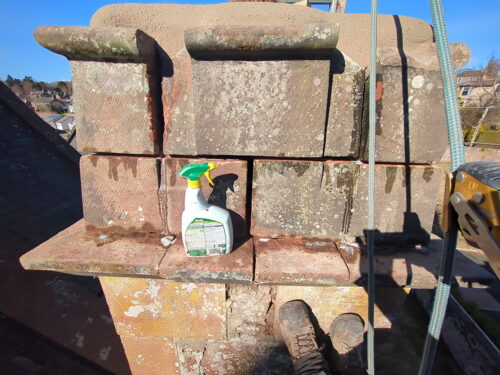
Spraying weedkiller into the joints before starting the pointing.
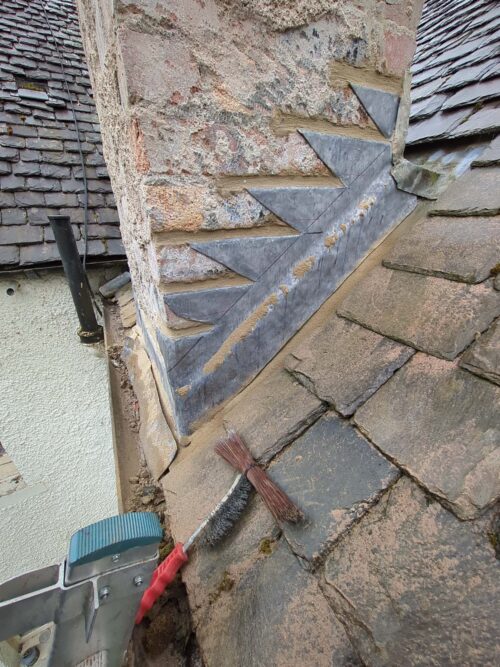
Joints now pointed (packed / tamped / mortar rammed in as deep as it would go).
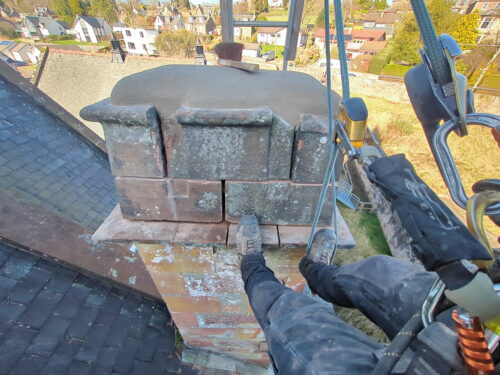
Haunching now roughened up. Note the difference in the surface.
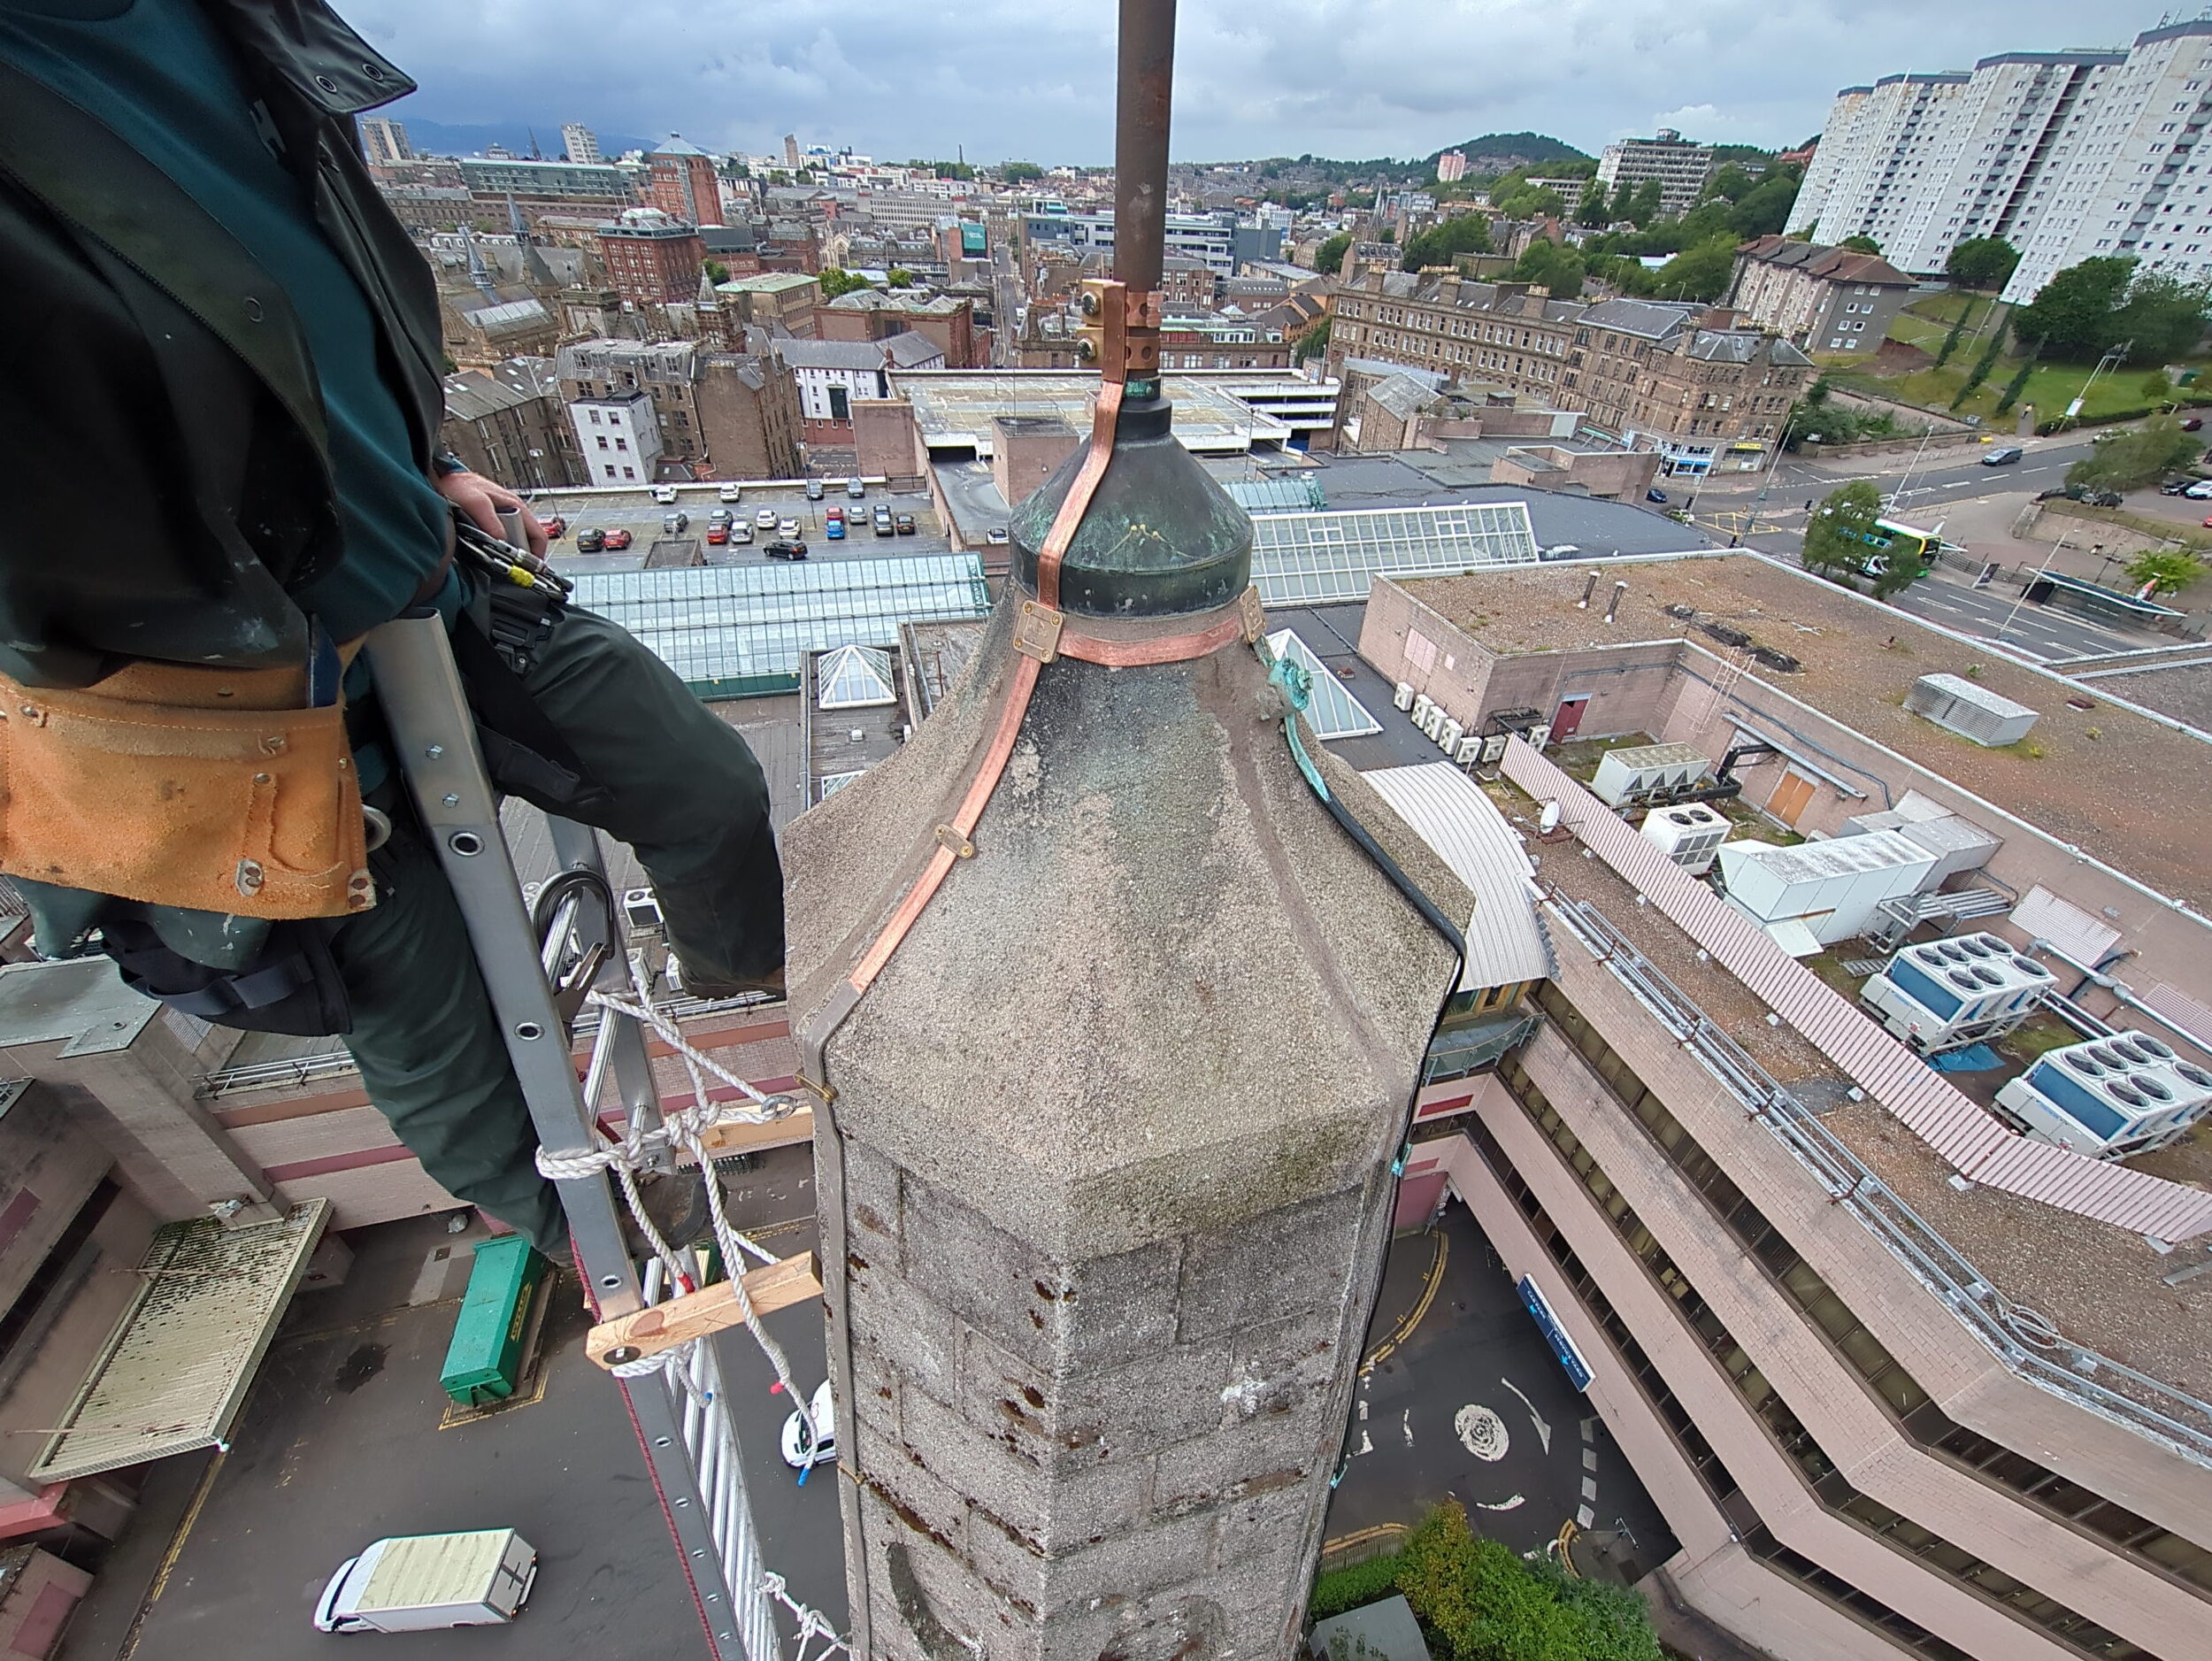
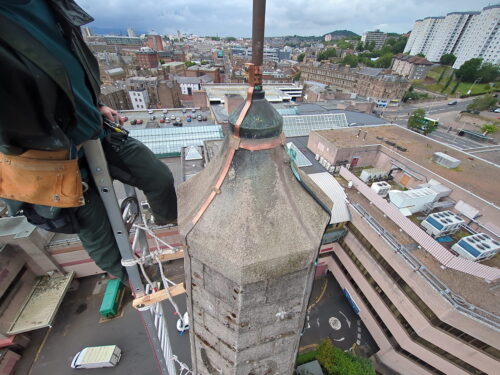
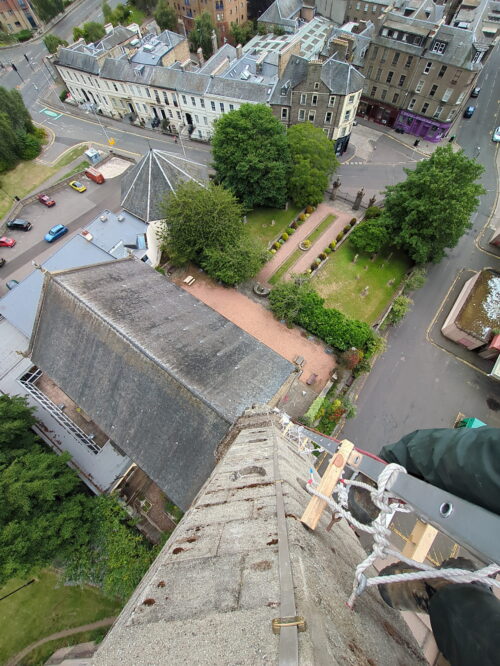
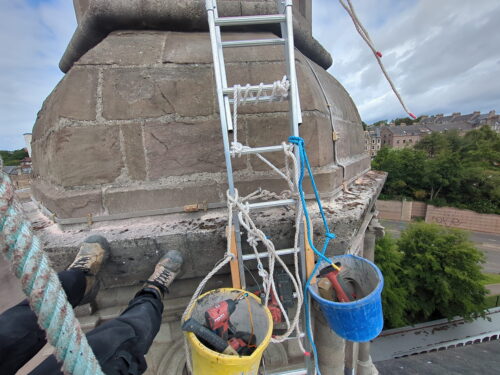
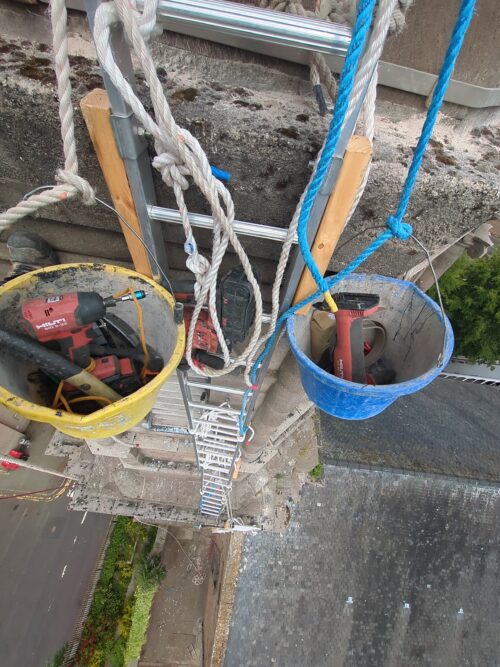
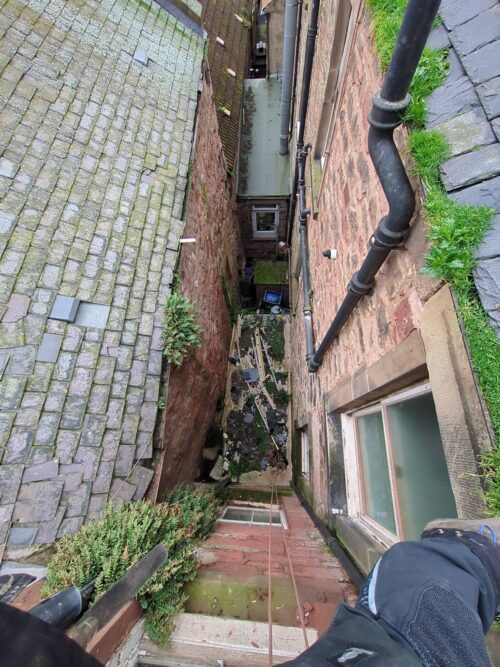
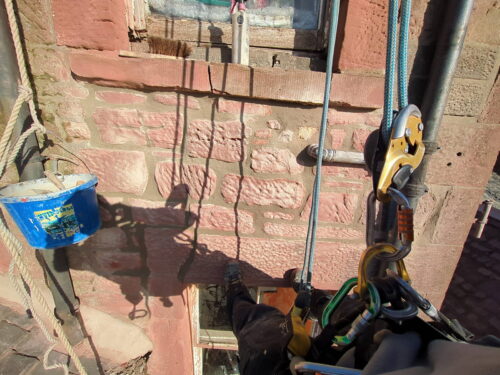
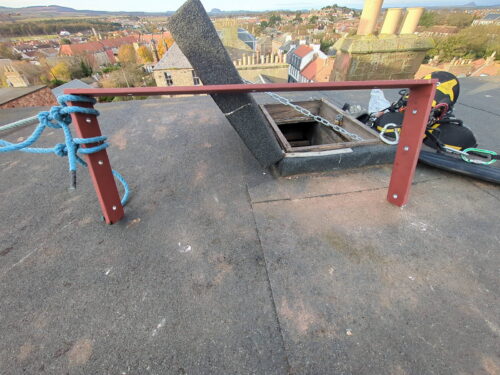
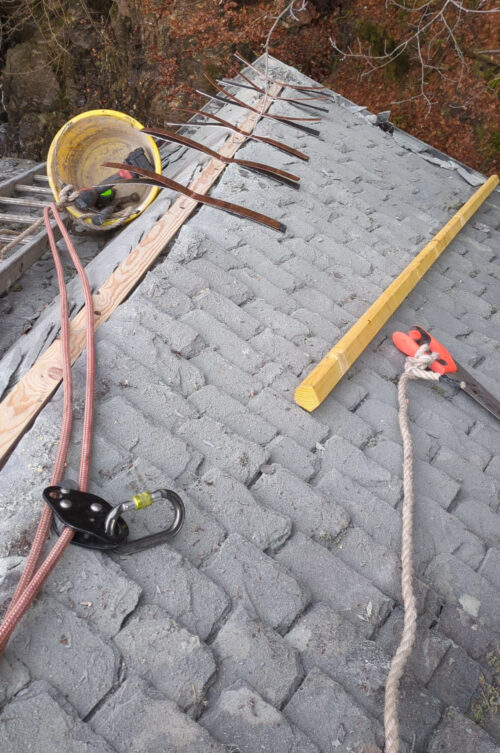
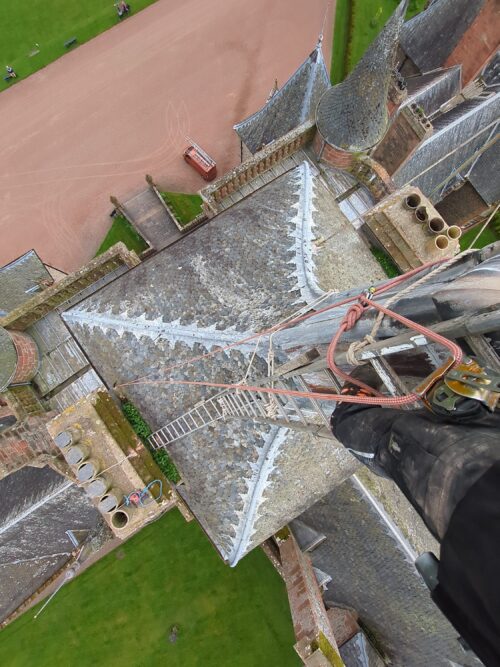
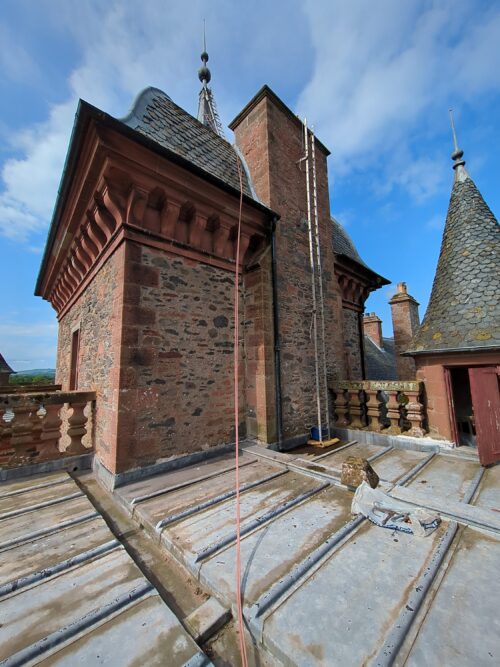
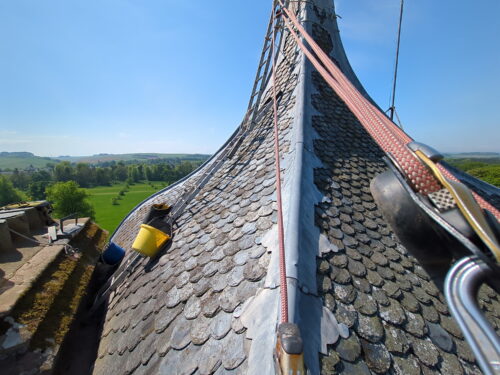
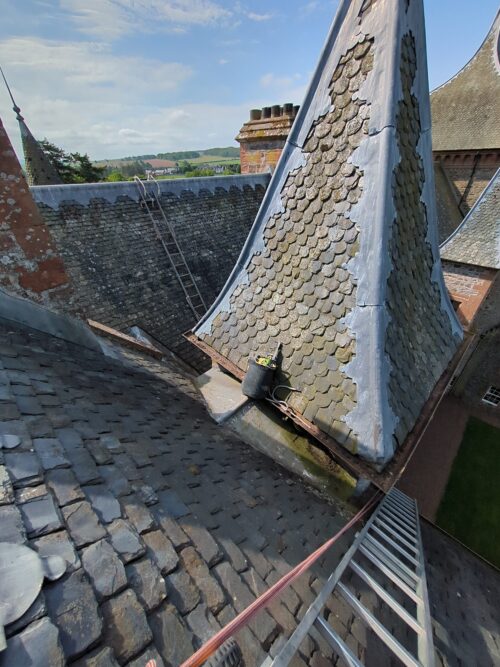
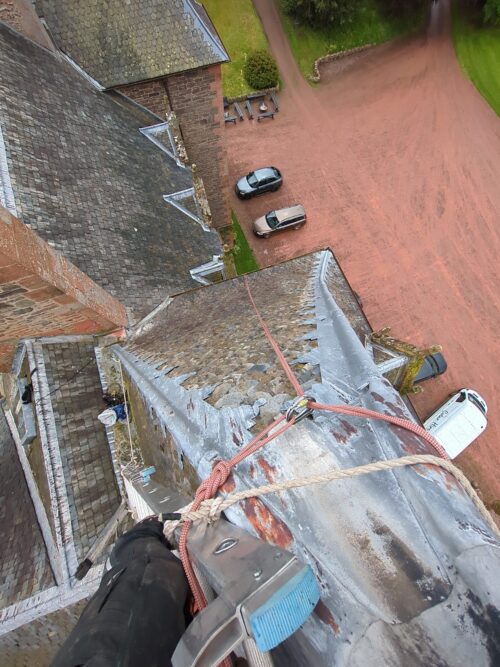
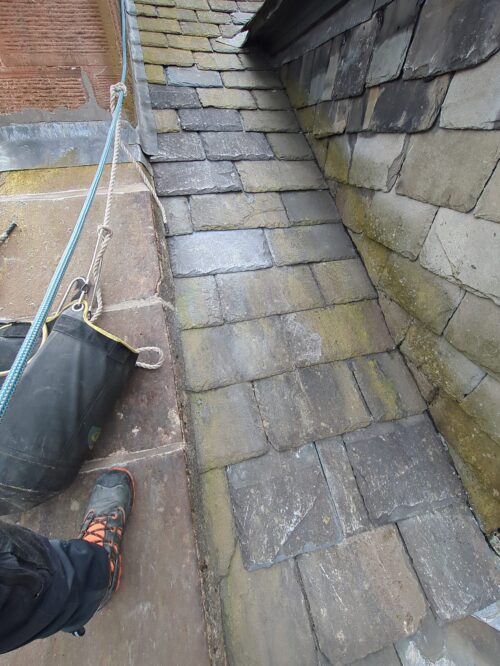
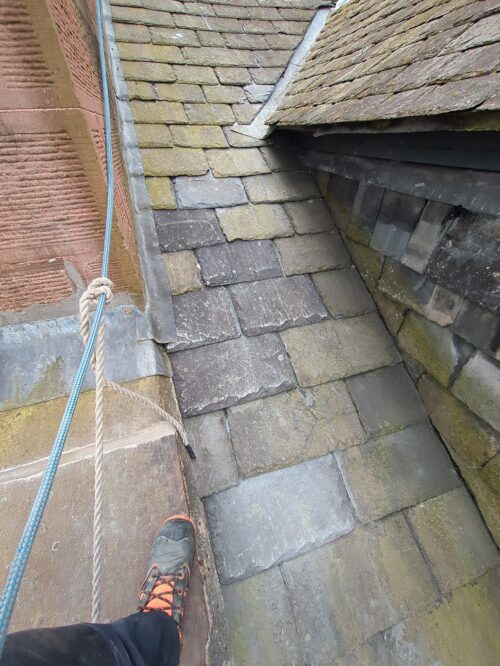
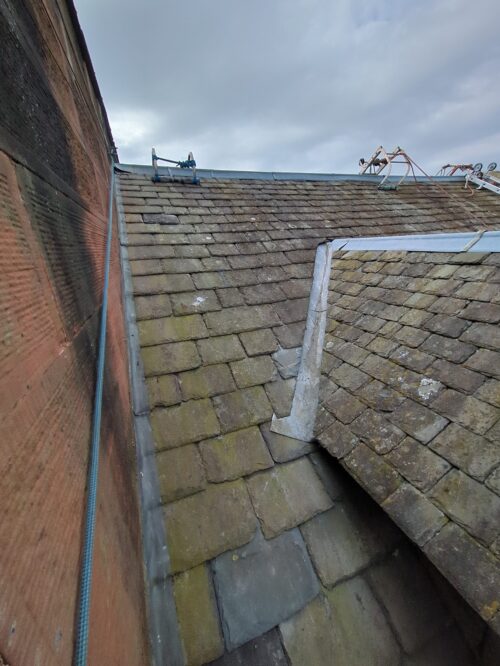
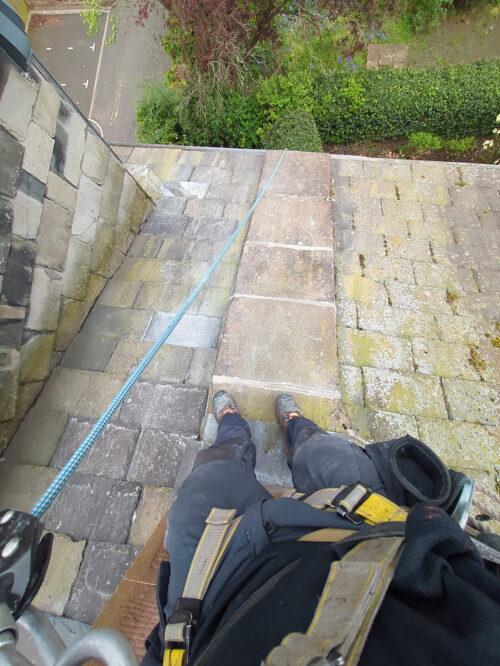
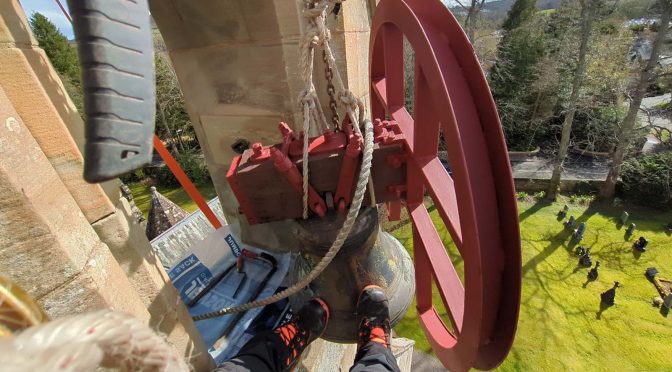
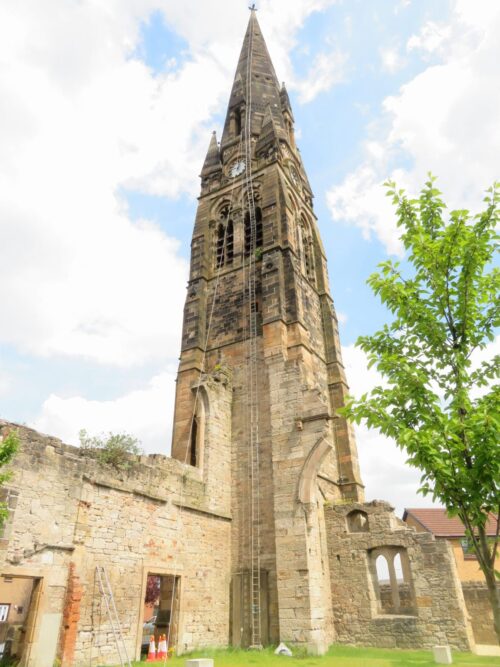
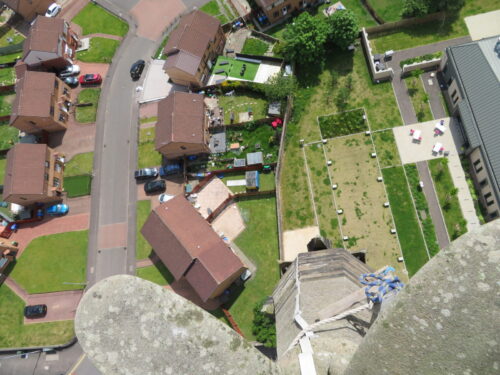
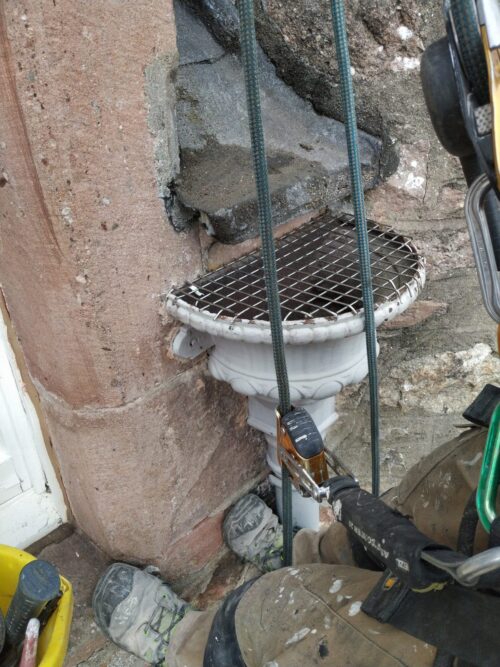
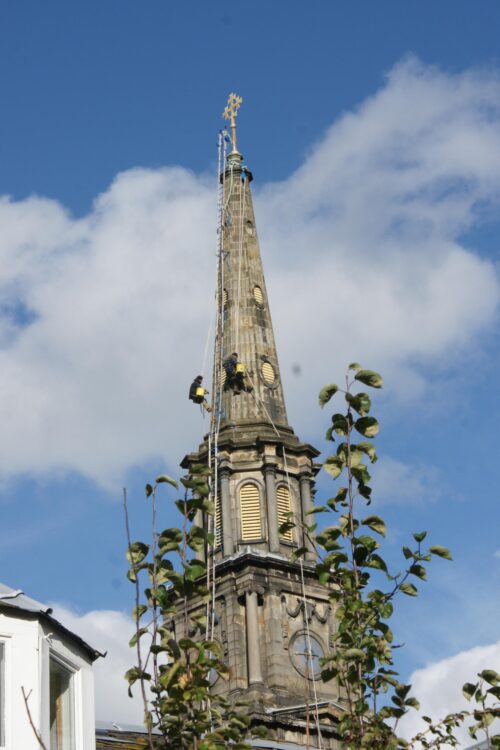
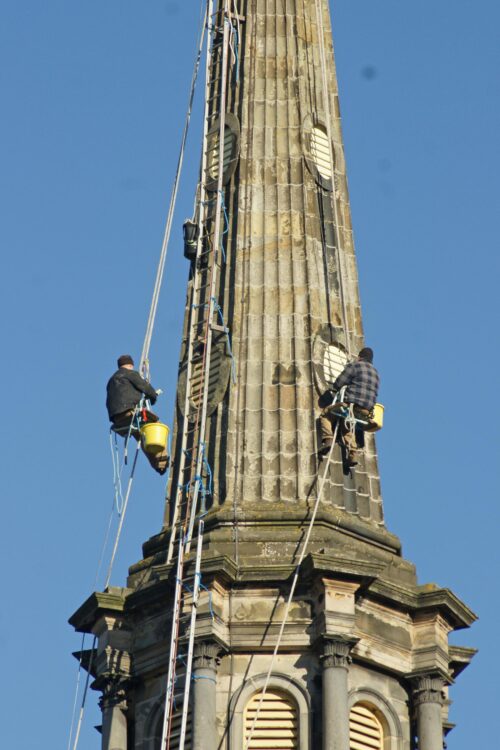
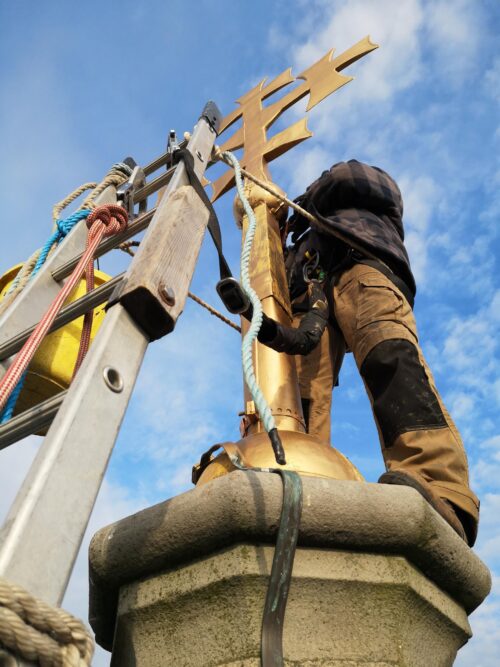
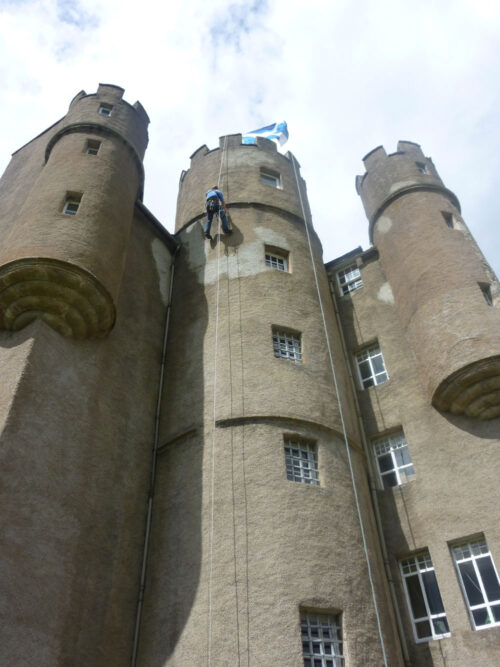
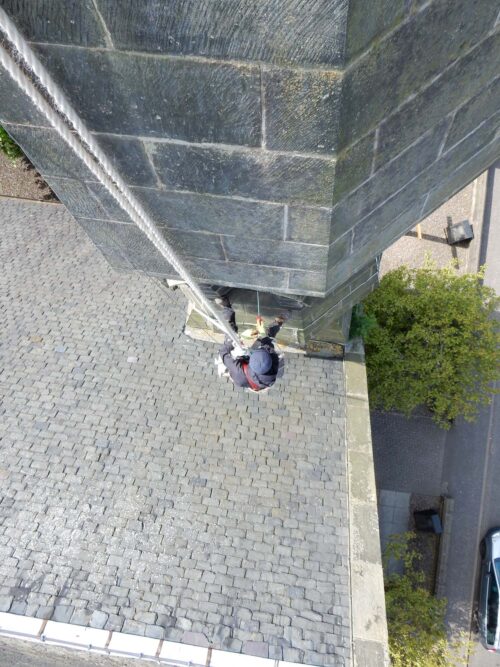
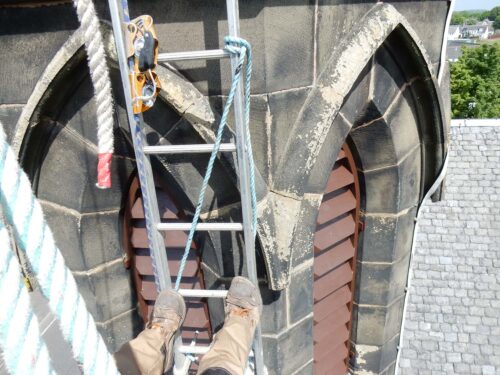
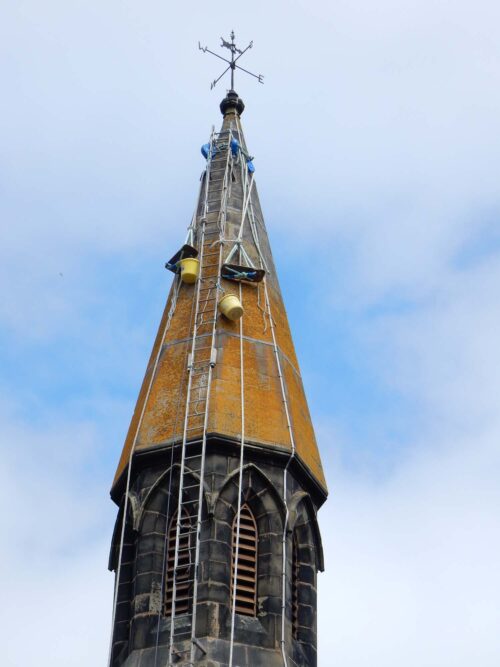
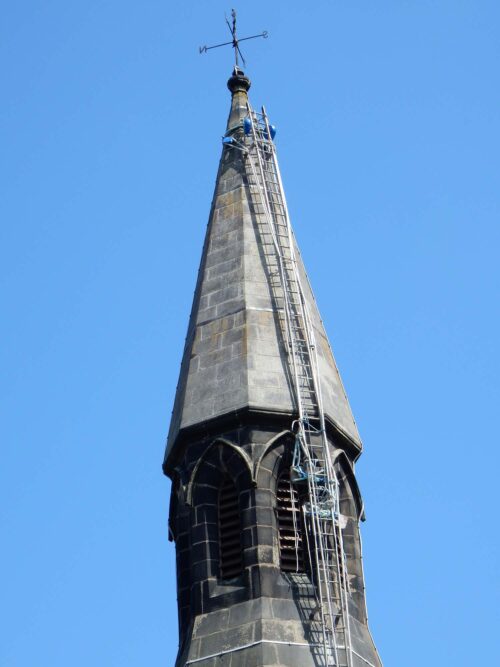
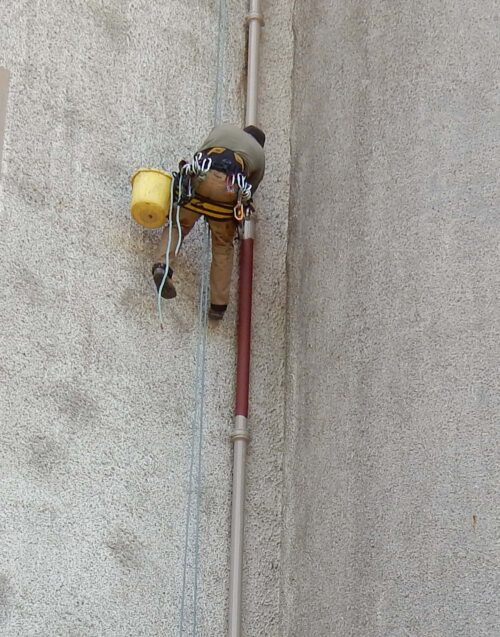
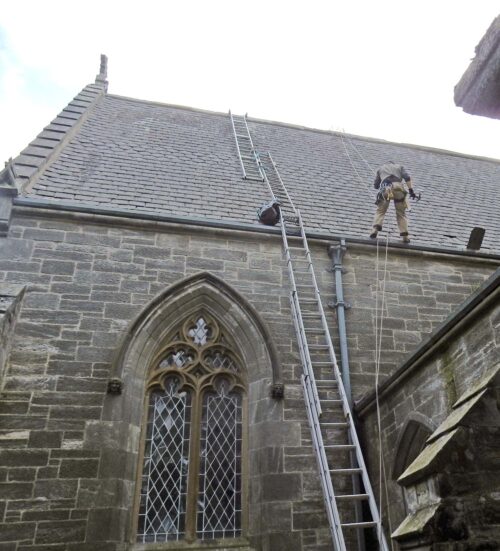
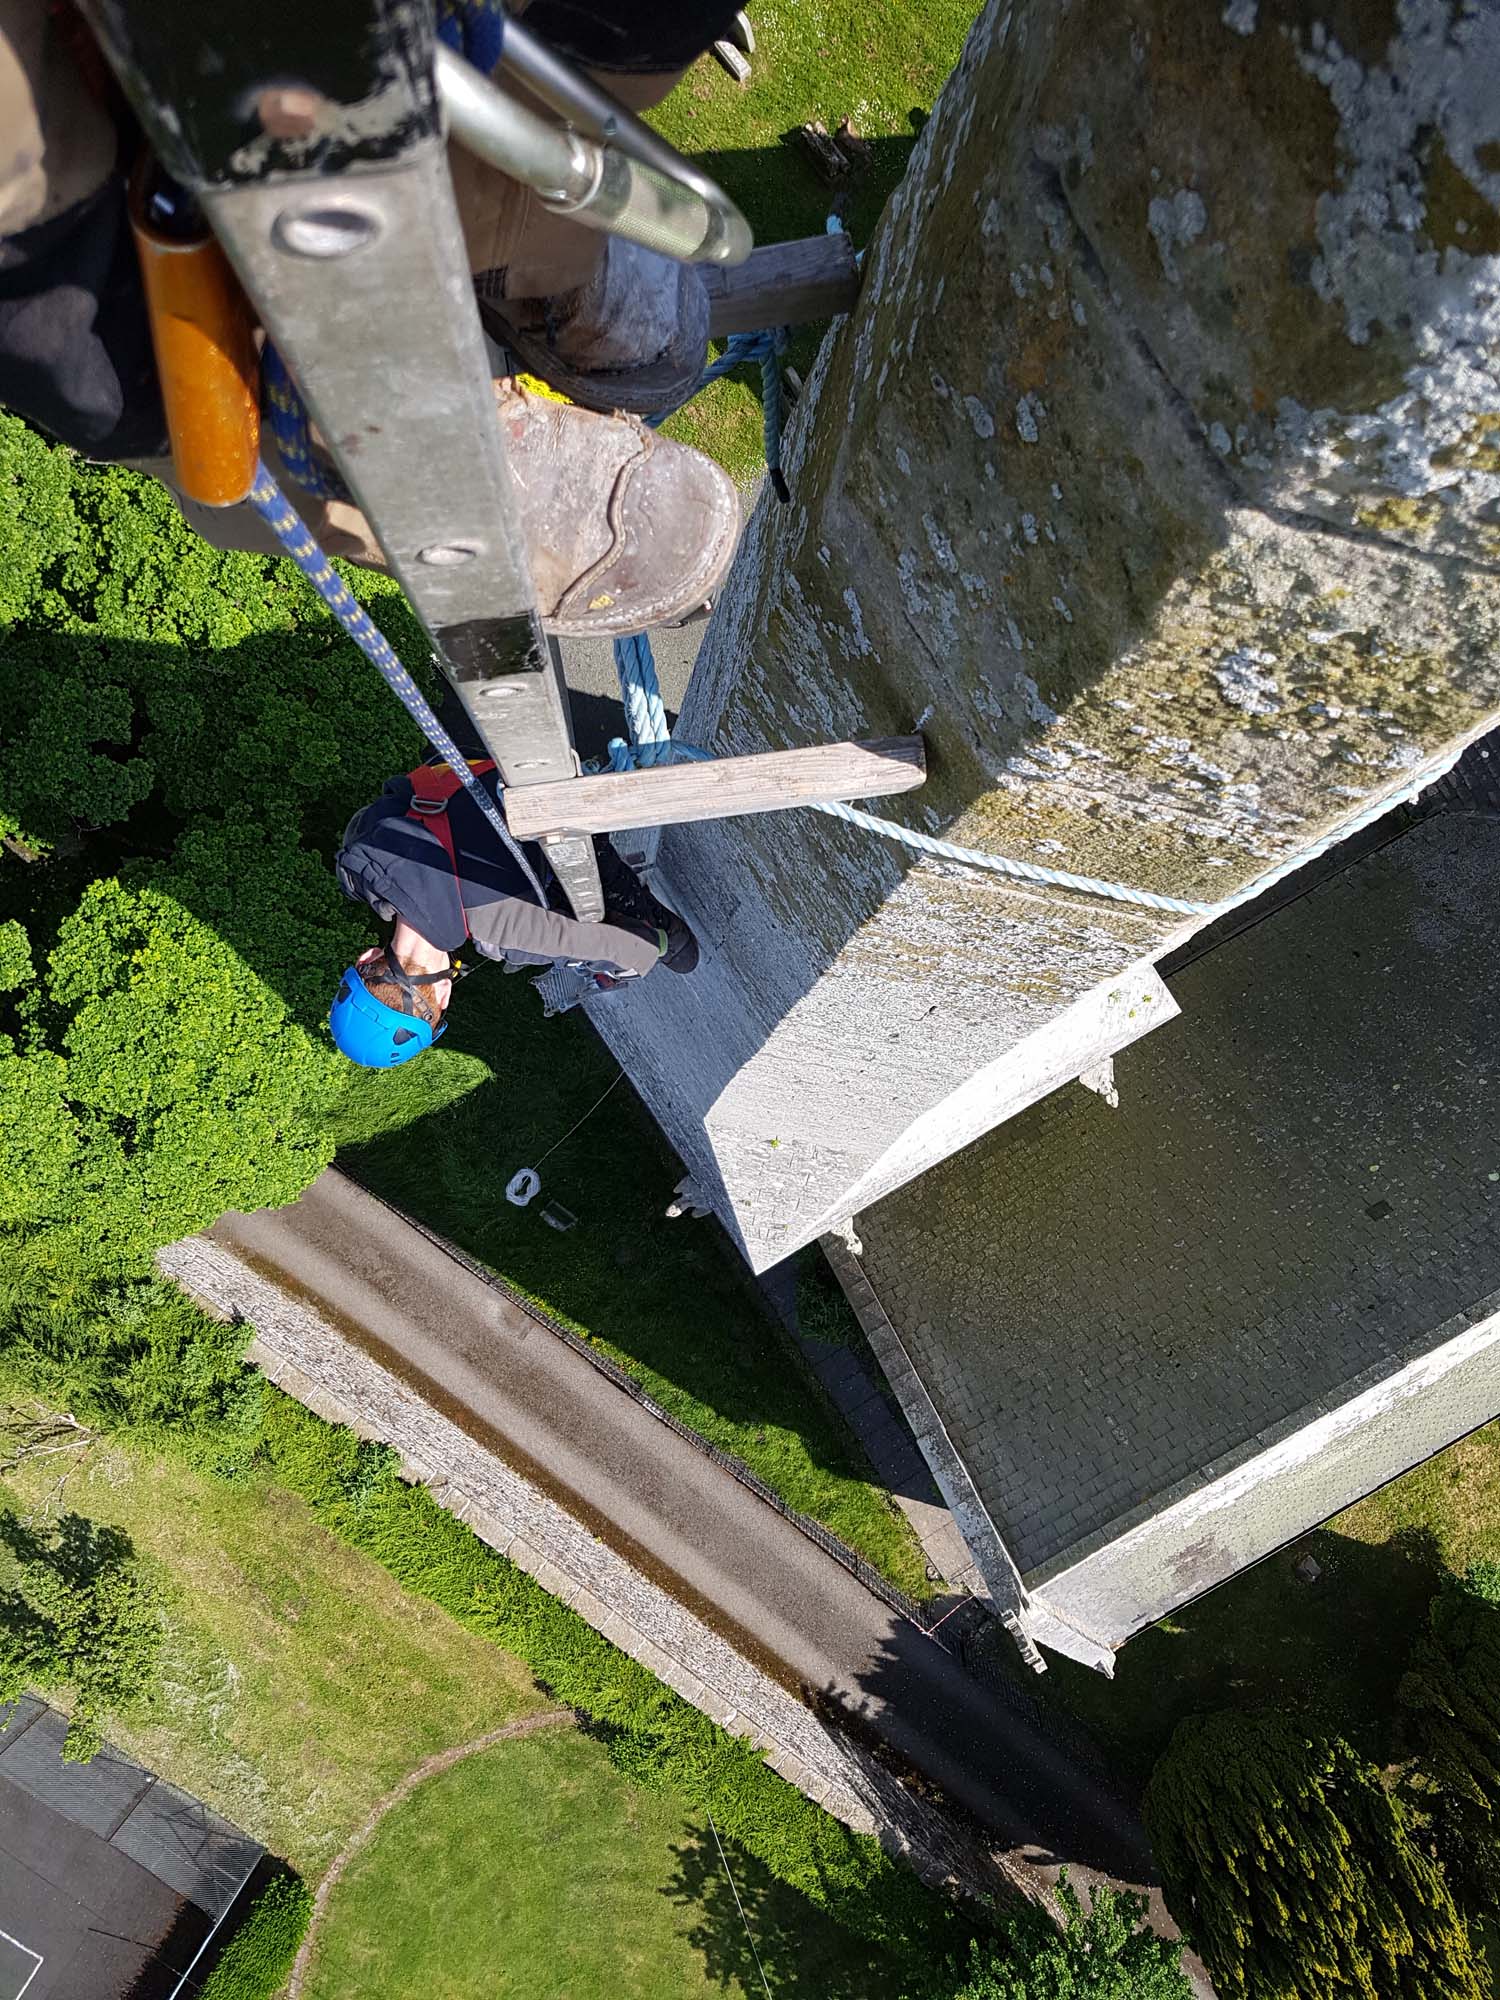
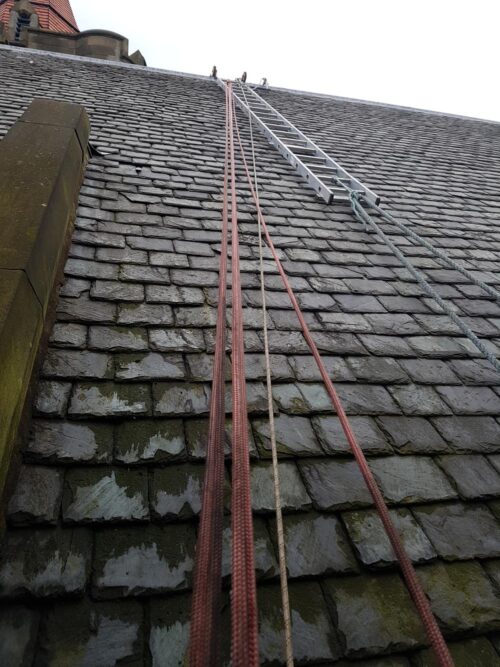
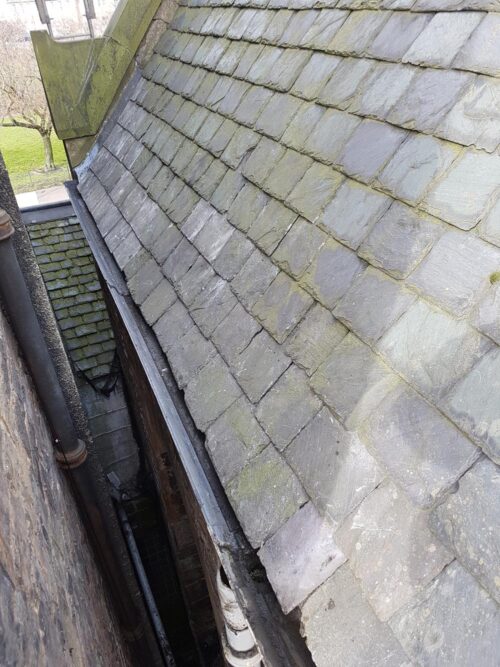
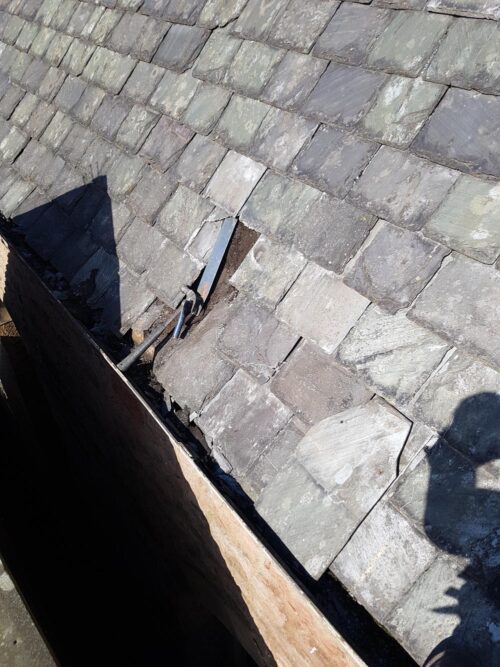
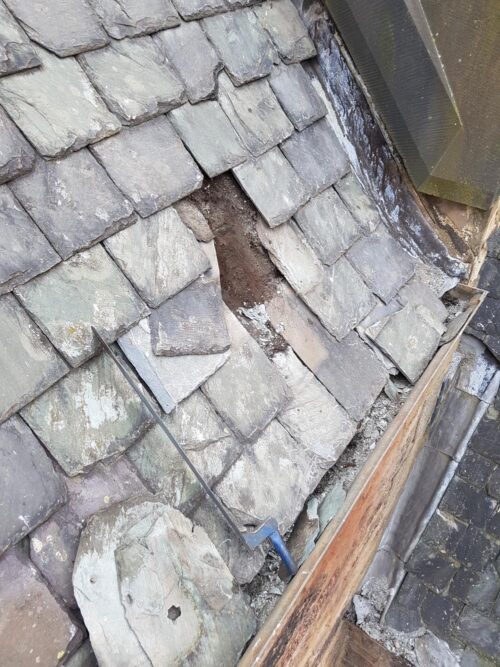
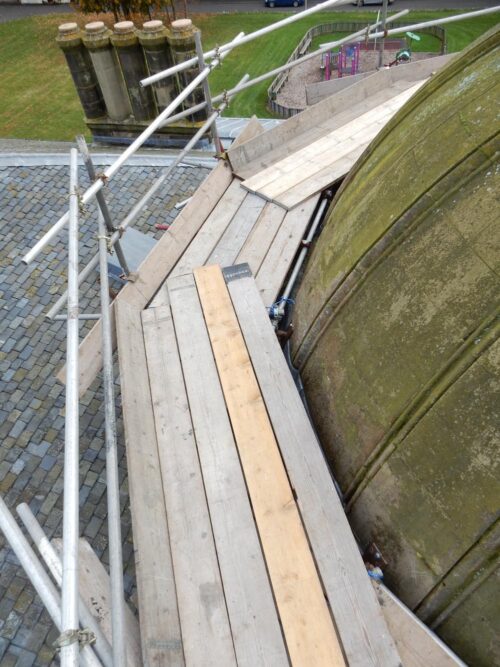
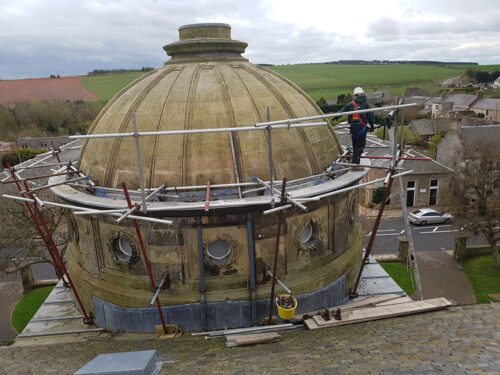
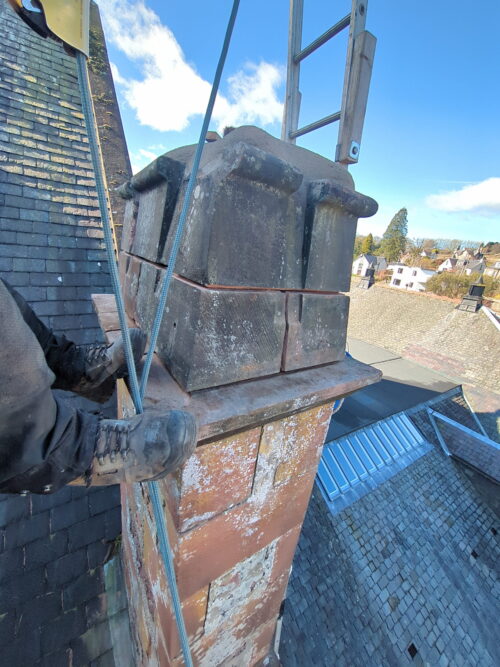
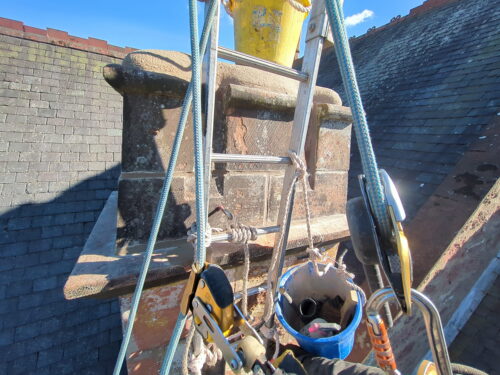
Note that this was all done from ropes and ladders. This saved the client all of the money that would have had to go towards scaffolding up from the ground.
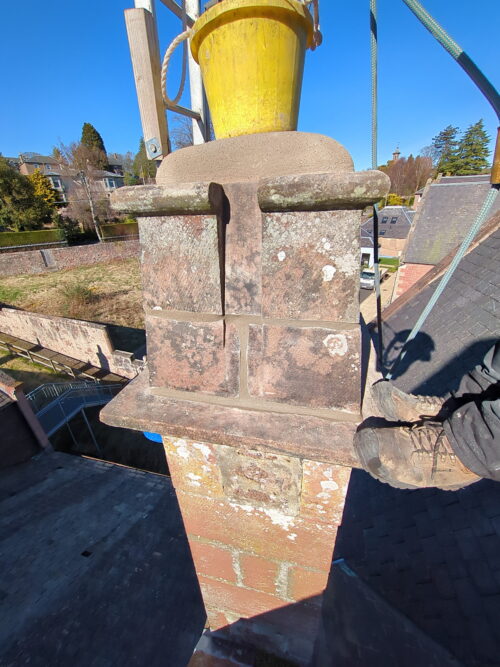
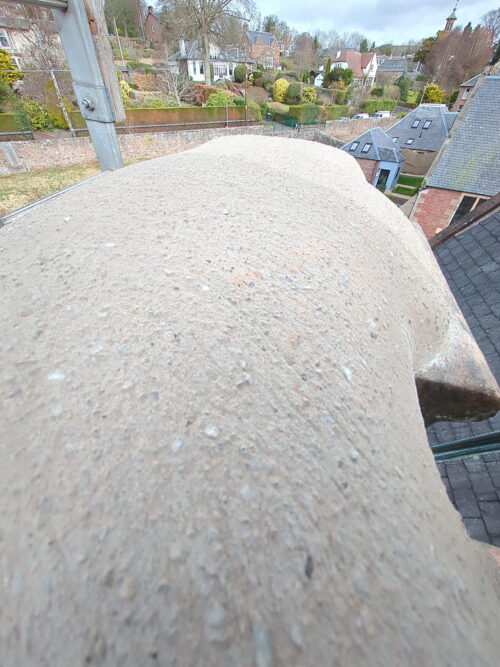
Haunching from above. If anyone thinks it looks a bit like a “gummy bear” sweetie, I would not disagree.

A close up of the surface of the haunching one it had been fully finished. See how the aggregate in the sand now shows.
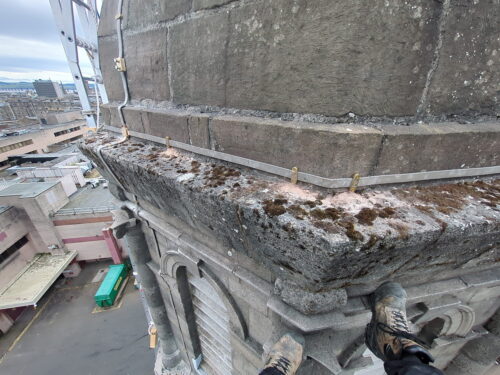
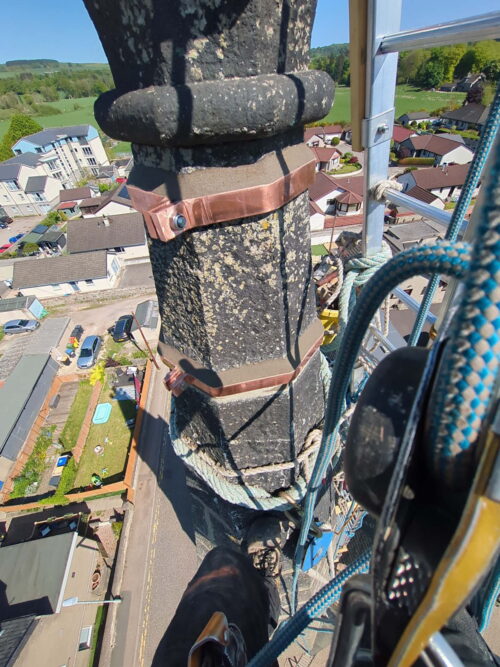
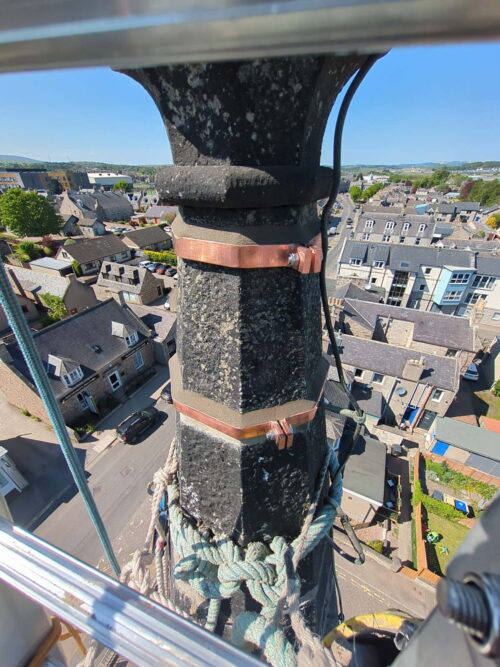
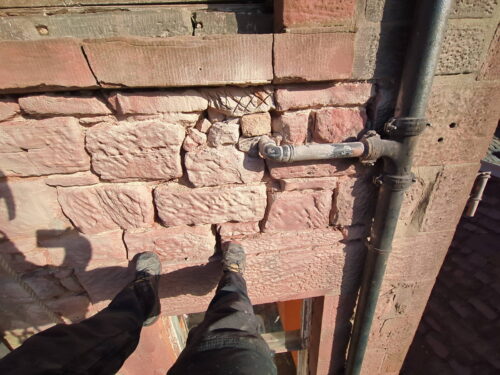
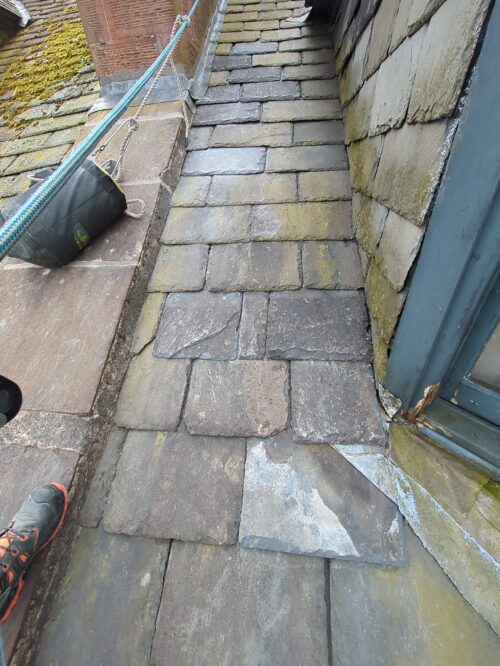
Joints below the string course now pointed (to the right of my feet).