Click on any picture to enlarge. Click on the picture again to minimise.
The pinnacle head stones on this large church spire were unstable. This job was carried out to rectify that problem.
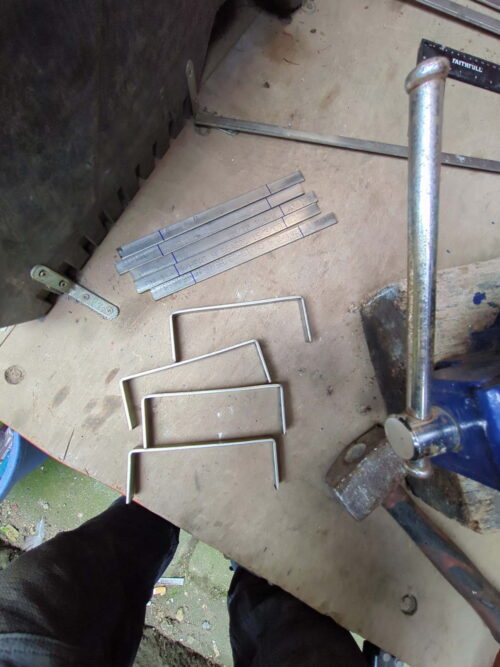
Four stainless steel cramps were fitted to each of the four octagonal pinnacles.
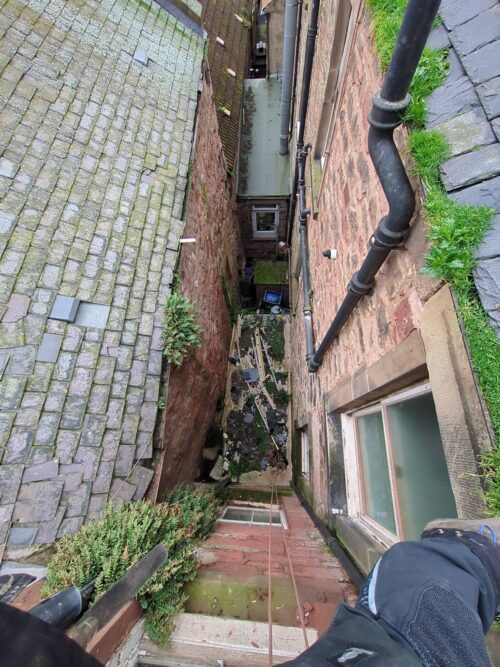
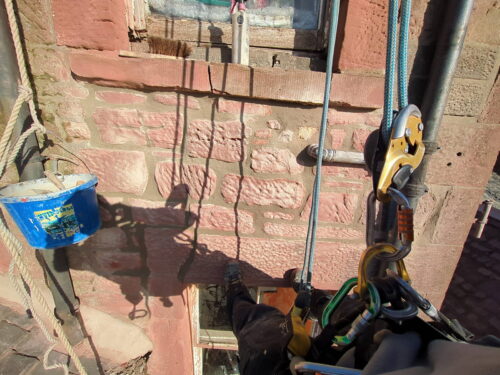
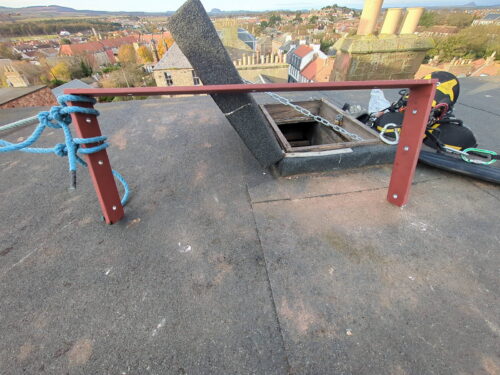
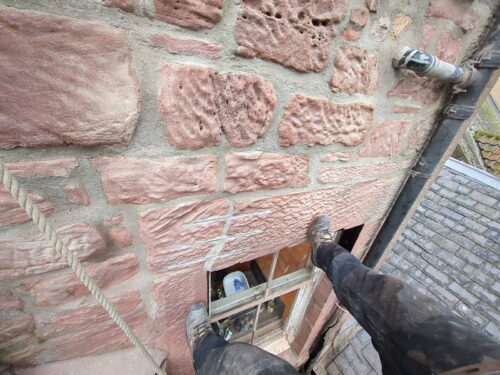
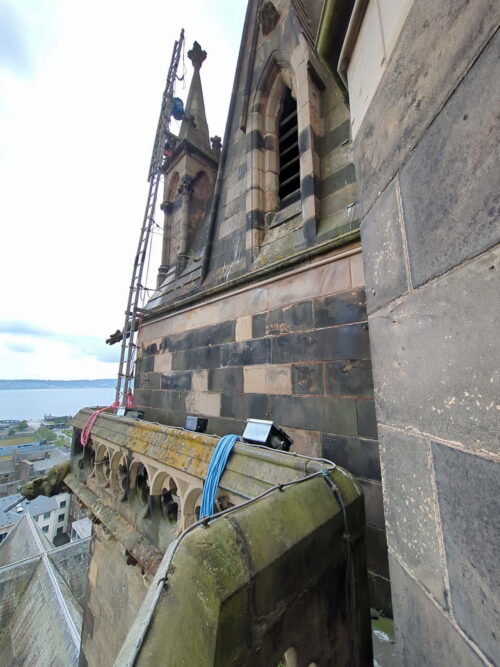
This pictures shows the access. This was erected at all four of the pinnacles worked on.
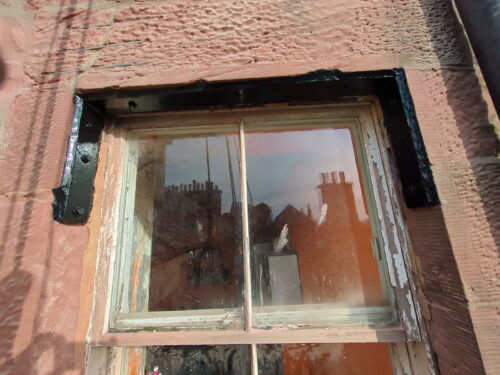
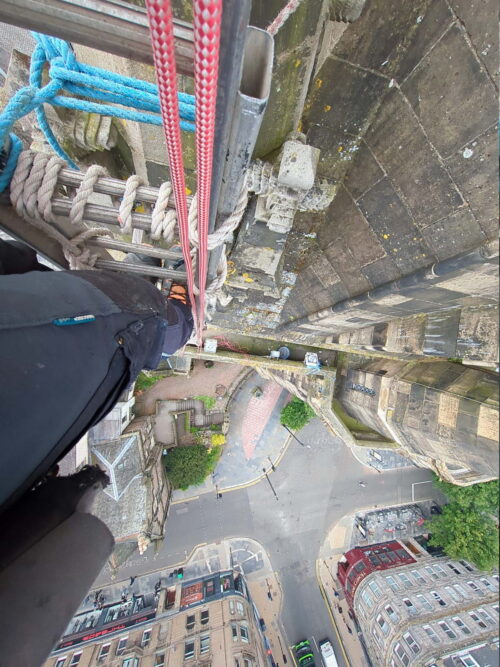
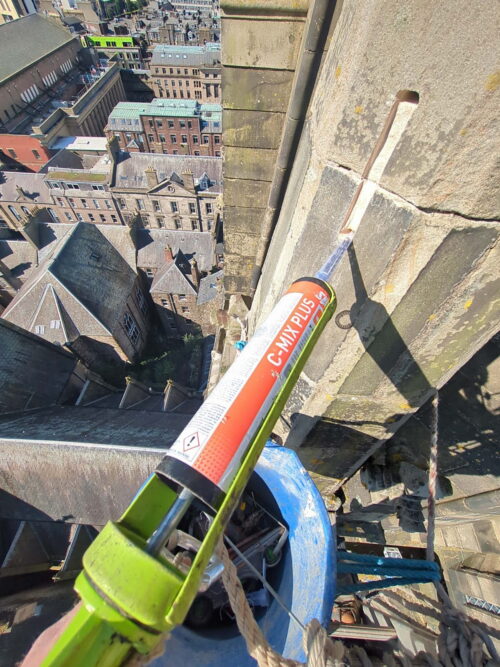
A picture taken once up on the ladders. As you can see it would not be good to have stones falling from here.
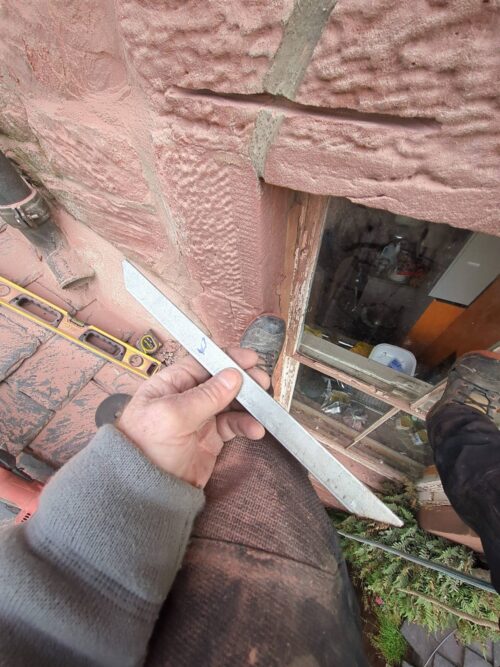
Making the stainless steel cramps.
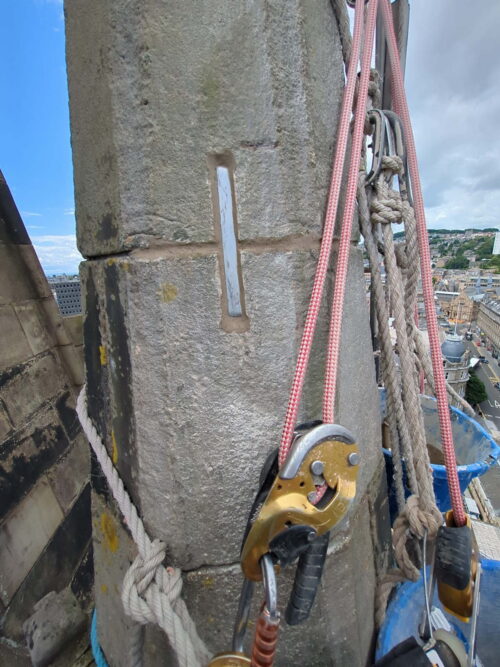
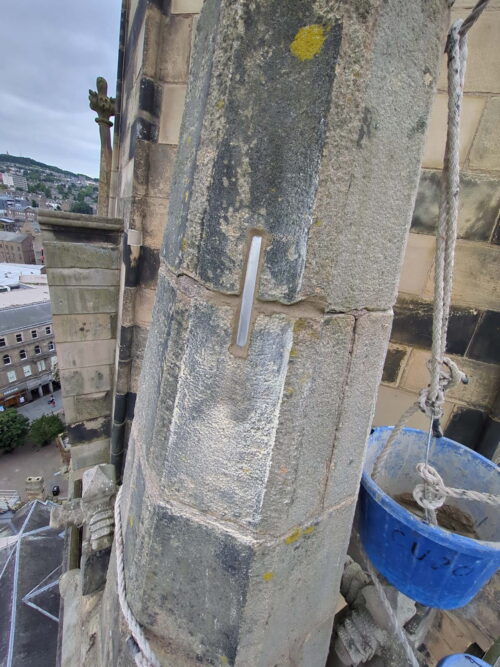
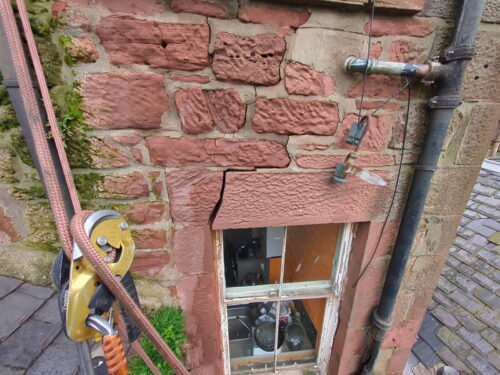
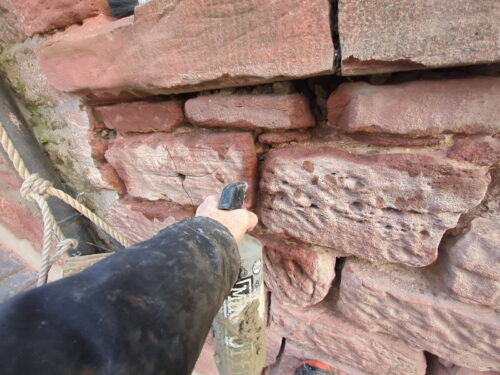
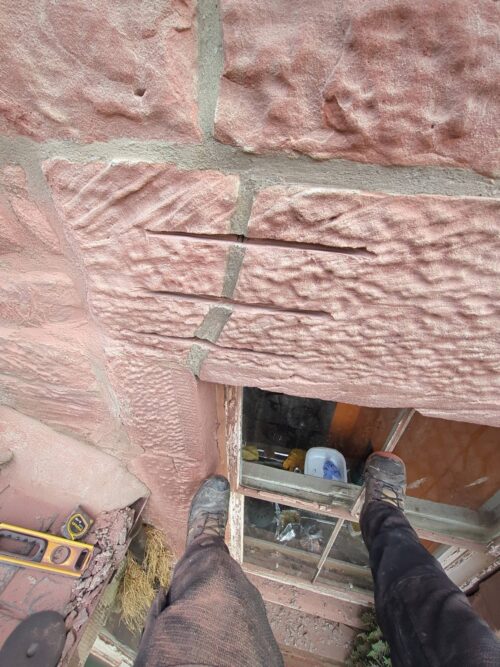
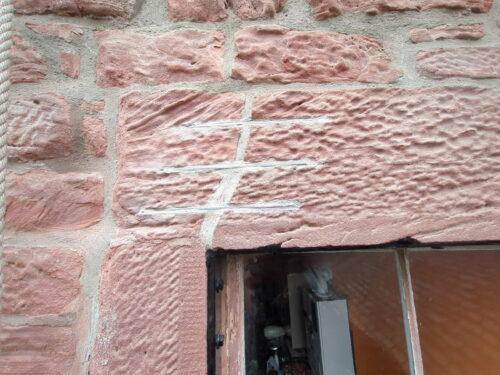
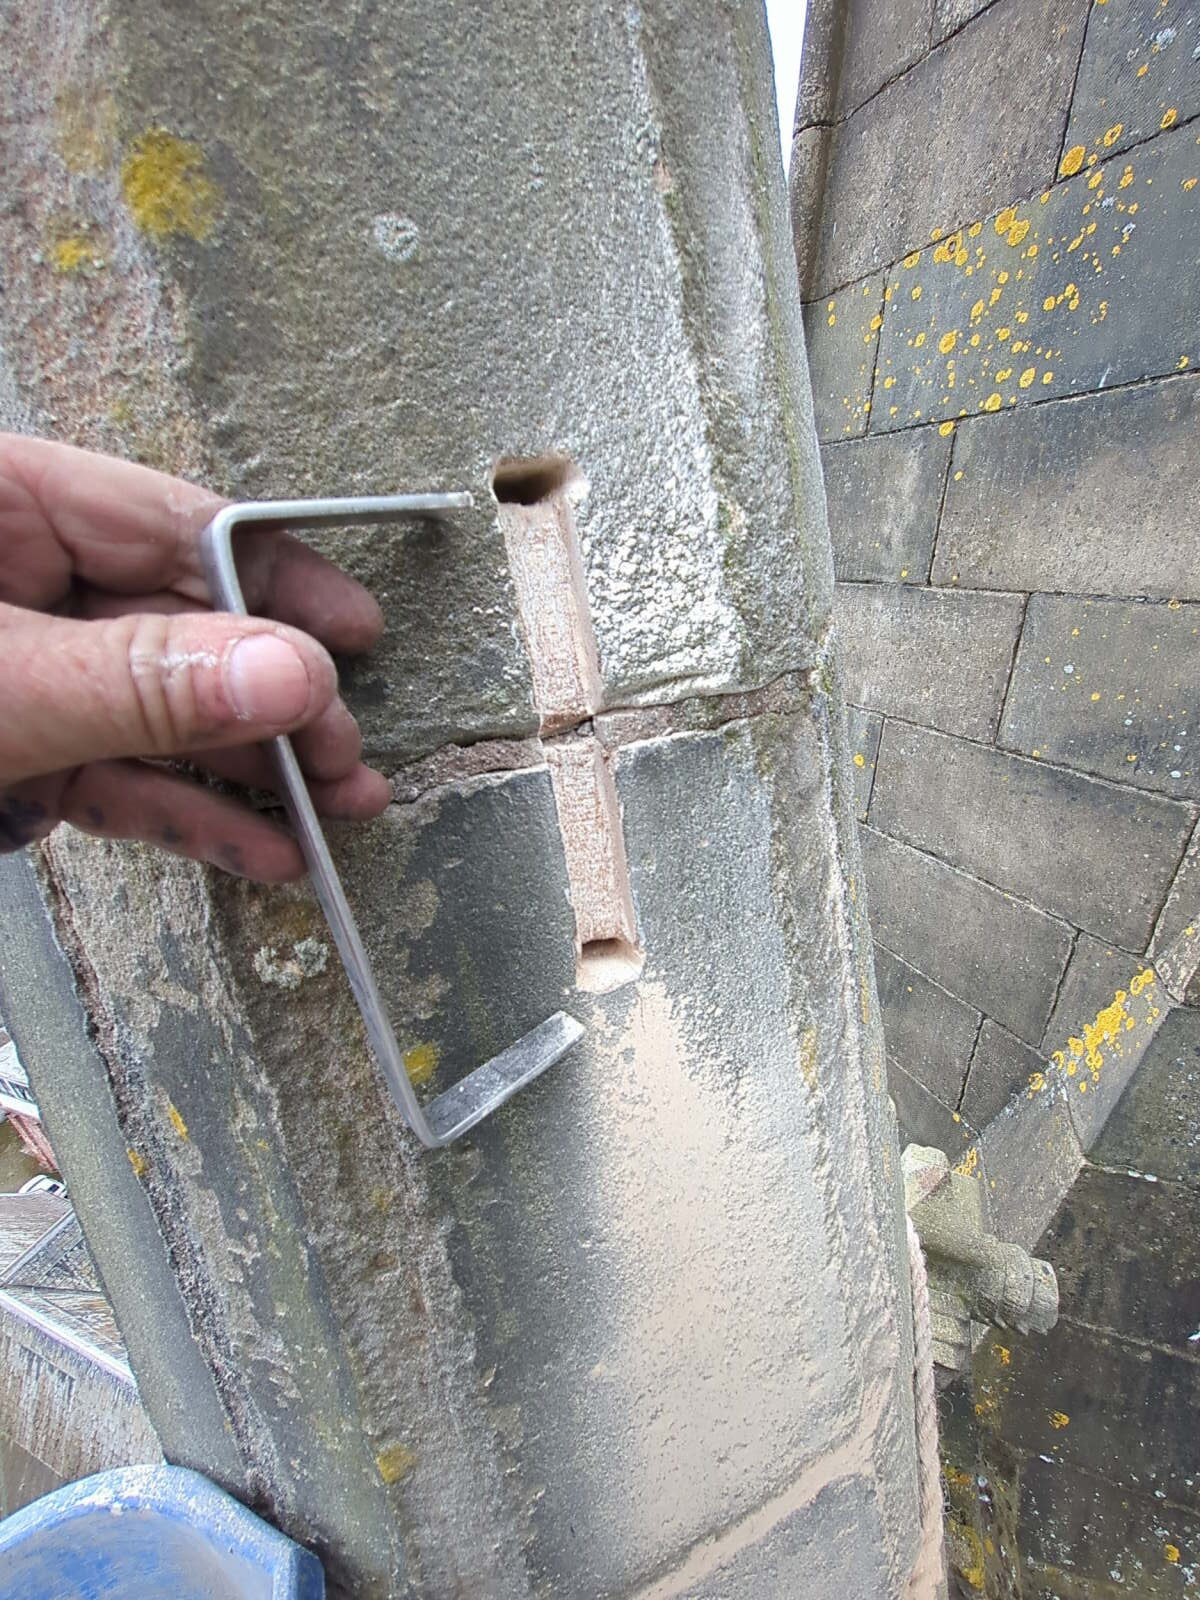
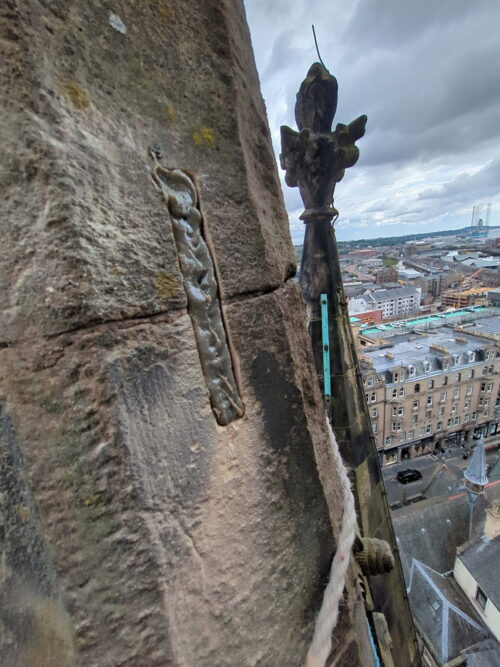
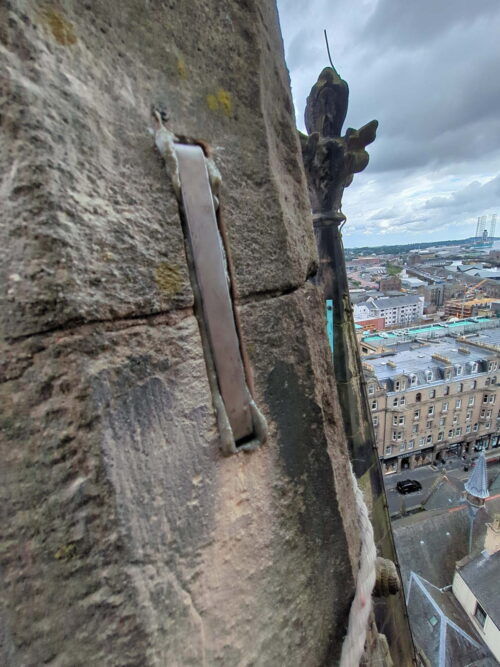
You’ll see that there’s a new groove chiselled into the stone. It spans across the unstable joint. The new cramp is going to anchor the stone above to the stone below, which means it’s going to “stitch” across the unstable joint.
At either end of the groove there’s a new hole, and that’s there to accommodate the part of the cramp that sinks deeply into the stone.
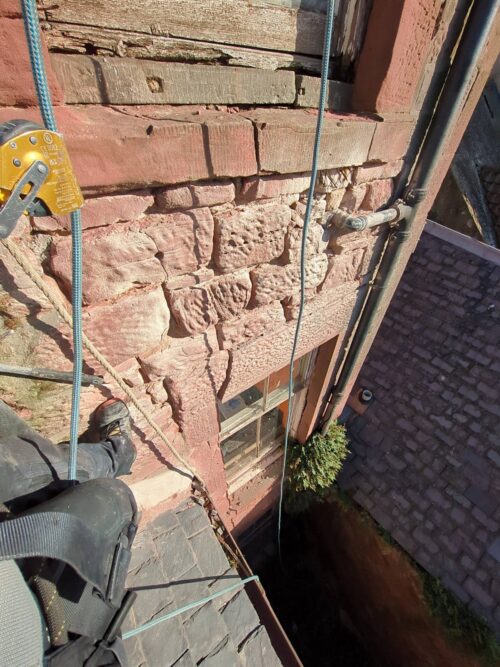
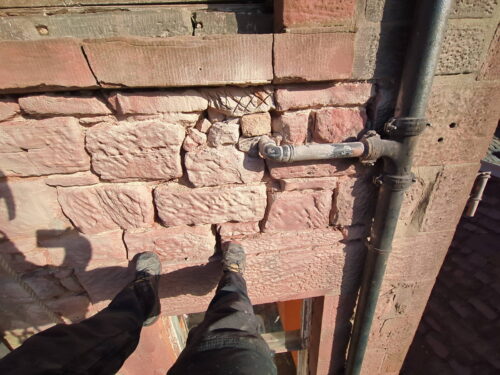
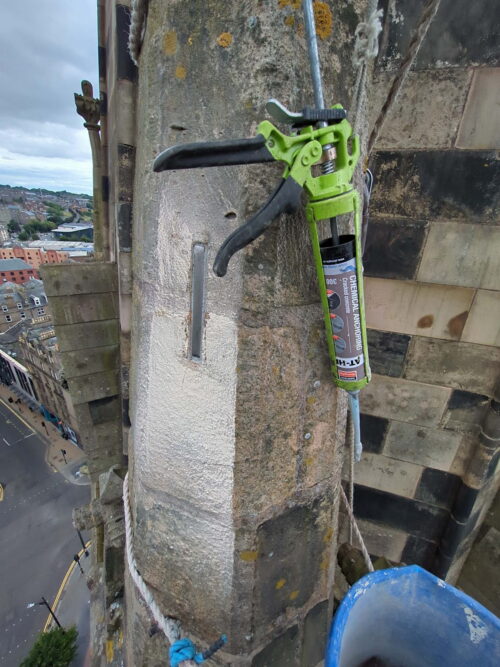
The cramps are anchored into polyester resin. In this shot the resin is being injected into one of the holes.
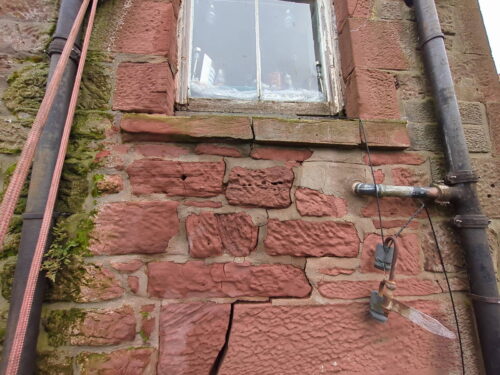
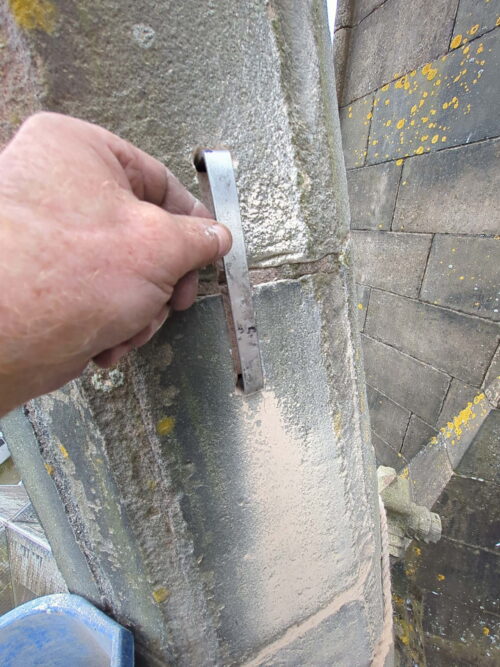
This picture was taken at another cramp area. No resin has been injected yet, but you can see how the groove in the stone, and the holes, have been cut specifically to fit the cramp.

Testing that it fits properly.
The groove and the holes stuffed with resin and ready for the cramp.
Cramp going in.
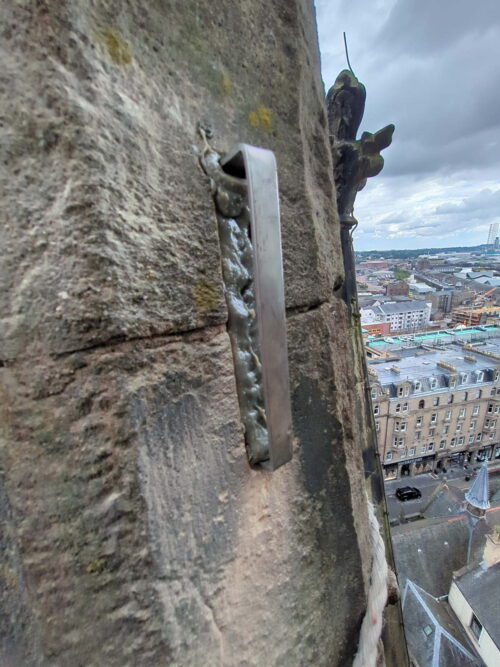
Not quite fully in.
Fully sunk. The resin that squeezes out is a good sign. It means that the groove and the holes were well filled.
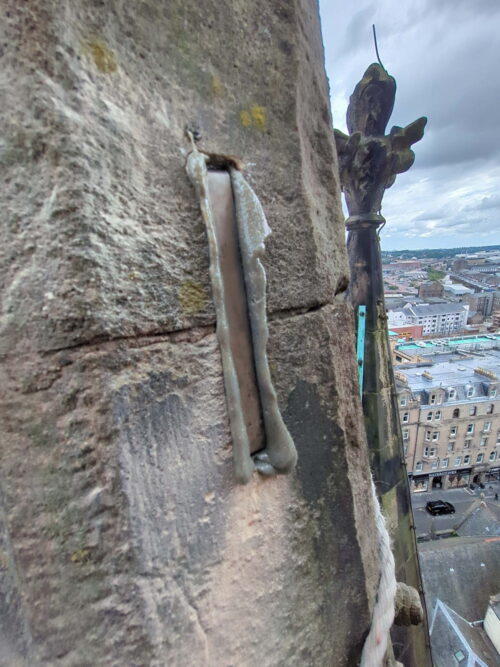
Another example of a cramp freshly inserted.
That resin gets cleaned up, but not immediately.
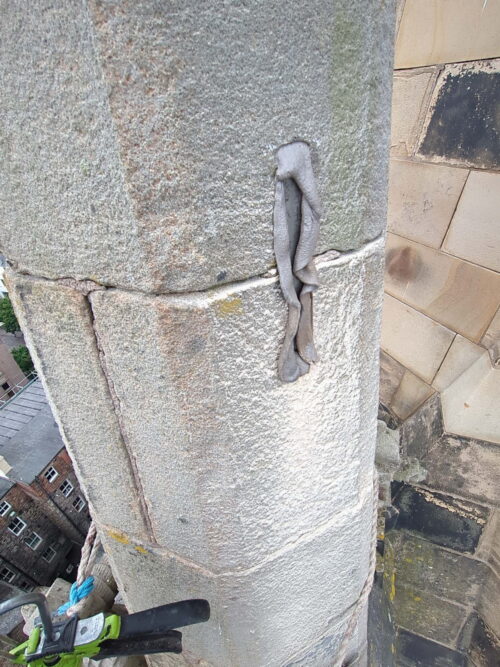
Here you can see two that still have the excess resin in place.

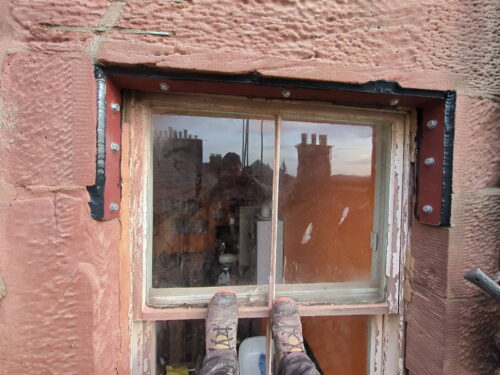
A cramp after the excess resin had been cleaned off, but it’s not yet finished. It needs lime pointing to finish it.
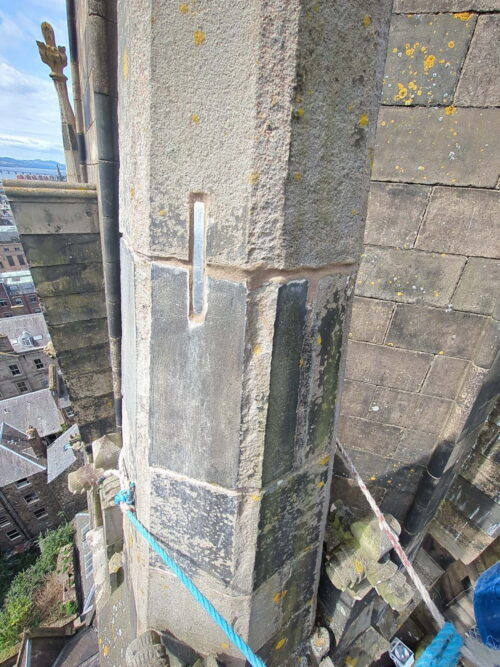
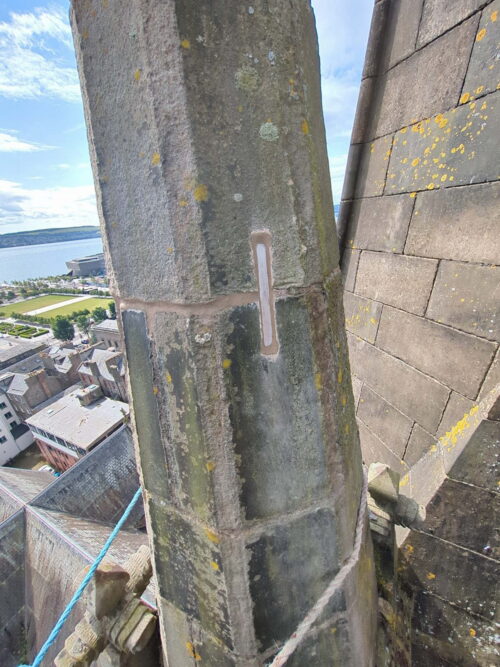
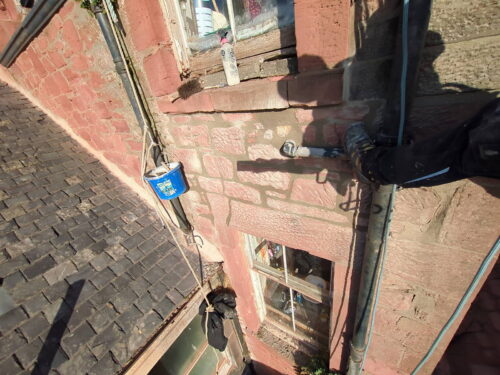
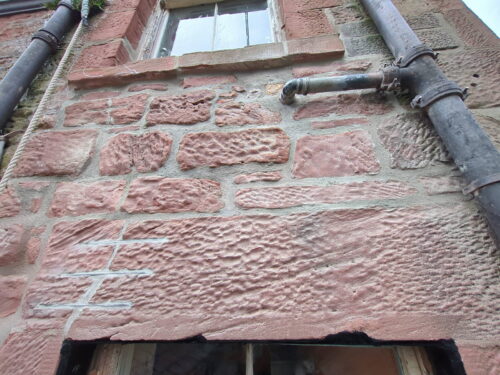
All of the pictures below show completed cramps.
Once the resin has been cleaned off they get pointed with hydraulic lime mortar. It seals around the cramps and is also good from a cosmetic point of view.