Tag: leadwork

  • Code 7 lead ridge on a church roof

    Code 7 lead ridge on a church roof


    Click on any picture to enlarge. Click on the picture again to minimise.


    The gable end section of this ridge was leaded, but the lead was ripped to pieces and much of it was missing.


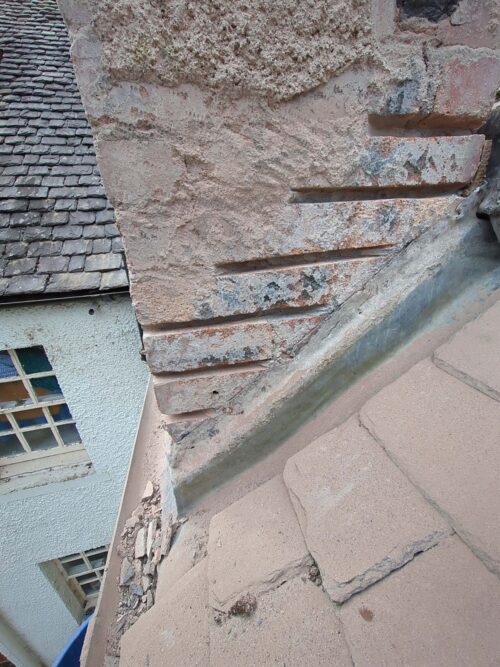
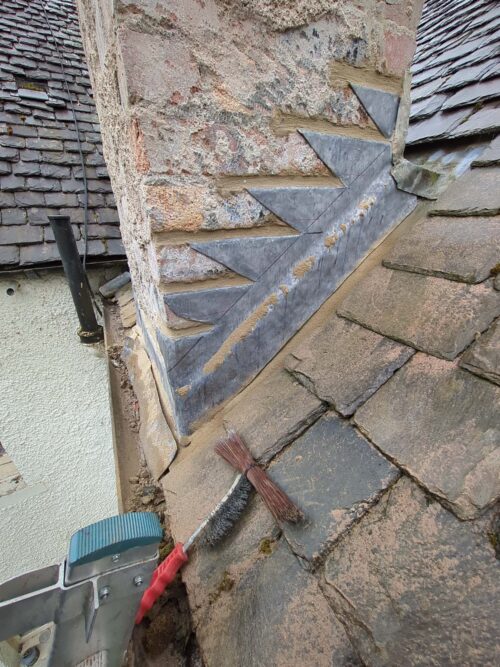
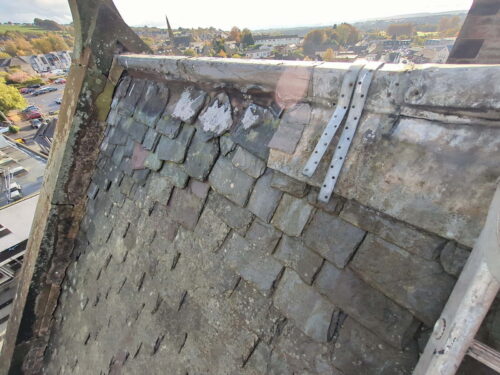
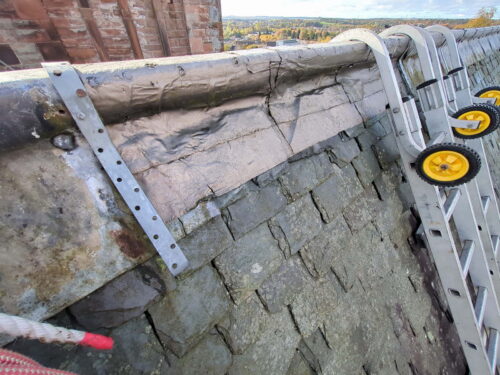
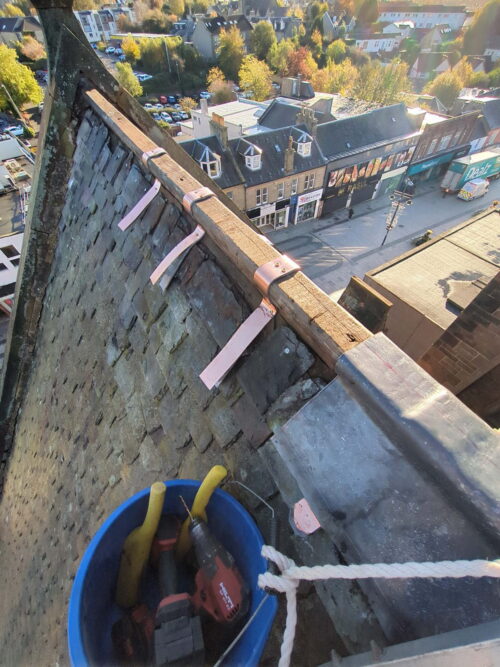
    This picture was taken part way through the stripping of the old lead. As you can see the old lead is torn, and the top course of slates was a mess.

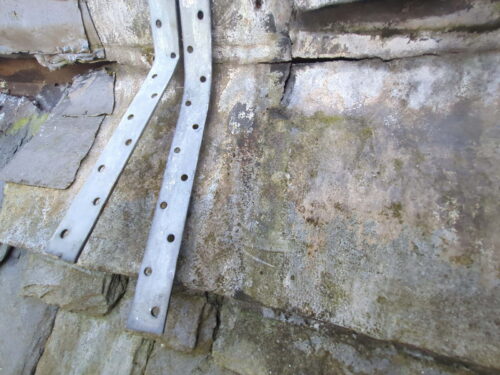
    Also note the brackets that were holding the lead. That’s not how it’s meant to be done.


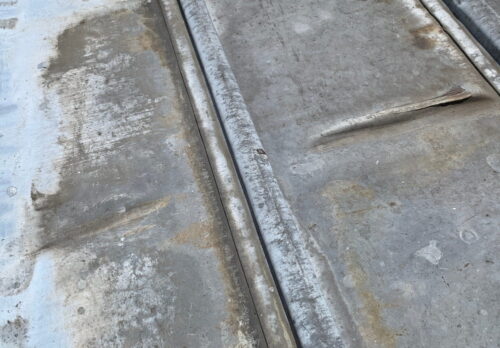
    A close up of some of the tears in the old lead.


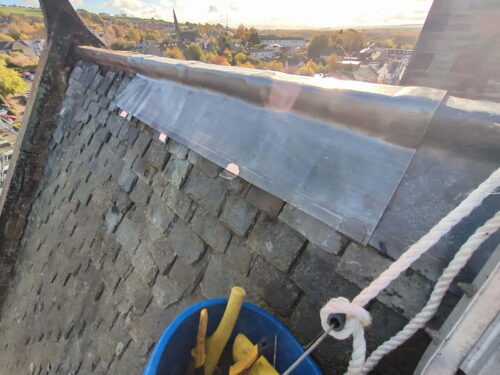
    This area was still to be stripped. As you can see someone had covered it with flashband at some point in the past.


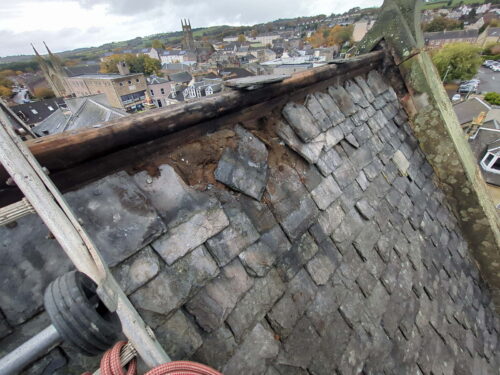
    Lead now stripped completely.

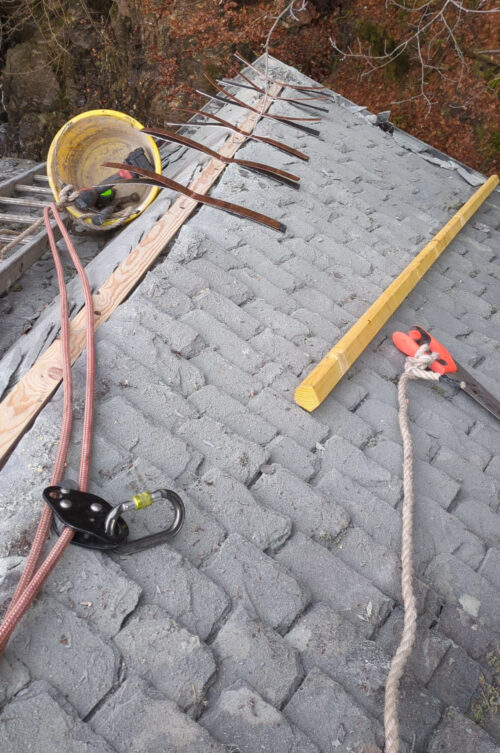
    Lots of slates to be patched before the lead clips can be fitted.


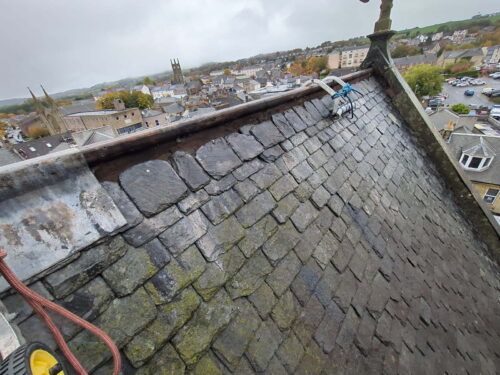
    Slates patched and ready to start fitting the lead clips.


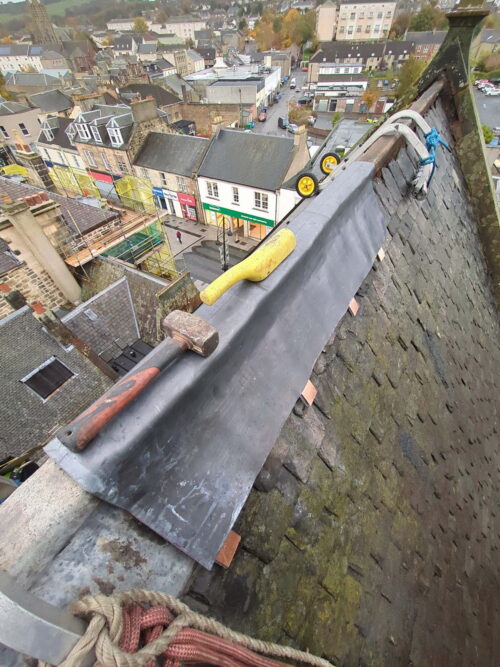
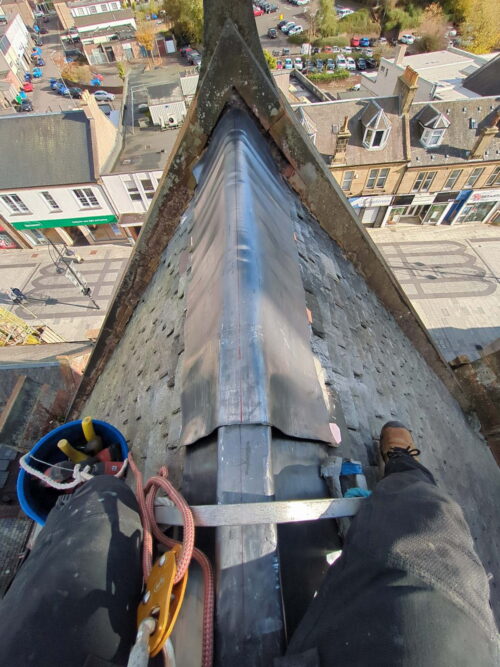
    First length of lead on but not yet shaped (the tools for that task are lying on the ridge in this shot).

    It’s code 7 lead, which is heavy stuff. It needs to be to not be lifted in high winds.


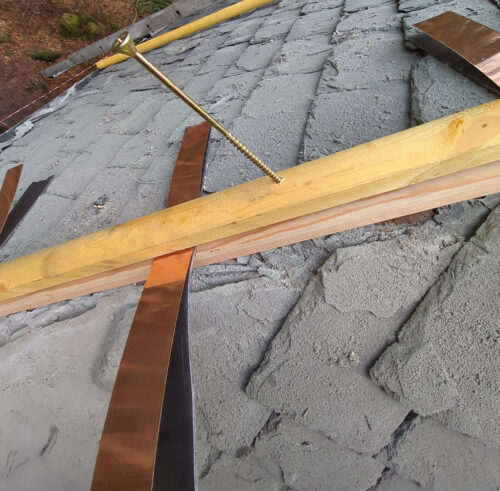
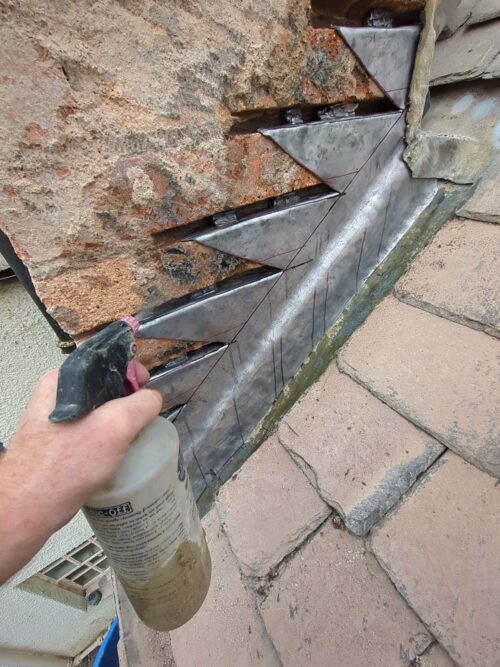
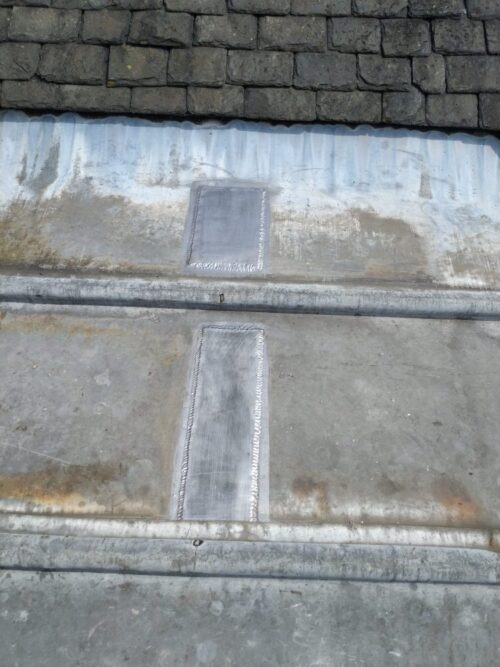
    These are the clips. A strip of copper on top, and a strip of code 8 lead underneath.

    The lead strips are code 8 to further assist in preventing wind lift.

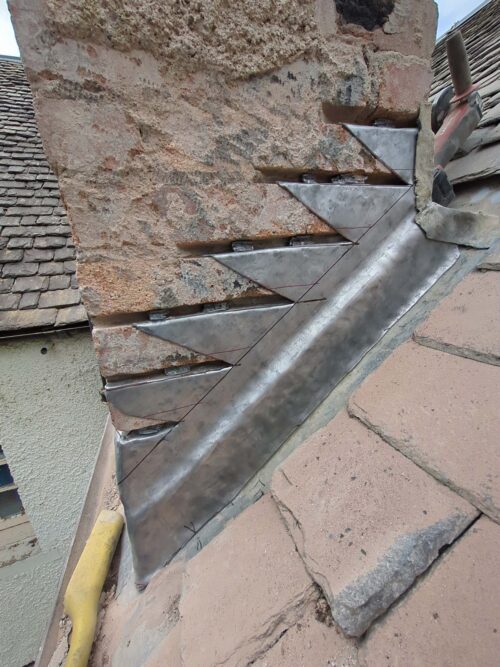
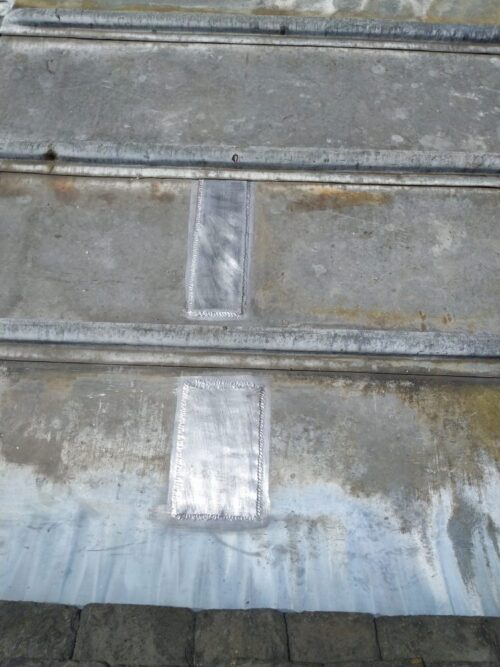
    Once the clips are turned up over the lead the copper ends up underneath and the lead is what shows on top.


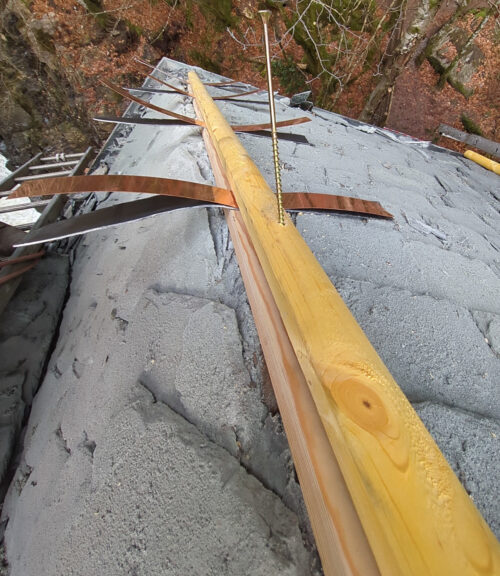
    Turning the clips up over the lead. The one closest to the camera is done, the next one along partly done, and the two that are farthest away have not been cut to shape yet.


    The last full length section in position but not yet beaten to shape.

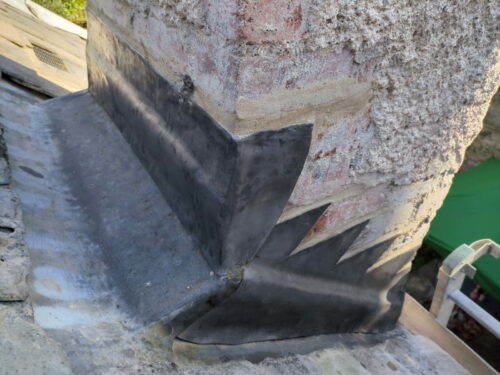
    Another very short section was added later to go into the gap in the gable end stone.


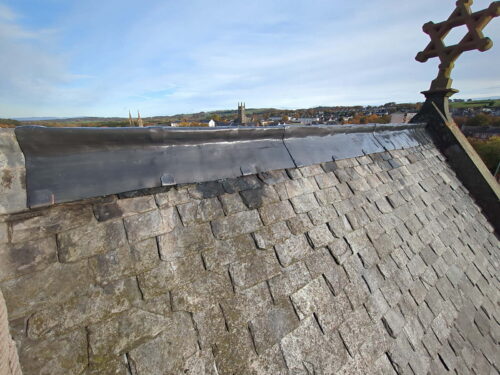
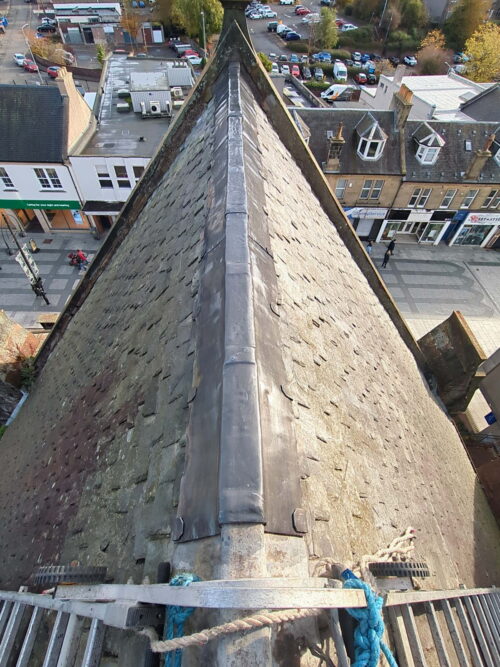
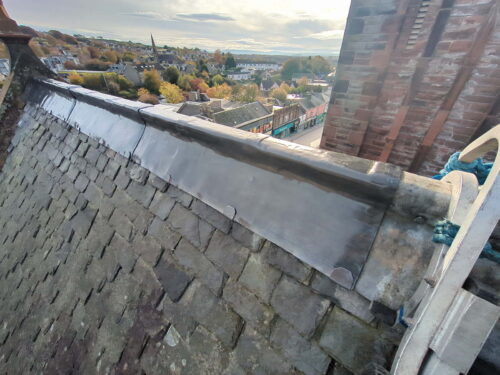
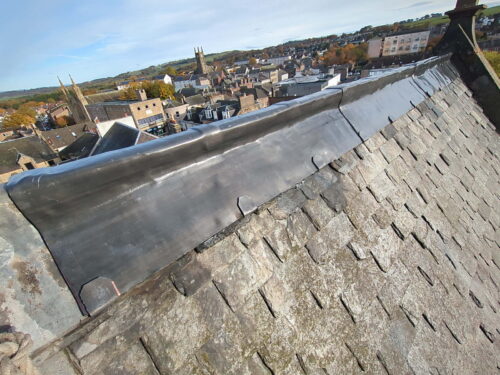
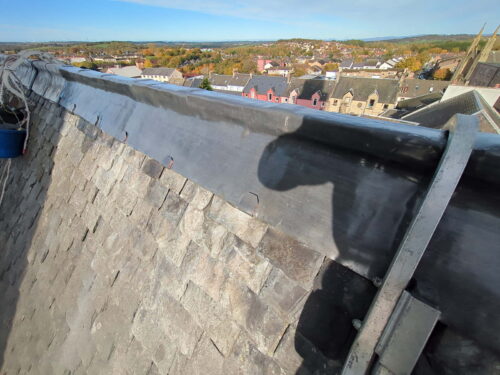
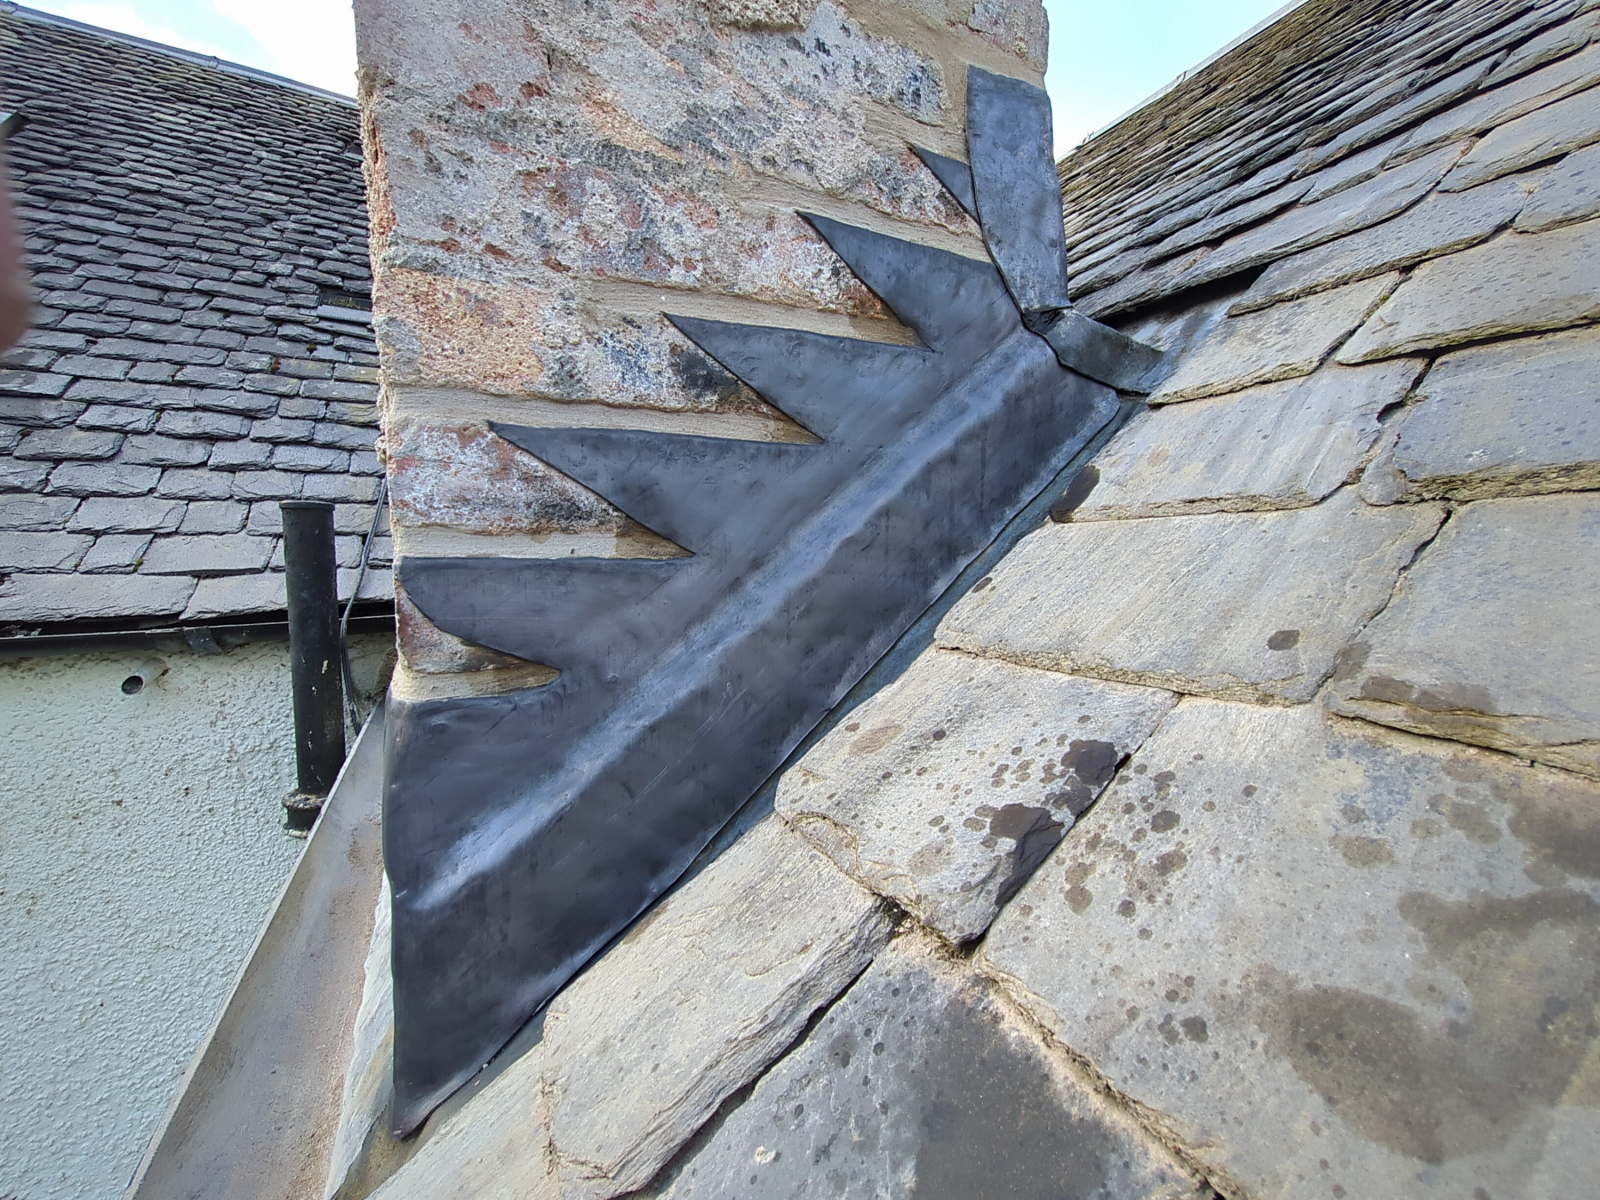
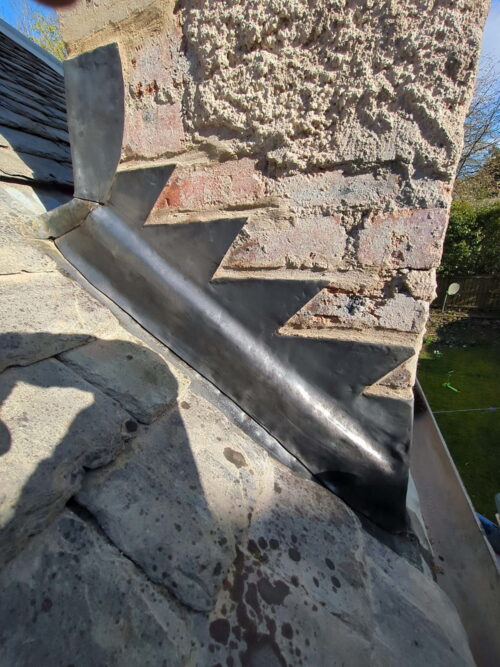
    New length of ridge complete and treated with patination oil.

    All of the pictures below show the finished job.


  • Code 6 lead ridges

    Code 6 lead ridges

    Click on any picture to enlarge. Click on the picture again to minimise.


    Fitting new timber ridge poles and new code 6 lead to lead sheet association specification, in a difficult to access location.


  • Stepped lead flashing

    Stepped lead flashing


    Click on any picture to enlarge. Click on the picture again to minimise.


    Installation of a traditional stepped lead flashing. No subcontractors used or required for this work.


    Raggle joints cut out and ready for the newly formed lead.


    Lead inserted and secured with traditional lead batts (not these crappy little lead clips that are faster but less secure).


    Wetting the joints in preparation for pointing with hydraulic lime mortar.


    Joints now pointed.


    The rest of the pictures show the completed job. By this time the top strip of lead flashing was on, all lead was cleaned and treated with patination oil, and all raggles were pointed.


  • Lead roof vent (lead burning & slating)

    Lead roof vent (lead burning & slating)

    Click on any picture to enlarge. Click on the picture again to minimise.


    This page shows the fabrication and installation of a lead roof vent which will, once a plumber has been to site, vent two bathrooms.

    The vent was installed on a high castle roof but no scaffold costs were incurred as we do not need scaffold for this kind of work.

    Access, leadwork and slating were all handled by BCM Steeplejacks – no subcontractors were required, which helps to keep costs down.


    This picture shows the vent on the bench during fabrication. The plastic pipe inside the outer lead pipe is there to give the plumber something to connect onto inside the attic.


    Still on the bench but nearly complete.


    We added a lead cowl to keep the rain out. The vent is now complete and ready to be installed into the roof.


    Vent in position.


    Slating around the vent.


    These two pictures show the completed job.


    Finally, here is the internal plastic pipe. This is what the plumber will connect the bathroom ventilation system onto.


  • Code 8 lead flat roof repairs

    Code 8 lead flat roof repairs

    This was a straight forward part of a larger job. There were two defective sections of lead on the roof that were soon going to crack and allow water through. We cut out the defective areas and lead burned new lead patches on.


    Click on pictures to enlarge. Click on them again to reduce.


    The defective areas before work commenced.


    Defective lead cut out and area swept clean.


    You cannot lead burn at all until all oxidization has been scraped off the lead (both the new lead and the old).


    These last three pictures show the completed work. The area is now safe from leaks.


Contact Details

BCM Steeplejacks Ltd
21 St. Dunstans Park
Melrose
Roxburghshire
TD6 9LF

01896 820 404
07779 947 918

Click here to email us